
Preserving the appearance and functionality of motorcycle fairings is crucial for any motorcycle business. A well-maintained bike attracts customers and enhances resale value. This detailed guide outlines the step-by-step process to clean motorcycle fairings, ensuring they remain in prime condition while also supporting your business’s reputation. Each chapter delves into crucial stages like preparation, rinsing, effective cleaning techniques, final drying, and optional protection methods to help you master the art of motorcycle fairing care.
null
null
The Gentle Rinse: Laying the Foundation for Scratch-Free Motorcycle Fairing Care
The rinse is more than a simple prelude to washing; it is the quiet gatekeeper that protects gloss and color on motorcycle fairings. Loose dirt and grit can become abrasive between cloth and panel if left to linger, so the rinse should wash away what you cannot see and set up the cleaner to work more effectively. When done with intention, it lowers the chance of introducing fine scratches during later steps and reveals the true surface you will treat next.
Begin by choosing the right environment. Park in a shaded, well-ventilated area and avoid direct sun, which can heat plastics and accelerate evaporation, leaving water spots as the surface dries. A cool, steady temperature is kinder to paint, seals, and the composite materials common to modern fairings. If the bike has just been ridden, allow a short interval for the bodywork to approach ambient temperature before you start. Rushing a rinse in heat can cause droplets to dry too quickly and leave micro-mist behind.
Gather the right tools and select a method that gives you control. A garden hose with a mild spray nozzle is a reliable standard because the spray should be soft and broad rather than a concentrated jet. A bucket with clean water and a soft sponge can also do the job, though the hose offers a quicker, surface-wide rinse that minimizes missed spots. Keep water moving and avoid letting a single point sit under pressure or pool on a seam, since stagnant droplets can seep into gaps over time.
Think through the sequence of the rinse itself. Start at the highest points of the fairing—the crown, the windscreen cradle, and the leading edges where debris tends to accumulate—then work downward. The downward flow helps carry loosened dirt toward the ground rather than dragging it back onto areas you have just rinsed. Be sure to reach under lips, into vents, and along edge creases where grime tends to lodge. A thorough rinse reduces the risk of dragging dry dust across paint during the subsequent wash.
As the water flows, you will see how a careful rinse shapes the next cleaning steps. Loosened particles should wash away cleanly, leaving a surface that looks dull when wet but is free of stubborn grit. If you encounter sticking spots, a brief extra pass with the hose or a soft-bristled brush used gently can help, but avoid scrubbing hard during the rinse itself. The goal is to loosen and lift, not grind.
Finished with the rinse, take a moment to inspect the surface. You are looking for remaining stubborn spots, water pooling along creases, and any areas that still feel gritty to the touch. A well-executed rinse sets you up for a smoother, more uniform wash and makes drying easier later on.
Preserving the Shine: A Thorough, Sensitive Method for Cleaning Motorcycle Fairings
The fairings that wrap a motorcycle are more than just a pretty shell. They are a protective barrier for the delicate paint, the underlying plastics, and the engineered details that keep the bike looking its best on the road. Cleaning them without scratching or clouding the finish requires patience, a steady hand, and a simple set of tools chosen with care. When the goal is to maintain a factory-like gloss and the integrity of the plastic or composite, every step matters. The approach described here blends caution and discipline, treating the fairings as a surface that deserves a gentle touch and a plan rather than a quick hose-and-scrub routine. It is a rhythm learned from careful maintenance traditions, where the right sequence and the right products preserve both beauty and longevity.
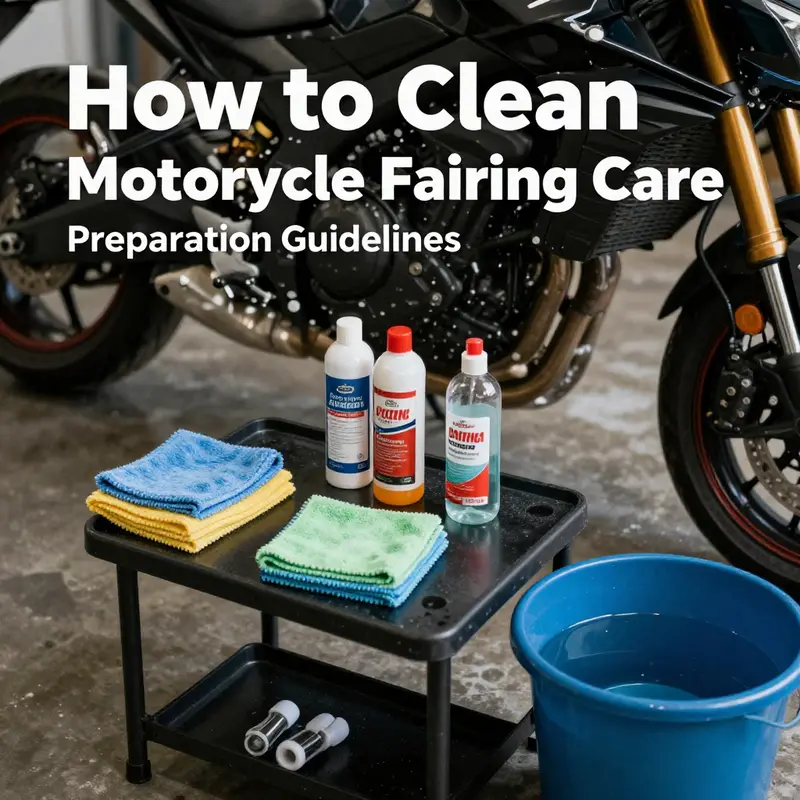
Preparation begins long before water touches the bike. A shaded, well-ventilated spot is ideal. Direct sun can heat the surface and cause water spots or streaks as it dries. The engine should be cool; a hot engine can introduce heat stress and can warp sensitive components or soften seals. With the bike resting in shade, you can think clearly about the task ahead and avoid hasty slips that end in micro-scratches or missed spots. Gather the essentials: a soft microfiber towel, a dedicated plastic or fairing cleaner, a soft-bristled detailing brush, a couple of clean buckets of warm water, and a pair of rubber gloves to keep oils and fingerprints off the surface. Household soaps or dish detergents are off-limits in this routine; their detergents can strip wax and degrade the protective layer on plastics and paint, leaving the surface duller and more porous to dirt.
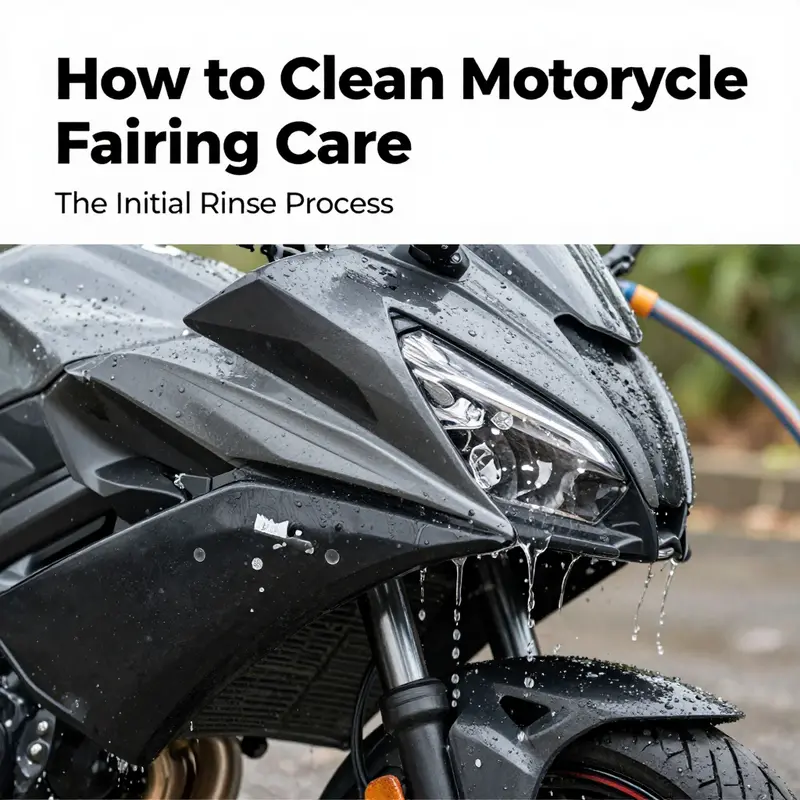
The initial rinse is more than a splash of water. It is a pre-check that clears away surface grains that could scratch the finish if they are dragged across the surface during washing. A gentle stream from a hose or a watering can is sufficient. Focus first on the broad expanse of the fairings, then pivot to the edges, the front edge where road grime tends to accumulate, and the inside curves near fasteners and seams where dust loves to hide. Direct high-pressure jets at the fairings are risky; the aim is to move debris away without forcing water into seams, openings, or the gaps around fasteners where moisture can linger and invite corrosion over time. The water itself should be comfortable to touch—neither icy cold nor scalding hot—so you preserve the surface’s temper and avoid any thermal shock when you begin cleaning.
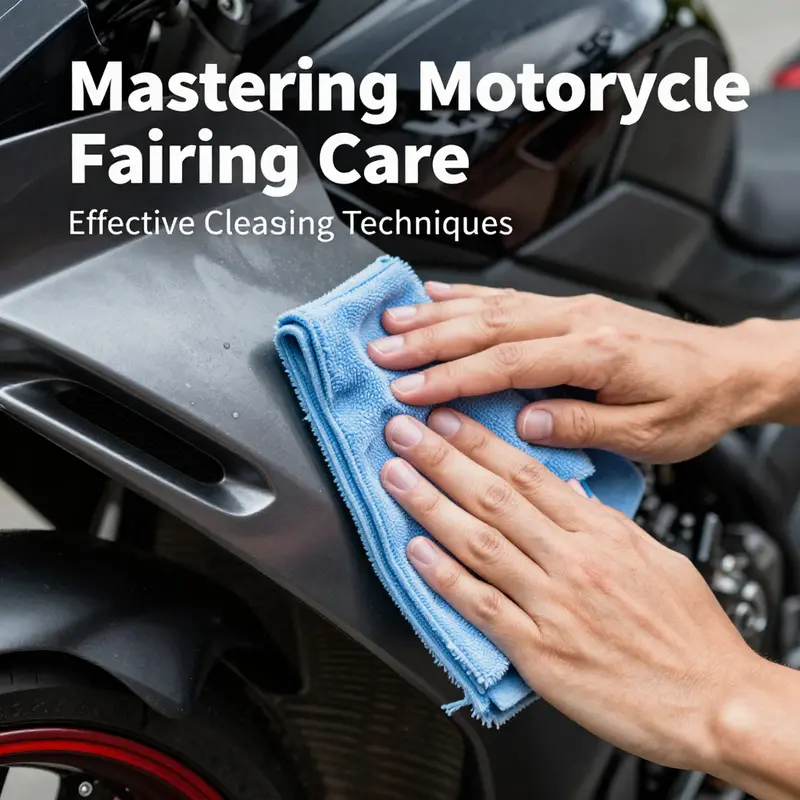
With the surface rinsed, it is time to introduce the cleaner. A high-quality, pH-neutral cleaner designed for plastics and fairings is your best ally. These products are formulated to tackle road grime, tar, insect remains, and oxidation without cloudy halos or coating-stripping action. Always read and follow the label instructions, which are crafted around the chemistry of the product and the material it is meant to protect. Dip your soft microfiber cloth or sponge into the diluted solution and begin at the top, moving downward. Work in small, overlapping strokes, using a light touch. The idea is to lift grime rather than grind it into the surface. Circular motions can help address micro-scratches or grit that cling in the texture of the fairing, but you should still maintain a gentle pressure. In areas where grime clings stubbornly, a very soft-bristled brush—a toothbrush can be handy—dipped in cleaner can gently agitate the crevices. The important rule remains: treat the seam lines, edges, and corners with care because those are the places most prone to enduring buildup. If you ride a Honda or any other brand, the same fundamentals apply; for a quick reference to Honda fairings, you can explore the Honda fairings collection as you plan your care strategy. https://ultimatemotorx.net/product-category/honda-fairings/
As you work, keep an eye on problem regions. Around air intakes, under the front fender, and along trailing edges, dirt can accumulate in puckered creases and small channels. A precise, minimal amount of cleaner on the cloth goes a long way here. For corners that appear especially stubborn, rotate the brush or cloth to a fresh area rather than pressing harder. Letting a stubborn spot sit for a brief moment can loosen grime without aggressive scrubbing, which can cause micro-marring. Throughout the process, resist the temptation to spray cleaner directly onto vulnerable seals, vents, or openings. The goal is to avoid water pooling in seals or seeping into areas where it can later evaporate and leave marks behind. If your work environment includes a glossy or matte finish, respect the finish’s sensitivity by keeping the cleaner away from the edges where the surface transitions from painted to unpainted plastic; some trims and seals are more prone to staining or softening when exposed to moisture for extended periods.
After you have treated the surfaces and the stubborn spots have loosened, it is time for a careful rinse. Thorough rinsing is not a luxury but a necessity. Any cleaner residue left on the fairings can attract dirt more quickly or leave a hazy film after drying. The water should rinse away cleanly, with no suds lingering on the surface. A second pass with a clear, clean rinse often helps ensure all cleaner traces are gone, particularly around seams and behind vent openings. Patience here matters more than speed. Drying should be immediate and thorough. Use a fresh, clean microfiber towel—one that has not touched dirty surfaces earlier in the session. Pat the fairings dry rather than rubbing. Rubbing can create swirl marks that dull the shine and can push grime into micro-scratches. Pay attention to the undersides and hard-to-reach areas as well; water left in crevices can leave spots and encourage corrosion at metal interfaces and fasteners.
With the surface dry, you have a choice that affects long-term appearance and protection. Some riders opt for a protective layer after cleaning. A high-quality sealant or wax designed for plastics and painted surfaces can form a shield against UV rays, water spots, and minor micro-scratches. If you choose to apply a sealant, follow the product’s instructions and ensure the fairing is completely dry before applying. A light, even coat worked in small, circular motions, followed by a gentle buff with a clean microfiber, can yield a mild, glassy finish that lasts longer between cleanings. This protective step is not a substitute for gentle washing, but it complements the care you have already given the fairings, extending the time between deeper cleans and maintaining that pristine look.
All of these steps—careful preparation, a measured initial rinse, a gentle cleaning with the right cleaner, a targeted attack on problem areas, a thorough rinse, and a careful dry—fit into a deliberate ritual. They reflect an understanding that fairings, which are frequently made of plastics or composites, behave differently from metal panels and require products and techniques that respect their material properties. The aim is not to turn washing into a laborious chore but to transform it into a simple maintenance habit that keeps the bike looking as if it just rolled off the showroom floor. The discipline embedded in this routine mirrors broader maintenance philosophies that many riders adopt, which emphasize consistency, patience, and attention to the surface you set out to care for rather than rushing toward a final, glossy finish.
If you crave a deeper dive into the subject, you can explore a broader, expert-backed guide that frames these practices within a wider maintenance context. For instance, a detailed exterior-care reference emphasizes the role of preparation, controlled rinsing, and deliberate drying in preserving plastic and painted surfaces over time. This resource reinforces the idea that a thoughtful, methodical routine yields the best long-term results and aligns with the care principles described here. External resource: https://www.bikeexif.com/2024/08/22/how-to-clean-motorcycle-fairings/
Spotless Finish: Mastering the Final Rinse and Drying of Motorcycle Fairings
A clean fairing can make a motorcycle look cared for and protect its finish for years. The final rinse and drying stages are where careful technique turns a good wash into a great one. Mistakes here—high pressure, incomplete rinsing, or rough drying—can leave water spots, streaks, or even push water into seams. This chapter teaches a systematic, gentle approach to rinsing and drying so paint, decals, and plastic trim remain intact and streak-free.
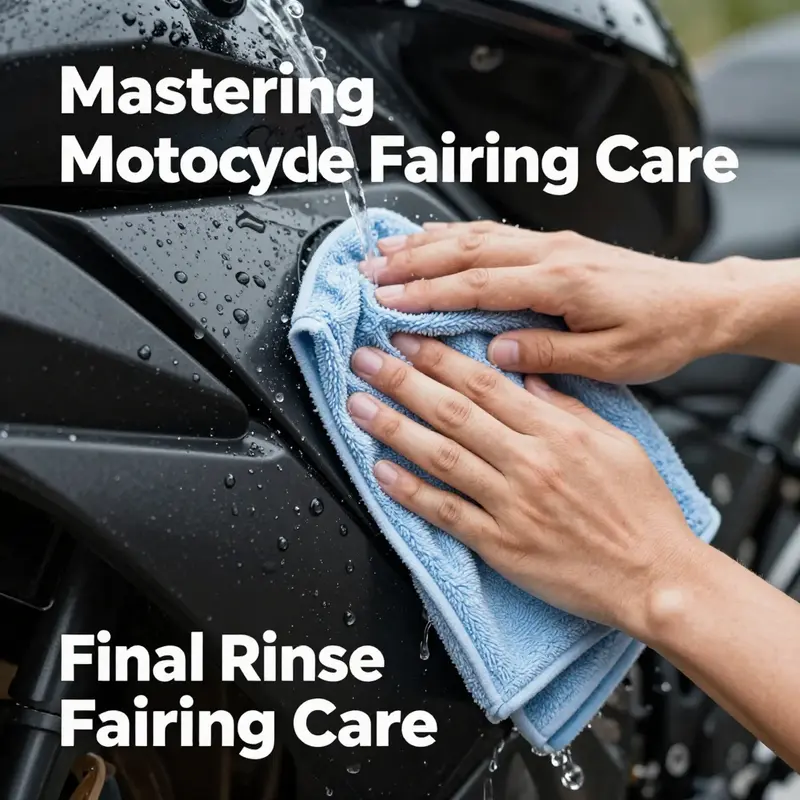
Start the final rinse only after you have worked through the washing step and removed all visible dirt and grime. The goal of this rinse is twofold: remove every trace of cleaning solution, and flush loose particles away from seams and crevices. Use clean, lukewarm water; it dissolves and carries away soap residue more effectively than cold water, and it won’t produce the thermal shock that very hot water can cause. Wherever possible rinse with a gentle, steady stream rather than a pressurized blast. High-pressure streams can force water into vents, behind trim, and into electrical housings. They can also lift weak edges of decals or thin paint layers. A simple garden hose on a moderate setting or pouring clean water from a bucket gives you control while still delivering the necessary flow to clear residues.
When rinsing, move systematically across the bike. Begin at the highest point of the fairing and work downward. This top-to-bottom approach ensures that any rinse water flows down over areas you have yet to clean, rather than dripping onto spots you already rinsed. Focus initial rinsing on edges, seams, and hard-to-reach recesses where soap tends to hide. Hold the water source a few inches away from the fairing and sweep the surface with the stream, keeping your hand moving to avoid concentrating force in one spot. If you encounter stubborn soap film or streaks, wet a clean, soft microfiber cloth in the rinse water and gently wipe the area while the water flows. This combined rinse-and-wipe technique ensures the film is lifted and carried off rather than smeared.
Avoid using pressure washers on the fairings. If a pressure washer is the only available tool, keep the nozzle on its widest, lowest-pressure setting and keep it at least a foot away from painted surfaces. Never point high-pressure water directly at seams, badge areas, or vents. Small crevices around fasteners and trim collect water and cleaner; the gentle stream dislodges contaminants without injecting water into spaces it shouldn’t reach. Similarly, do not allow water to pool on top of the fairing or near fuel or electrical access points. Tipping the bike slightly on a stand or holding the rinse stream so it directs runoff away from sensitive areas reduces the chance of water ingress.
Once the fairings appear free of soap and suds, begin drying immediately. Leaving water to air-dry on paint invites water spots and mineral deposits. Use a large, soft microfiber drying towel reserved for this purpose. Microfiber absorbs large amounts of water and traps fine particles, preventing them from being dragged across the surface. Keep the towel clean; a towel contaminated with grit can create micro-scratches. If the towel becomes heavily soiled during the process, switch to a fresh one. Blotting is preferred to aggressive wiping. Lightly lay the towel onto the surface and lift to absorb water rather than dragging it across the paint. This minimizes swirl marks and keeps the finish pristine.
Follow the same top-to-bottom sequence when drying. Start with upper fairings and windscreen, then move to side panels and lower sections. Work around the bike methodically so you never re-soil an area you have already dried. Use the towel’s clean sections by folding it into quadrants and unfolding as each area becomes damp. This simple habit stretches the life of the towel between washes and reduces the risk of reintroducing grit.
For tight corners, seams, and vent openings, use a smaller, plush microfiber or a soft-detailing cloth to wick moisture from crevices. Roll the cloth into a soft swab rather than rubbing, and press lightly to draw water out. A compressed-air blower set to low pressure can help dislodge water from vents and recessed bolts; use it with care to avoid blowing water deeper into components. If you use a blower, keep the air volume modest and the nozzle angled to push water out rather than in.
After the main surfaces are dry, inspect the fairings under good light. Water often hides as tiny beads along edges or as faint streaks on dark paint. Run your fingers lightly across the surface to check for any remaining damp spots; that tactile feedback is often more reliable than sight when working in shaded conditions. If you find streaks, mist a small amount of clean water or a drying aid on the area and blot with a fresh microfiber. A dedicated drying aid formulated for painted surfaces can help break surface tension and allow water to be removed with less effort, but it is optional. Whatever you use, avoid sprays that contain harsh solvents or abrasive additives.
Addressing water spots: if mineral deposits form despite your best efforts, treat them promptly. Light spots can sometimes be removed by a careful pass with a clean microfiber towel and a tiny amount of diluted cleaner, followed by thorough rinsing and drying. For more stubborn etching, a gentle polishing compound designed for automotive paint may be required, but that step veers into paint care and should be done sparingly to avoid removing protective layers. Prevention is far better: dry completely after every wash and park in a shaded spot while finishing up to avoid mineral-laden runoff from overhead sources.
Once the fairings are dry, consider a protective step. Applying a thin layer of wax or a paint sealant formulated for motorcycles adds a hydrophobic barrier that causes water to bead and run off during future rains and rinses. Apply this product only after the surface is immaculate and dry. Use a soft foam applicator to lay down an even coat, allow it to haze as directed, then buff gently with a clean microfiber. A proper sealant not only improves water behavior but also reduces the frequency with which you need to deep-clean the fairings.
Final checks should include fasteners and trim edges. Wipe any residual water from around bolt heads, vents, and mirrors. Moisture trapped near fasteners can lead to corrosion over time. If you removed any panels for detailed cleaning, re-fit them and tighten to specification, then wipe down the surrounding areas again to catch any hidden moisture. Inspect rubber seals and gaskets to ensure they are dry and free of soap film; any remaining residue may degrade these parts prematurely.
An occasional full-detail drying session is worth the effort. When you have more time, go beyond simple drying: perform a light inspection for chips, tiny scratches, and loose fasteners. Address small issues before they grow into larger problems, and keep a rotating schedule for waxing or sealing your fairings. Regular, careful rinsing and drying reduces long-term wear and maintains the motorcycle’s visual appeal.
For owners of specific models, replacement fairing suppliers and fitment guides can be helpful when you need parts after a repair or upgrade. For example, if you ride a bike from a particular manufacturer and need replacement or aftermarket panels, you can find dedicated category listings that cover those models. For Kawasaki owners, see Kawasaki fairings for options and fitment details.
For a concise reference on rinse and dry best practices pulled together by independent technical editors, consult this detailed guide: https://www.motorcycle.com/how-to-clean-motorcycle-fairings/.
null
null
Final thoughts
In conclusion, maintaining the cleanliness and appearance of motorcycle fairings is not just about aesthetics; it’s a crucial aspect of motorcycle care that impacts your business image and customer satisfaction. By following these comprehensive steps—from preparation and initial rinsing to effective cleaning techniques and optional protective measures—you can ensure that your motorcycle fairings remain in excellent condition. This not only augments the lifespan of the bike but also reflects positively on your business, building trust and credibility within your clientele. Implementing these best practices will enhance your motorcycle service offerings, leading to happier customers and a thriving business.