For business owners in the motorcycle industry, the repair of plastic fairings represents a crucial opportunity not only to enhance customer satisfaction but also to improve profitability. With many motorcycles equipped with plastic fairings made from materials like ABS and PP/EP, understanding how to effectively repair these components can set your business apart. This guide will delve into the essential aspects of fairing repair, from identifying material types to preparation, repair techniques, and finishing touches, ensuring you are well-equipped to meet customer needs and demands.
Reading the Skin: Identifying ABS vs PP for Durable Motorcycle Fairing Repairs
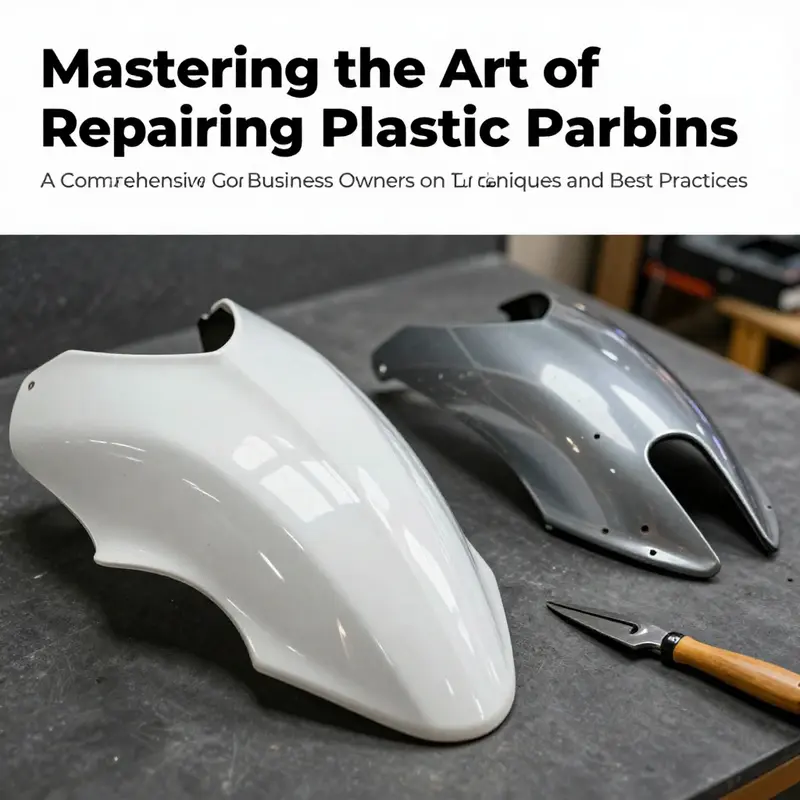
Material choice sets the tone for every repair on a plastic motorcycle fairing. The first step is not choosing a glue or a tool but recognizing what the plastic itself is made from. Most fairings fall into two camps: ABS and PP, sometimes with EP additives. The differences in chemistry drift into almost every practical decision, from how heat behaves to how paint sticks and how durable a repair will feel after months of vibration and sun.
ABS, or acrylonitrile butadiene styrene, is the workhorse for high performance shells. It tolerates heat and impact, and it accepts paint with fewer tricks than other plastics. In repairs, ABS shines when you use methods that melt and fuse the material, like plastic welding or heat assisted bonding. A well welded ABS joint can maintain strength through vibration, temperature swings, and wind stream at speed, which matters when a bike is leaned into corners or exposed to highway air.
PP, or polypropylene, sometimes with elastomer additives, is lighter and cheaper but trickier to fix. Its surface resists adhesion because of low surface energy, and it ages differently under UV light and flex. Stress cracks can propagate through PP parts if heat or glue is misapplied. The flip side is that when a proper bond is achieved, the joint can be very durable if you use the right primers and compatible adhesives. This is why PP repair often demands targeted surface treatment and a different bonding strategy than ABS.
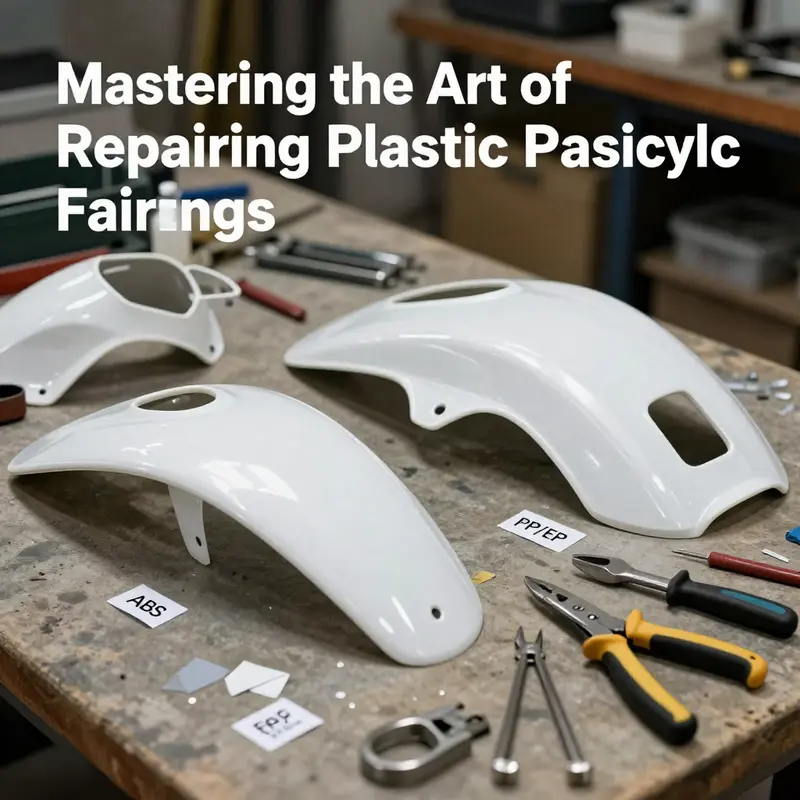
Identifying the material is the crucial opening move. If the manual is available, it will often specify the resin. If not, you can inspect the part for clues. ABS tends to be stiffer and heavier for a given thickness, and it accepts heat applications more predictably. PP parts are usually lighter and may flex more. Look for molded codes or glaze marks on the inside of the fairing, and consider the age and model year of the bike. When in doubt, contact the dealer or check the OEM specification sheet. In many cases, OEM parts on higher end models are ABS, which makes the repair plan clearer.
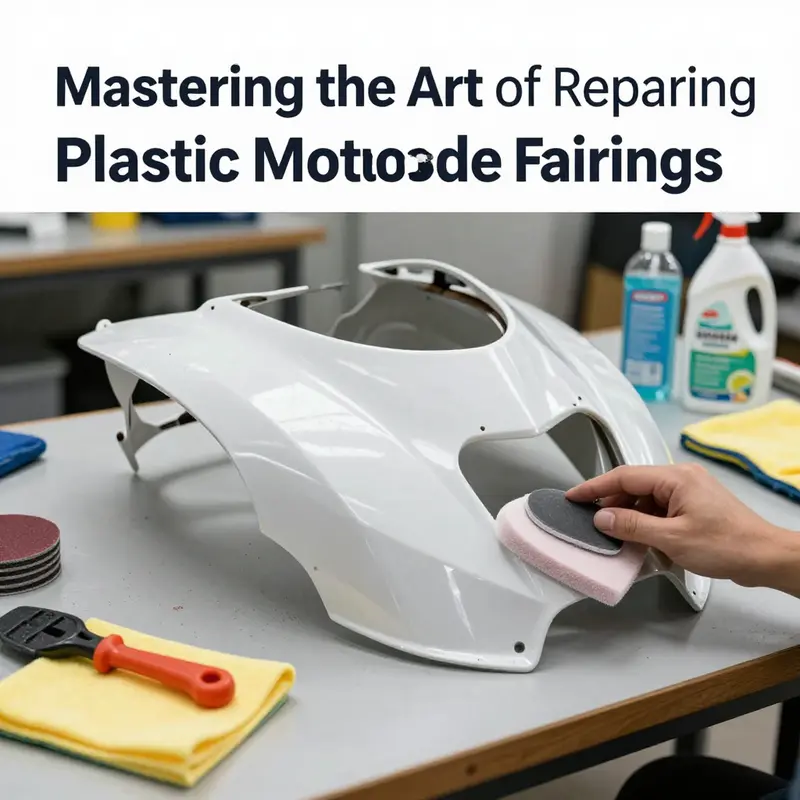
Before you jump into repair, you must prepare the surface. Remove the fairing from the bike, clean it with mild detergent and water, and dry it thoroughly. Lightly scuff the damaged area with fine grit sandpaper, typically in the 800 to 1500 grit range, to create a uniform tooth for adhesives or welds. Wipe away dust with a lint free cloth. For PP and PP with elastomer, a plastic primer or etching solution is almost essential; it conditions the surface so adhesives can grip. The primer for polyolefins acts as a bridge between the plastic and the repair material, increasing the chances of a durable bond.
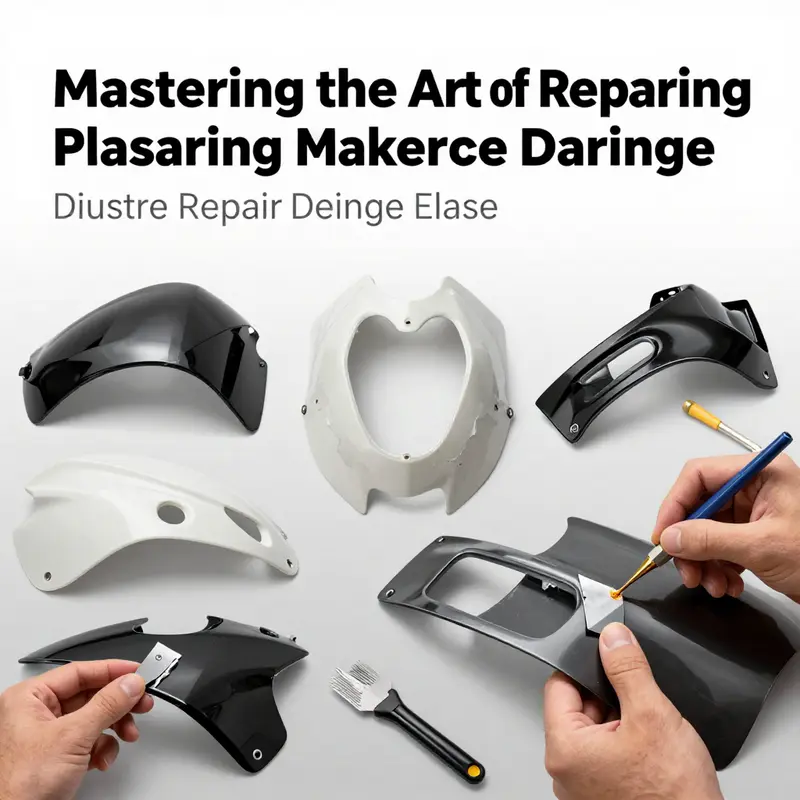
Repair considerations depend on the damage pattern. For small cracks that do not compromise structural integrity, a two part epoxy designed for plastics works well. It should penetrate the crack and harden fully, followed by careful sanding. It is important to avoid generic glues that are not labeled for plastic bonding, especially for PP. For larger breaks or if a portion has separated, ABS responds best to plastic welding. A welding tool and a compatible rod let you fuse pieces along the fracture with heat, then smooth the seam as it cools. This method yields a bond that, when done correctly, can approach factory strength. It is much less forgiving on PP, where you might still get a stubborn joint unless you take special measures.
An intermediate option, useful for severe but repairable breaks, is reinforcement with mesh or a fine wire. Place a piece over the inside of the crack and bond it with epoxy or a weld compound. The mesh acts as a scaffold, helping to resist future cracking under vibration. This approach does not replace the main bond but improves reliability when cracks are long or the fairing carries a lot of stress near a mounting point.
After the structural repair, cosmetic finishing comes into play. You may need body filler to fill gaps or irregularities, then progressive sanding from coarse to fine grits. A plastic primer is essential for PP/EP, and even ABS parts benefit from priming to create a uniform base. Then spray with a plastic compatible automotive paint matched to the bike code, and finish with a clear coat to protect the repair and restore sheen. The painting process should be done in light, even coats; avoid heavy layers that invite runs. A practice run on a scrap piece can help dial in the spray pattern and flow before touching the actual repaired area.
Finally, reassemble with care. Align the fairing panels as they should sit on the bike, ensuring the repaired area does not bind against other parts. Check for rub and ensure that the repair will not fail under vibration. If there is any doubt about the long term durability, especially on critical panels near the wheel or exhaust, consider replacement rather than a risky repair. Some aftermarket fairings can provide a cost effective alternative that keeps the look but reduces the risk of a weak joint.
Within the repair logic, the material identification guides all subsequent choices. The decision to weld, glue, or reinforce, to prime or not, and to select finishing steps all hinge on whether the plastic is ABS or PP. The more you know about the resin, the more predictable your results will be, and the less time you waste chasing a bond that never quite holds. For model specific parts, you can explore options under the Honda fairings category to find compatible bodywork features and panels that suit a repair plan or even offer a replacement if necessary.
To deepen understanding, consult a professional guide that demonstrates the repair path with close up visuals. A detailed step by step resource from a reputable training source outlines material identification, safety precautions, tool selection, and painting tips. This external guide complements the practical advice here and can help you verify your method before you apply heat or adhesives.
External resource: https://www.motorcyclemechanicsinstitute.com/blog/how-to-repair-plastic-motorcycle-fairings
Solid Groundwork: Preparation Steps that Set Up a Durable Plastic Motorcycle Fairing Repair
Preparation is the quiet, unglamorous work that makes every repair last. It is the stage where you decide the path forward, anticipate how the material will behave under heat and adhesive, and create the conditions in which a repair can actually endure vibration, sun, rain, and even a gravelly road. When you approach a plastic motorcycle fairing with patience and a clear plan, you reduce the chance of rework and you protect the aesthetic of the bike you value. The steps that follow are not simply chores to check off; they are the core discipline that separates a temporary fix from a repair that holds up over time. Start by identifying the material, then move through damage assessment, tool gathering, and a clean, protected workspace. Each choice you make at the outset will influence adhesion, strength, and finish, and the goal is a repair that integrates with the original contours and behaves like a single, continuous panel once again.
First comes material identification, because ABS and PP/EP behave very differently when heat is applied, when you bond them, and when you fill or weld them. ABS tends to respond well to heat welding and a broad class of plastic-compatible adhesives, while PP-based blends resist bonding and require surface preparation that is more exacting and a primer that augments surface energy. If the manual is available, consult it; many OEM parts, especially on higher-spec bikes, use ABS. If there is any doubt, the manual or a dealer can confirm. The decision you make here will determine whether you choose adhesive bonding, a traditional weld, or a reinforcement strategy from inside the panel. This moment of material clarity also helps you decide how aggressively you can work the damaged area without creating new stress risers.
Next, assess the damage with an eye for how deeply the flaw penetrates the structure. Surface scratches can sometimes be polished away, but only if they do not expose raw material or create a new plane where strength is compromised. If the scratch is deep enough to touch the base color or the resin itself, a mere polish will not fix it and could leave the surface more susceptible to cracking under stress. In contrast, small cracks or hairline fractures can often be stabilized with a properly chosen adhesive, provided you have thoroughly cleaned and roughened the area to improve bond strength. Remember, the goal is not just to fill a line but to restore the load path across the joint so the fairing can bear normal vibrations without reopening the fault. Your judgment here should weigh both cosmetic goals and structural integrity, because a repair that looks right but fails under use defeats the purpose of the work.
With a clear sense of material and damage, gather the tools and materials that will define your approach. For surface-level scratches, a polishing compound and a quality buffer are essential to gradually remove micro-scratches and restore gloss. For deeper damage or cracks, you will need a plastic welding kit with compatible welding rods, a heat source such as a heat gun or dedicated plastic welder, and an assortment of abrasives to prepare and finish the repair. In more severe cases, a composite repair that uses a reinforcing mesh may be warranted to restore strength where the crack has propagated through a large area. Do not overlook the basics: you will need a clean workspace, masking tape to protect adjacent surfaces, and a reliable method to control heat and cure times. If the damage involves a loose part or a flange that has separated, have the appropriate fasteners ready—screws, rivets, or clips—as well as the tools to reseat them without creating new distortion in the panel. Keep a simple set of gloves, eye protection, and a respirator handy, since fumes from solvents or primers can be unpleasant or harmful in enclosed spaces.
Prepare the work area with the same care you would give to a precision paint job. Remove the fairing from the bike so you can work on a flat, distraction-free surface. Clean the panel with mild detergent and water to strip away grease, wax, and road grime that would interfere with adhesion. Rinse and dry completely before any chemical treatment. Use masking tape to protect edges that should remain pristine, and if you are going to apply any etching solution or primer, ensure the surrounding area is shielded from overspray. This stage may seem tedious, but it is the single most important step in ensuring that the subsequent bonding or welding adheres uniformly and does not lift or peel prematurely under heat or stress.
For cosmetic work on surface blemishes, the path is straightforward: remove as much of the shallow damage as possible with careful polishing. A dual-action polisher, run at low speeds, helps deliver an even finish without introducing new waves into the surface. When you approach deeper scratches, resist the temptation to overpolish—such actions can blur the edge definitions and reduce the crisp lines that the fairing design demands. If you decide to pursue polishing, select a polishing compound that matches the plastic type and work in stages, progressing from coarser to finer abrasives until the surface has regained its uniform texture. If you are dealing with PP/EP, take extra care to avoid heat buildup, and be prepared to apply a specialized primer or etching solution to ensure the surface will hold adhesive bonds later on. The right primer is not optional for polypropylene blends; it is the critical bridge between the bare polymer and the adhesives that will hold the repair together.
When deeper damage or cracks are present, the repair logic becomes more precise. For minor cracks that do not compromise structural integrity, a two-part epoxy designed for plastics can seal and stabilize the damaged region. Thoroughly mix the resin and hardener in the recommended ratio, then apply generously into the crack so the resin can penetrate the voids. Allow ample cure time—often overnight—to reach full strength before any light sanding. The goal is deep, complete penetration that forms a continuous bond between the cracked faces. It is crucial to avoid generic adhesives not labeled for plastic bonding, as many common glues fail on ABS or PP over time, especially under heat cycles and vibration. In many cases, you will notice that the repaired area takes on the same color and finish as the surrounding plastic once cured, provided you have sealed and sanded properly.
For larger breaks or where sections have separated, plastic welding stands out as the most durable restoration method, especially for ABS. A welding kit paired with rods of matching material allows you to fuse the torn surfaces along the joint, reconstituting the structural path of the panel. Heat the rod until it becomes molten, feed it into the joint while pressing the pieces together, and smooth the seam with a spatula or a small heat shield as it cools. The cooling process must be controlled to avoid warping, so work slowly and evenly. While welding can yield an impressive repair, it is not a DIY miracle for every scenario; it works best with ABS and with careful preheating and consistent technique. If you attempt this on PP without the right rods and preheating protocol, you risk creating new fractures or a brittle bond that will fail under stress.
In cases of severe damage where strength is critical, reinforcing the interior with a mesh can offer a pragmatic safeguard. A piece of lightweight metal or fiberglass mesh, cut to cover the crack with extra margin, can be pressed over the interior surface and sealed with epoxy or a plastic-weld compound. The mesh acts as a net to resist force transfer across the crack, distributing loads and helping to prevent a return of the split under road vibrations. This approach requires careful placement so the reinforcement does not intrude into the panel’s outer contour, and you should blend the repair with a filler to fill any gaps at the edges before final sanding. The objective is a bond that behaves like a single, continuous panel, not a stitched-together patchwork.
Surface finishing and painting bring the repair to a close and determine whether the work satisfies both cosmetic expectations and real-world durability. After any adhesive or weld, apply body filler if there are gaps or unevenness that the flex of the panel would otherwise highlight. Sand progressively from coarse to fine grits, building a smooth surface that mirrors the surrounding fairing. A plastic primer is essential for PP/EP plastics, creating a key that standard automotive paints can grip. Use thin, even coats of paint in a controlled environment to minimize orange peel and ensure color uniformity. Weigh the color to the bike’s code or the existing shade as closely as possible, then finish with a clear coat to seal and protect. A final pass with a polishing compound can bring back and even out gloss, leaving the repaired area visually indistinguishable from the rest of the fairing.
As you reassemble the fairing, check the alignment and fit across all mounting points. The cure times for primers, fillers, and adhesives can vary, so be mindful of the manufacturer’s guidance and plan the reinstallation after the last coat has fully cured. A careful reassembly should not require excessive force to clip panels into place; if the fit is stubborn, recheck the part’s orientation and whether any excess filler or cured adhesive is slightly impeding the fit. These checks help prevent new cracks or stress at reassembly. If the damage was substantial and alignment is off, it may be prudent to revisit the repair strategy rather than forcing a poor fit.
Sometimes, despite the best preparation, the damage is simply beyond a reliable repair. If the fairing remains brittle after attempted bonding, or if the crack travels along an important structural line, or if vibration and weather expose the repair to unacceptable risks, replacement may be the wiser path. Aftermarket shells or replicas can provide a cost-conscious alternative, and it’s reasonable to weigh aesthetics, fit, and the long-term resilience of the chosen option. When replacement is considered, you can use the repair as a learning process for the next time, ensuring you select components that match your model and reflect the original design tone of the bike.
In the course of planning or executing repairs, you may choose to explore additional references for reference and reassurance. If replacement is on your mind, the Honda fairings category can be a practical starting point for evaluating available options and related mounting hardware. See the Honda fairings category for a sense of what parts exist and how they are shaped to fit your bike. Honda fairings
For readers seeking a comprehensive, instructor-led approach with visual demonstrations, an external resource provides step-by-step guidance on professional-grade tools and techniques. This external source offers a detailed walkthrough of material identification, safety precautions, tool selection, and painting tips that complement the process outlined here. The resource is accessible at https://www.motorcyclemechanicsinstitute.com/blog/how-to-repair-plastic-motorcycle-fairings and serves as a useful companion to the practical steps described in this chapter.
Taken together, the preparation steps outlined here create a solid platform for any plastic fairing repair. The disciplined sequence—identify material, assess damage, gather the right tools, prepare the workspace, and proceed with careful bonding or welding—ensures you do not hinge your success on luck. The repair that follows is less a gamble and more a controlled process, one that respects the realities of ABS and PP/EP plastics and honors the bike you ride. When done with care, the result can look like a factory finish and feel as solid as the original part, preserving the bike’s geometry, protection, and curb appeal for miles to come.
Restoring Form and Function: Strategic Repair Pathways for Plastic Motorcycle Fairings
A plastic motorcycle fairing can carry the bike’s character as much as its chassis carries momentum. When a panel isn’t pristine, the urge is to replace it, but strategic repair can restore both form and function without the cost and downtime of a new part. The key is material identification. ABS and PP/EP behave very differently under heat, adhesives, and finishing. ABS bonds well with heat-welding and many adhesives, while PP/EP is more challenging and often requires primers or etching to improve adhesion. Preparation is the workhorse of any repair: remove the fairing to work cleanly, wash away dirt and wax, and scuff the damaged area to give adhesives something to bite into. For PP/EP, use a dedicated plastic primer or etch before bonding.
Small cosmetic damage can often be fixed with careful refinishing: clean, lightly abrade only where needed, and use a polishing compound or a dual-action polisher to restore gloss. For cracks or clean breaks, a two-part epoxy formulated for plastics can create a strong bond, followed by careful sanding to blend with surrounding texture. For larger breaks, plastic welding with a compatible filler material provides the closest thing to original strength, with post-weld smoothing. In more severe cases, consider internal reinforcement using a mesh backing and epoxy or weld fill coats. The finishing phase should include progressive sanding, a plastic primer, and color-matched paint with a clear coat. The goal is a seamless finish that preserves the panel’s contour and color. Finally, reassess the repair after reinstallation: if the repair holds under heat and vibration and matches the bike’s appearance, it can be a practical alternative to replacement. External guides and manufacturer data can help you choose the right method for your model. https://www.revzilla.com/blog/motorcycle-fairing-repair-guide
null
null
Final thoughts
In the competitive motorcycle industry, mastering the repair of plastic fairings can significantly bolster your business’s reputation and service offerings. By understanding how to identify materials, follow meticulous preparation steps, and apply effective repair methods, you position your business for success. Furthermore, attention to detail in finishing and painting ensures that your repairs meet high aesthetic standards, fostering customer retention and satisfaction. Equip your team with these skills, and you’ll not only enhance their expertise but also reassure customers of the value you provide.