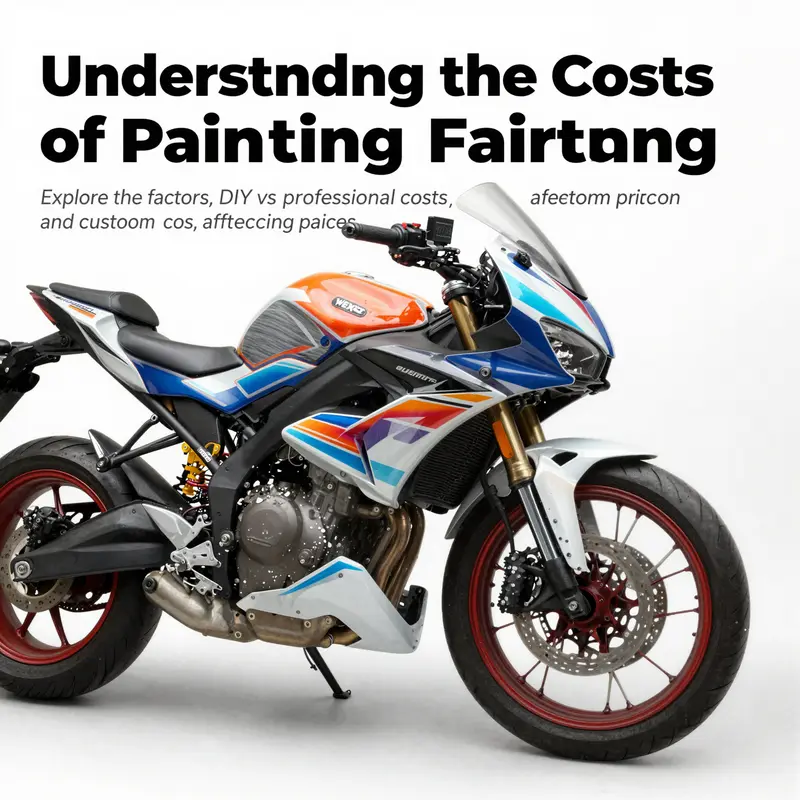
Painting motorcycle fairings is a significant aspect of motorcycle maintenance and aesthetics, directly impacting your brand’s image and customer satisfaction. Understanding the costs involved is crucial for motorcycle business owners and enthusiasts alike. This article examines the various factors that influence painting costs, compares DIY and professional services, delves into different paint types, and explores custom design implications. Each chapter provides essential insights to help you make informed decisions about fairing painting for your business.
What Drives the Price: The Real Factors Behind Painting Motorcycle Fairings
Painting a set of motorcycle fairings can feel like ordering a bespoke suit: the final cost depends on measurements, material choices, repairs, and the tailor’s skill. To understand the price tags you’ll see—whether a modest few hundred dollars or a custom job that climbs above a thousand—you need a clear view of the underlying drivers. These drivers are not isolated line items; they interact. A small crack that requires repair multiplies prep time. A multi-color, metallic finish increases material costs and spray passes. A respected shop in a high-cost city charges more for the same work a lesser-known shop might do for less. Appreciating how these elements combine helps you set realistic expectations, budget effectively, and choose the right path between do-it-yourself and professional work.
Surface preparation is the foundation of a quality paint job. Good paint on a poorly prepared surface will fail sooner and look inferior. Preparation covers several tasks: removing existing paint layers, sanding to create a keyed surface, filling gouges or cracks with suitable filler, straightening warped edges, and applying primer to ensure adhesion. Each of these steps takes time and skill. Labor for prep is typically billed hourly, and rates vary by region and shop reputation. Because preparation directly affects longevity and finish quality, shops often spend a disproportionate amount of time here; it isn’t rare for prepping to account for half the labor on a basic repaint. If fairings are brittle or have been previously repaired with low-quality materials, expect additional work to stabilize the substrate before any coating can be applied. That hidden prep can be the difference between a $200 job and a $500 one.
The complexity of the motorcycle model plays into cost in two main ways: the number of panels and the intricacy of their shapes. Sport-style fairings usually present many interlocking pieces, vents, sharp angles, and recessed areas that require careful masking and multiple spray orientations. Each panel must be painted with consistent coverage and then aligned perfectly during reassembly to preserve decals and trim lines. Simpler commuter or standard-style bikes have fewer panels and less complex contours, which reduces both prep and painting time. Beyond shape, the presence of attached hardware, integrated lights, or vents that cannot be removed adds masking and handling work, which increases labor. If your bike requires special alignment or modifying of mounting points to fit aftermarket pieces, that complexity pushes the price further. When comparing quotes, ask whether the shop prices per panel or offers a flat rate for the full kit—knowing this helps you understand how model complexity factors into the estimate.
Paint selection is another major cost determinant. Standard gloss paints are the least expensive option and deliver a durable, attractive finish suitable for most riders. Specialized finishes—matte, metallic, pearl, or color-shift paints—require different formulations and application methods. Metallic and pearl effects often need multiple base coats and a translucent topcoat to produce depth. Color-shift and chameleon paints are layered systems that react differently under various lights, demanding greater skill and more material. Matte finishes, while visually distinct, require careful handling because scratches and fingerprints can be more noticeable; they usually need a specific clear coat or surface treatment that preserves the matte appearance. Higher-grade paint lines and automotive-grade clear coats also add to cost, but they improve UV resistance, chemical durability, and long-term gloss retention. In some cases, specialized coatings that resist stone chips or provide extra UV protection may be recommended, especially for bikes exposed to sunny climates or frequent highway use.
Shop reputation and geographic location influence pricing as reliably as materials do. Shops in regions with higher living costs set higher labor rates. Similarly, a shop known for high-end custom work, airbrushing, or track prep will charge a premium because their overhead and expertise justify it. Conversely, a local body shop that focuses on volume repairs may offer lower prices but may also use different processes or materials. This is where visible portfolio work and customer reviews become invaluable. Look for examples of finished jobs on similar models and ask about warranty or touch-up policies; these indicate confidence in workmanship and can justify a higher up-front cost by reducing the risk of early rework.
The decision to repair or replace damaged fairings also affects cost. Minor cracks, scratches, or stress fractures are often repairable with proper gluing, filling, and reinforcement. Repairing preserves the original fit and contour but requires time-consuming work to ensure structural stability and a seamless surface for paint. In some instances, replacing certain panels with new aftermarket fairings is more economical and faster, especially when the damage is extensive or the original pieces are warped. Replacement fairings may vary in fit and texture, and they often require additional trimming or filler work to match the original shape precisely. When a shop quotes a price, clarify whether it assumes repairs or replacements; the difference can be several hundred dollars.
Labor vs. materials is a balance every rider must understand. Professional shops typically bundle labor and materials into a single estimate, but a transparent quote will show line items for sanding, filling, primer coats, base coats, clear coats, and polishing. Shops may also note optional upgrades—extra layers of clear coat for added chip resistance, ceramic-infused coatings for longer gloss life, or specialized primers for plastics that improve adhesion. Selecting premium materials adds to the cost but can extend the life of the finish and maintain appearance under harsher conditions. For a rider who plans to keep the bike for many years, higher material quality often pays off. For a short-term cosmetic refresh, a standard-grade paint job may suffice.
DIY painting remains an attractive option for those with the right tools and environment. A competent DIY job can reduce costs dramatically, but the savings depend on what you already own and your skill level. Essential materials include primer, base color, clear coat, sanding supplies, masks, and respiratory protection. Better results require a spray gun and a proper spray booth or well-ventilated, dust-free space; improvised settings increase the risk of contamination, orange peel, or runs. Even when purchasing mid-range materials, a DIY project typically runs between one and three hundred dollars, excluding tools. However, time is a significant hidden cost: thorough preparation and multiple coat applications take hours or days, and inexperienced painters may need practice panels to dial in technique. Ultimately, DIY is cost-effective only if you accept a finish that approaches—but may not match—the level of a reputable professional.
Complex graphics, airbrushing, and custom decals escalate costs markedly. Each custom element requires additional masking, stenciling, and sometimes hand-painting. Hand-applied graphics demand time and an artist’s touch, and they are priced accordingly. Layered graphics may need additional clear coats to protect the finish and maintain depth. If you want a precise reproduction of complex graphics—racing stripes, logos, or gradient fades—expect specialized labor to be quoted separately from a standard paint job. Shops that offer custom airbrush work will typically show a portfolio; review it closely to ensure their style matches your vision because custom work is often non-refundable and irreversible.
Finishing processes matter as much as initial application. After paint and clear coat, the final steps include wet sanding, buffing, and polishing to remove imperfections and achieve the desired sheen. High-gloss finishes benefit from multiple polishing steps using progressively finer abrasives, while matte finishes require a non-polished approach to preserve the flat appearance. The time spent on these finishing stages influences both the look and longevity of the paint. Many shops include a post-cure inspection to address any minor touch-ups before reassembly; this quality control is worth the price because it prevents early failures.
Finally, consider long-term factors that affect value. UV-resistant clear coats, rust-inhibiting undercoats for exposed hardware, and chip-resistant top layers can add to upfront cost but significantly reduce maintenance and preserve resale value. If you plan to sell the bike or keep it for many years, investing in higher-grade materials and meticulous prep work often yields a better return than cutting corners.
Choosing between quotes requires more than comparing numbers. Ask prospective shops about their prep steps, paint brands they use, how many coats of base and clear they apply, and whether they include polishing and reassembly. Request pictures of similar jobs, inquire about warranties, and confirm whether quoted prices cover all panels or are per-piece. If you prefer a ready-made alternative, consider whether replacement fairings—available in many configurations—fit your goals; these can sometimes be purchased and painted as a package. For an example of fairings available for popular sport models, see fairings for YZF. When a shop provides a clear breakdown and demonstrates experience with similar builds, the higher price often reflects true value rather than markup.
Every painting project blends objective costs—materials and labor—with subjective choices—finish type and shop reputation. Understanding each cost driver helps you make informed decisions and match your budget to the level of finish you want. Whether you choose a straightforward gloss repaint at the lower end of the range or a high-end custom job with specialized coatings, the best results come from balancing realistic expectations with transparent communication about scope and quality.
External resource: For further in-depth pricing breakdowns and practical guidance on whether to paint or replace fairings, see How Much to Paint or Replace Motorcycle Fairings? Guide (https://www.motorcycle.com/how-much-to-paint-or-replace-motorcycle-fairings-guide/).
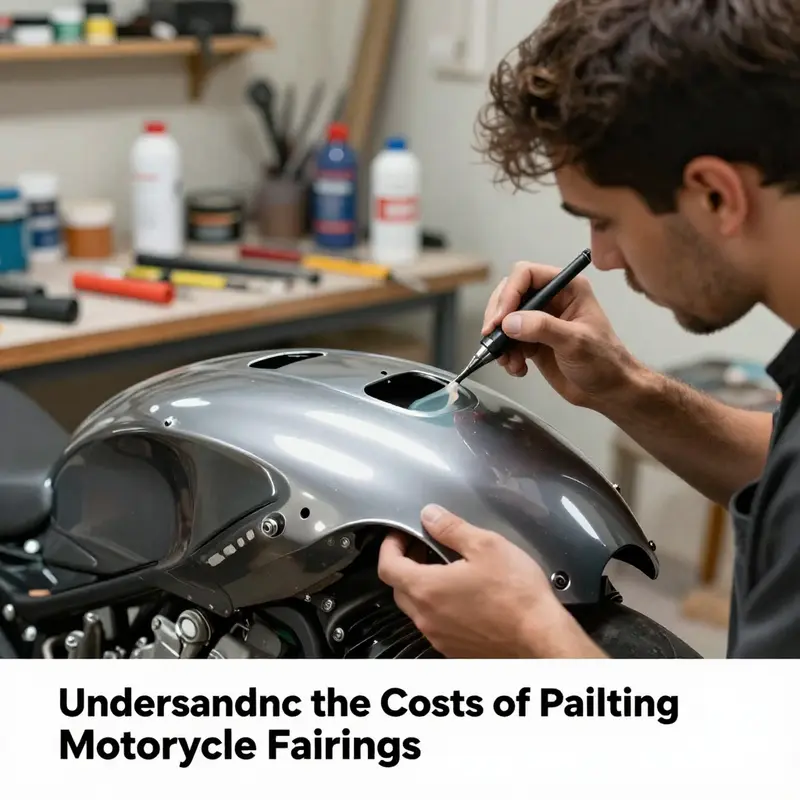
From DIY to Pro: Unpacking the True Cost of Painting Motorcycle Fairings
Deciding to repaint motorcycle fairings is rarely just about a splash of color. It’s a balance between appearance, protection, and the value of time. The cost conversation begins with a simple premise: you can tackle polishing and painting with DIY equipment, or you can lean on a professional shop that handles surface preparation, color matching, and the finished gloss with a guarantee of uniformity. The difference in the final result is often less about the color you choose and more about the level of preparation, the type of paint, and the environmental constraints under which the work is performed. Paint, after all, is not just pigment suspended in a liquid; it is a protective shield that fights UV degradation, moisture intrusion, and micro-abrasion at speed. The long-term value of either path hinges on how well the process controls those variables, not merely on the initial sticker price.
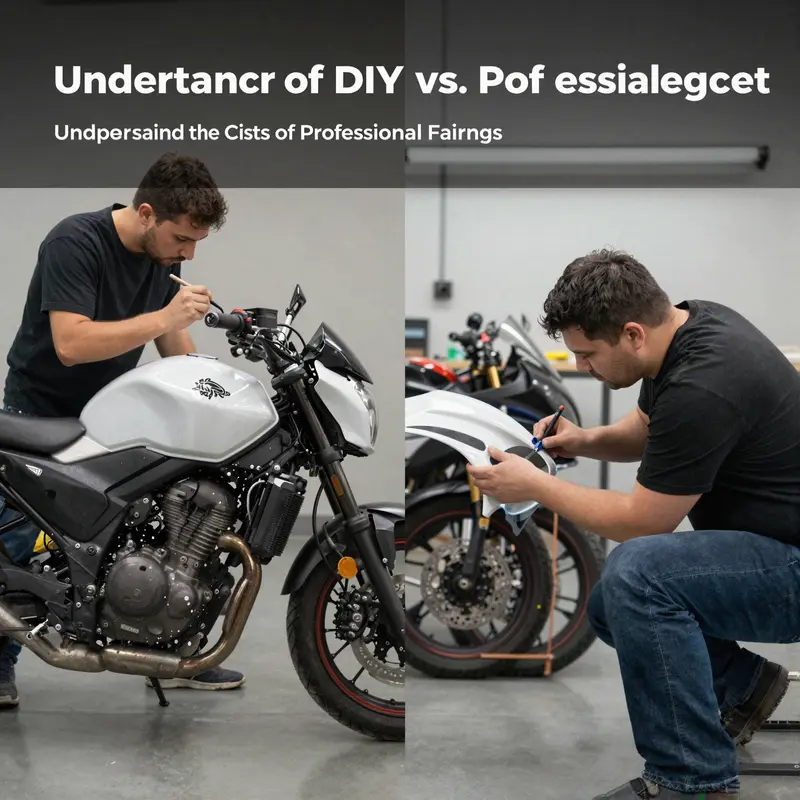
When people first survey the cost landscape, the numbers that stand out are the typical ranges. A professional shop commonly charges from around two hundred to six hundred dollars for the complete job on fairings. That broad range reflects factors you can feel in the texture of the finish long after the ride is back on the road. The middle of the range usually accounts for surface preparation, masking, base coat, clear coat, and polishing. If the design calls for customization—think intricate graphics, airbrushing, or stunning multi-color schemes—the bill climbs quickly, and it isn’t unusual for high-end finishes to push past a thousand dollars. The upshot is straightforward: professional painting carries a premium, but it trades on consistency, durability, and a factory-like finish that stands up to weather and ride-day debris.
Alternatively, the DIY route promises a smaller upfront investment, but the cost accounting requires careful scrutiny. Materials alone can run a few hundred dollars if you’re after a durable, automotive-grade result. A typical DIY kit—high-quality paint, primer, clear coat, and the basic spray hardware—lands in the neighborhood of one hundred to three hundred dollars, depending on brands and the extent of work you plan to tackle. The real math, however, lies in the setup and the ongoing learning curve. Achieving a true professional look at home isn’t a matter of purchasing a few cans. It requires a proper spray gun, a capable air compressor, and, ideally, a controlled environment—a paint booth or a well-ventilated, dust-free space. Without those, you’ll fight texture irregularities, color mismatches, and the risk of solvent bubbles that sap the gloss. Even modest projects can feel expensive when you weigh the cost of doing it again if the finish doesn’t meet expectations.
To understand why the DIY approach often lands on the economics of “less is more” only in the short term, imagine a scenario where you’re repairing a small chip or scratch on a single panel. A handful of spray cans in a compact kit may push material costs to around sixteen to twenty dollars for three cans, with a few dollars more for masking tape and a basic primer. That sounds economical, but the outcome tends to show its flaws. Hand-applied spray cans are susceptible to uneven coverage, visible brush strokes, and color variation—especially if you’re trying to match a factory finish across multiple panels. The real test of a fairing repaint is not just color match but endurance under sunlight and heat cycling. Over time, the DIY path can demand frequent touch-ups or complete re-dos on larger sections, which compounds both cost and downtime.
If you want a more durable, consistent result without the trial-and-error of home spraying, the DIY route often money-shadows into the need for serious gear. A dedicated spray gun, good air compressor, and, ideally, a paint booth or equivalent environment can push the setup cost well beyond that initial thirty-five or forty-dollar kit. A reasonable threshold for a home setup that approaches a professional feel typically exceeds three hundred dollars once you account for dependable equipment, proper safety gear, and a controlled workspace. For many riders, that investment in tools is a sunk cost that only makes sense if you plan subsequent projects or own a workshop where frequent painting is part of the hobby or business. For a one-time, high-quality finish on a single bike, the math often tips toward professional service when you factor in the value of time, risk, and the likelihood of encountering color and texture mismatches.
Beyond the arithmetic of upfront costs, there’s a more nuanced set of considerations that shape the overall value proposition. Professional shops aren’t just applying paint; they manage a sequence of steps designed to optimize the bond between the fairing substrate and the topcoat, while also mitigating common failure modes like peeling, hazing, or micro-cracking. Surface preparation forms the backbone of any quality finish. Sanding smooths the raw plastic or fiberglass, filling cracks or dents and priming the surface so the base coat adheres uniformly. Accurate masking controls overspray and ensures hard lines for multiple colors or graphics. The base coat supplies the chosen color, while the clear coat adds depth and protection against environmental exposure. Finally, polishing reveals the gloss and removes minor imperfections that could otherwise telegraph through the finish. In the hands of professionals, this sequence yields a resilient, even, and aesthetically pleasing surface that can stand up to a few seasons of wind, rain, and road grit.
Color matching is another cornerstone of professional work. Modern shops use electronic color-matching systems to reproduce factory colors with astonishing accuracy. The service can add a meaningful chunk to the price—typically a hundred to two hundred dollars—but it’s there to guarantee that the new finish aligns with the bike’s existing palette if you’re blending new panels with old or restoring a vintage livery. For riders chasing a pristine factory-replica look or precise branding, that cost is often not negotiable. The choice to pursue exact color matching may also influence the type of finish you select. Matte, gloss, and metallic effects each have their own demands and costs. Matte finishes, prized for their sleek, non-reflective look, require specialized powders and application techniques to prevent surface texture from showing through the flat tone. Gloss finishes emphasize depth and clarity but demand highly uniform spray and a flawless clear coat. Metallics introduce even more variables, as the metallic particles must be evenly dispersed and oriented to achieve the desired sparkle across panels and lighting. All of these subtleties translate into a higher price tag, especially when the shop’s reputation hinges on delivering an unmistakable, showroom-ready shell.
The geographic location of the shop also leaves its footprint on pricing. Metropolitan areas with higher labor costs and overheads typically see higher quotes than rural or smaller-town shops. The same job can therefore swing by a couple of hundred dollars depending on where your bike lives for the duration of the painting process. And the scope of work matters deeply: a simple touch-up on a single panel is a far cry from complete fairing removal, refinish, and reinstallation. When the entire fairing set is disassembled, prepped, painted, reassembled, and aligned, the labor time escalates and the costs accumulate accordingly. The end result, however, is usually a more cohesive, integrated look where gaps and misalignments are minimized, along with a rebuild that preserves the structural integrity of the fairings.
Styling choices also play into the cost calculus. If you’re pursuing high-end finishes such as airbrushed graphics, custom lacework, or unique textures, you’re entering a realm where artistry meets engineering. Custom work often means not only more labor hours but also more specialized materials—thicker clear coats to protect elaborate artwork, stencils, or an unusual sequence of color layers. Each additional element—whether a gradient, a sharp stripe, or a multi-color motif—adds a layer of decision-making, curing time, and potential for error. The more complex the design, the more time the shop needs to dedicate to color management, masking accuracy, and post-application inspection. While the final appearance can be stunning, the price tag reflects the precision, patience, and risk management embedded in the process.
Beside the creative considerations, there is a practical, almost invisible, factor that often dominates the value equation: the condition of the underlying fairings. If a panel needs substantial repair before painting, the shop’s estimate rises quickly. Cracks, dents, or delamination from old paint can require a more extensive treatment—filler work, additional sanding passes, and sometimes panel replacement. The better the starting condition, the more predictable the outcome and the less the shop has to compensate for hidden defects. In contrast, a DIY project that skips or skims these repair steps may end up with a cost iceberg: additional sanding, more primer coats, or a thinner topcoat to avoid running paint. In the worst-case scenario, the original layup or resin composition could react to modern paints, requiring a heavier-duty repair or even a substitution of materials, which can push costs beyond typical expectations.
So where does all this leave the rider weighing options? For most riders seeking durability, color fidelity, and a professional finish that survives the rigors of daily riding, professional painting offers a compelling value proposition. It provides a predictable result with a warranty, a stronger resistance to environmental stressors, and, crucially, a look that aligns with the rider’s aspirations—whether that’s a factory-original mirror of a favorite model or a bold, custom statement. DIY can be appropriate for small touch-ups, experimental color schemes, or the thrill of building a personal workspace where learning the craft is part of the journey. It can be financially attractive in the short term but requires the acceptance of potential rework, imperfect color matching, and the possibility of a finish that won’t endure the test of time as thoroughly as a professionally applied layer.
In the broader market, the procurement of fairings and the feasibility of color choices also shape the decision. For riders who want more than cosmetic changes—like switching to a different model’s panels or swapping to aftermarket parts—the journey often begins with cataloging options and aligning them with a painting plan. A practical point to consider is how the fairing material interacts with paint. Some plastics and composites are more receptive to paint than others, and surface preparation may differ accordingly. This is another dimension where professional services can add value: the shop’s experience with multiple substrates and their knowledge of compatible coatings reduces the risk of a costly misstep. When in doubt, consulting with a shop about the pallet of materials they trust can save both money and time.
For readers contemplating a future project, the decision often comes down to trade-offs between control, cost, and confidence. If the rider’s time is abundant, and the goal is to learn, a careful DIY approach can yield meaningful savings and a sense of accomplishment. If the priority is a flawless, durable finish with warranty protection and a look that commands attention from the moment you pull into the lot, investing in a professional service is usually the smarter bet. Either path can deliver a great result if approached with a clear plan and the right expectations. In the end, the cost is not simply the price of paint or the bill from a shop; it is the anticipated lifecycle of the finish, the rider’s satisfaction with the visual impact, and the confidence that the bike will be protected from the elements for miles to come. For those who want a practical reference point as they plan, the Honda fairings category can offer a sense of the scope of options available in the market as a starting place for sizing up what needs to be painted or replaced. Honda fairings can serve as a useful gateway to understanding how different panels integrate with paint considerations and how color choices might align with the overall aesthetic and performance goals.
In any case, a balanced approach often proves most effective: establish a realistic budget that includes both the base cost of the work and a reserve for contingencies, assess the condition of the fairings, and weigh the value of time against the assurance of a professional finish. The decision is rarely one-size-fits-all. It hinges on how you view the bike—as a canvas for personal expression, as a daily transportation tool, or as a collector’s item with potential future value. The best outcomes emerge when the plan aligns with the rider’s priorities and the project’s constraints. Should you seek a definitive benchmark for expectations, a broad survey of industry takes from reliable sources confirms the central theme: professional painting delivers a durable, uniform, and high-gloss finish that most riders find worth the investment, while DIY remains a viable option for skilled enthusiasts who can tolerate variation in texture and color. For a broader context on costs and approaches from experienced voices in the field, see the widely cited guide on motorcycle paint job costs. It provides a grounded perspective on typical price ranges and the trade-offs between DIY and professional services, highlighting the realities behind the numbers and the long-term value of a well-executed finish.
External resource for further reading: https://www.bikeexif.com/articles/motorcycle-paint-job-costs
Beyond the Shine: How Paint Type and Quality Drive the Cost of Motorcycle Fairings
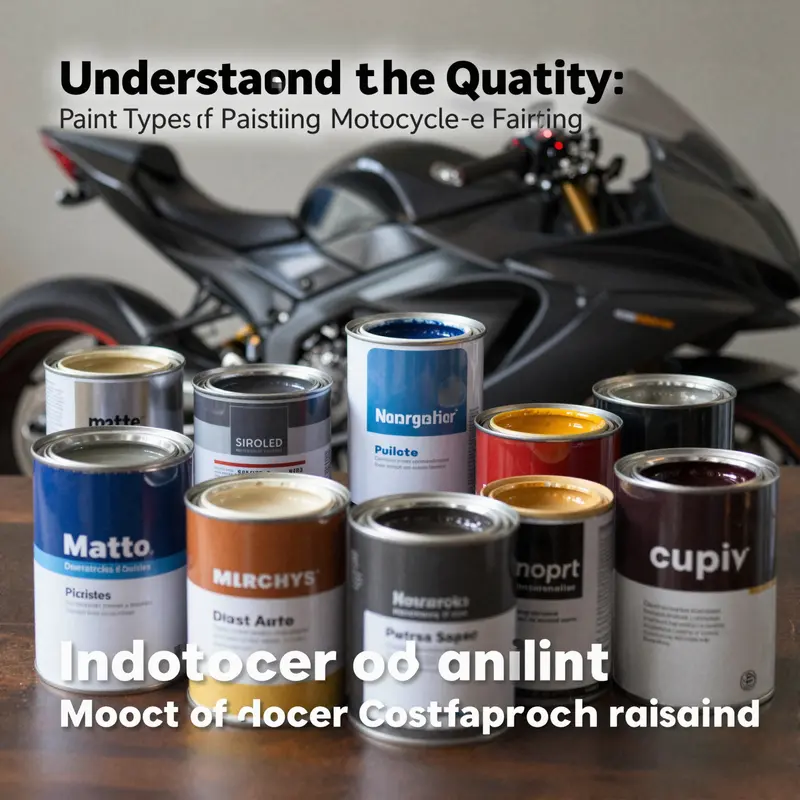
When a rider asks about painting motorcycle fairings, the conversation often centers on color and gloss. Yet the decision about what to put on those panels is fundamentally a choice about biology and chemistry, not just aesthetics. Paint is a layered system that begins with the surface and ends with a protective shield against UV rays, weather, and the inevitable chips from road debris. The type of paint selected—acrylic enamel, urethane, or a high-end custom finish—does more than dictate the look. It sets the bar for durability, the depth of color, the ease or difficulty of application, and the overall price tag. Understanding these differences helps riders evaluate value in a way that aligns with how they use their bike, how long they intend to keep it, and how they want it to perform in challenging conditions. The cost isn’t a single line item; it’s a constellation of decisions about materials, labor, and the level of finish that will be required to meet both the rider’s expectations and the machine’s needs over time. In a market where surface finish can define resale value as much as engine performance, the paint choice becomes a long-term investment, not merely a cosmetic upgrade.
A practical way to frame the discussion is to picture the painting process as a sequence of steps that all paint systems share, though the specifics vary with the chosen material. Surface preparation remains foundational, regardless of the paint type. Sanding to smooth the panels, filling any cracks or dents, and applying a primer are not optional. They establish the key that will unlock a smooth finish and a durable base. Skipping or skimping on these steps often manifests later as micro-cracks, peel, or color-matching problems that undermine the overall effect. A pro shop will typically bundle surface prep with masking, coat application, and final polishing, delivering a coherent result that looks uniform across every curve and contour. For riders considering a DIY approach, this is the moment where skill, ventilation, and time begin to set the limit. Inexpensive materials can save money upfront, but a lack of proper technique can erode the very advantages those materials promise. The do-it-yourself route can still be viable for experienced hobbyists who understand the intricacies of spray technique, temperature control, and curing conditions.
To that end, the most common paint families fall into three broad camps, each offering distinct advantages and trade-offs. Acrylic enamel is often the gateway option in the spectrum of fairing finishes. It delivers a solid, dependable color and a reasonable surface hardness for everyday riding. The typical cost for a basic, single-color acrylic enamel job on fairings runs roughly around $500 to $800 when performed by a professional shop. That range covers the essential steps: surface preparation, masking of areas not to be painted, application of the base color, and a clear protective layer, followed by a final polish. The durability of acrylic enamel is adequate for many riders, but it is not as robust against UV fading and minor abrasions as more advanced systems. The finish can still offer a pleasing depth, and for riders who want a clean, classic look with a moderate budget, acrylic enamel remains a sensible path. The trade-off, of course, is longevity and resistance to the elements, especially in climates with strong sun or frequent exposure to road grit.
Urethane paints mark a notable upgrade in both performance and visual impact. For a fairing job, urethane typically commands a price range of about $1,200 to $2,500, depending on the complexity of the color, the need for precise color matching, and whether additional effects are requested. The appeal of urethane lies in its durability on the road and its ability to hold color over time. It resists fading, chipping, and chemical attack more effectively than acrylic enamel, making it a preferred choice for riders who keep their machine for longer periods or push their bikes into demanding conditions. The finish produced by urethane is often described as deeper and glossier, with a sense of depth that enhances both metallic and pearlescent particles in the paint. For riders seeking long-term protection and a premium look, the higher upfront cost of urethane typically translates into greater resilience and lower maintenance costs over the life of the bike.
Beyond these standard finishes lies the realm of custom finishes, where the price can climb well beyond $3,000 for high-end work. This category includes metallic flake, chrome-like effects, and intricate airbrush designs that require multiple layers, exact color matching, and meticulous craftsmanship. Custom finishes are not just about color; they are about texture and light interaction. The metallics and pearlescents can shift in hue with the angle of light, creating a dynamic visual experience that a flat single-color job simply cannot replicate. Achieving these effects demands precision at every stage—from the formulation of the base color to the final clear coat, and even the sanding between coats to maintain an impeccably smooth surface. The investment in a custom finish is driven by both the artistry involved and the technical demands of achieving a flawless, durable result on parts that endure constant stress and exposure. It is not merely a cost piggyback; it is a commitment to an outcome that may define the bike’s identity for years to come.
The numbers above illuminate a core truth: as you move up the ladder of paint quality, you gain durability, color richness, and a sense of permanence, but you also pay for those advantages. The choice is rarely purely cosmetic. A urethane system offers a robust, long-lasting shield that reduces maintenance and preserves color integrity under sun, rain, and wind. A custom finish, while aesthetically stunning, demands substantial time, labor, and specialized materials, and it raises the financial threshold to a level that often aligns with a rider’s broader goals for the motorcycle’s persona and market value. Where you position yourself on that spectrum depends on how you ride, where you ride, and what you expect from the finished surface years down the road. For riders who want a balance of aesthetics and practicality, urethane provides a compelling combination of depth and resilience, with the added benefit of easier future repairs and color matching should the bike need touch-ups.
Another layer in the cost calculation is the choice of color depth and effect. Plain, single-color urethane or acrylic enamel remains more economical than multi-color schemes requiring precise masking and alignment across multiple panels. When a design calls for multi-tone work, or when the base color needs to be matched to a preexisting scheme or aftermarket parts, expect the labor cost to rise accordingly. A complex design typically involves additional steps: more masking time, more color passes, and more risk of rework if color matching is not perfect the first time. Each extra color and effect adds to the number of layers and the curing window between coats, which, in turn, pushes the final bill higher. In practice, a single-color job may stay within a comfortable price band, while a two-tone or tri-tone scheme, particularly if it uses metallics or pearlescents, can push the total well into the higher end of the urethane range or beyond for custom finishes.
The discussion about paint type also intersects with practical considerations about use and ownership. A rider who uses the bike as a daily commuter or as a weekend toy in a sunny climate might prioritize UV resistance and color longevity, leaning toward urethane or even a tailored custom finish that includes a protective UV layer. A rider who views the bike as a collectible or a show bike might lean into the artistry of a high-end finish, accepting the premium to achieve a striking, unique look. Yet even the most luxurious finish benefits from proactive maintenance. Regular washing with mild detergents, careful drying, and prompt touch-ups of any micro-scratches help preserve the depth and gloss of the finish. The clear coat, regardless of the base paint, is the last guardianship against environmental wear, and choosing a high-quality clear coat—whether standard or UV-resistant—adds to both the cost and the longevity of the paint job. The interplay between base color, metallic content, and clear coat is subtle but significant; it can affect the perceived richness of the color, the evenness of reflection, and the tactile smoothness that signals a well-executed finish.
A final dimension worth acknowledging is the total project cost in relation to the fairings themselves. The base price of the paint job is only one part of the equation. If the fairings require repairs before painting—crack filling, dent shaping, or panel alignment—the shop will incorporate additional charges that reflect the extra labor and materials. In some cases, the cost of a professional paint job includes those preparation steps, while in others, those services are billed separately. The condition of the surface can dramatically influence the ultimate outcome. A smooth, well-prepared surface yields fewer layers, less sanding between coats, and a more predictable color result. Conversely, a rough surface with visible imperfections will necessitate more filler, more primer, and additional sanding, all of which contribute to higher costs and longer turnaround.
The decision to pursue a DIY route versus a professional service changes the cost calculus dramatically as well. Do-it-yourself painting can bring the material costs down to a range of roughly $100 to $300 for a typical fairing job, depending on the quality of automotive paints, primers, clear coats, spray equipment, and protective gear. However, the price in labor and the value of a professional finish are often underappreciated by first-time hobbyists. The expertise of a trained technician includes proper ventilation, paint mixing accuracy, environmental controls, and the patience to cure each layer to its optimal hardness and adhesion. A DIY job, while financially attractive to some, carries the risk of a finish that lacks the depth and uniformity a professional can deliver. It may also require more frequent maintenance or touch-ups, especially if the rider uses the bike in varied weather conditions or stores it in environments where temperature and humidity fluctuate. In scenarios where the rider wants the absolute best possible surface, with reliability and a showroom-like finish, professional application remains the safer bet, particularly for high-end urethane or custom finishes.
The broader context for these choices helps explain why the numbers matter so much. The value proposition of urethane over acrylic enamel is not purely about the look; it is about long-term performance, resistance to color shift, and the ability to maintain a striking appearance with less ongoing maintenance. When a rider weighs a $1,200 to $2,500 urethane job against a $500 to $800 acrylic enamel paint, the calculus expands beyond the initial price. If the bike remains in service for several years, the lower maintenance costs and reduced risk of refurbishment associated with urethane can outweigh the upfront difference. For a rider who expects to personalize the look with intricate graphics, or who wants a finish that stands out in a showroom setting, the premium for a custom finish may be justified by the impact on perceived value and personal satisfaction. The final decision blends cost with the rider’s ambitions for aesthetics, durability, and how the bike will be used.
As a practical framework, consider the following approach when budgeting for a fairing paint job. Start by defining the intended use and the expected lifespan of the finish. If you anticipate frequent exposure to sunlight or harsh weather, lean toward a more durable system with a high-performance clear coat. If the bike is primarily a weekend rider or a display piece, a high-quality custom finish can be a rewarding choice that elevates the bike’s character. Then assess color complexity and the necessity for color matching across panels or with aftermarket components. Remember that more complex designs and multi-layer finishes will raise labor costs due to masking precision, color passes, and curing schedules. Finally, account for any repairs to the fairings prior to painting, as those steps can be the difference between a smooth, even finish and a compromised surface. The end result should be a seamless integration of color, texture, and surface strength that matches the rider’s expectations and the bike’s practical needs.
For riders curious about practical options that align with a specific model or brand aesthetic, exploring our catalog can help with decision-making. For instance, if you are considering components and color harmonization for a Honda CBR-based setup, you can browse compatible fairings in our catalog to gauge how color, texture, and panel geometry influence both the look and the feasibility of a given finish. This approach helps ensure the chosen finish complements the bike’s lines and contributes to a cohesive appearance across all exposed surfaces. This alignment between parts and paint plan often reduces the risk of mismatches and supports a more predictable result when the project finally reaches the booth.
In summary, the choice of paint type for motorcycle fairings is far more than a color selection. It is a comprehensive decision about durability, appearance, and how much you are willing to invest upfront to achieve a lasting, striking finish. Acrylic enamel offers a solid, affordable baseline and a straightforward path to color, while urethane raises the bar for longevity and gloss with a noticeable uptick in cost. Custom finishes push artistry to the forefront, delivering unique textures and dramatic depth at a premium. The best approach is to balance expectations with budget, considering not only the immediate price but the long-term value of a finish that resists fading, cracking, and routine wear. And as you plan, remember that the surface you start with—how clean, smooth, and well-prepared it is—will largely determine whether the final effect meets the vision you have for your bike. For readers seeking additional context on typical paint job costs, a broader reference point can be found in established industry coverage that lays out the spectrum of price and service levels across common finish types.
External reference: https://www.motorcycle.com/motorcycle-paint-job-cost/
Artful Precision: The True Cost of Custom Motorcycle Fairings
Custom painting for motorcycle fairings sits at the intersection of artistry and engineering. It is where a rider’s desire for personal expression meets the harsh economics of materials, labor, and the meticulous craft required to deliver a finish that lasts under sun, road debris, and the vibrations of high-speed operation. The chapter breaks down how design complexity translates into cost, emphasizing that price is not simply a color swatch but a combination of prep, layers, and protection.
Preparation creates a uniform canvas and durable adhesion; sanding, filling, and priming are essential, as any flaw can telegraph through the final finish. The designer’s choice—number of colors, gradients, metallics, or pearl effects—drives labor hours and material use because each additional layer requires curing time and precision color matching. High-end finishes with UV-resistant clear coats, or matte and satin textures, add another layer of cost due to specialized materials and tooling.
A fully bespoke scheme might push costs into several thousand dollars, while a simpler refresh with standard colors remains more modest. DIY painting can save on direct materials but adds time, risk, and potential quality issues; most riders seeking showroom-level durability opt for professional shops that provide the process discipline and quality checks necessary for long-term resilience. The final price reflects not only appearance but longevity: a well-executed finish resists chipping, fading, and micro-scratches under riding conditions.
When budgeting, consider the entire lifecycle of the finish—from prep to cure to maintenance—and align expectations with the bike’s panels, geometry, and the intended level of visual cohesion across fairings, fenders, and accessories. External resources on fairing categories and coating technologies can help frame expectations for fit, finish, and price.
Final thoughts
Understanding the various costs associated with painting motorcycle fairings is essential for business owners. From assessing factors affecting pricing to weighing DIY options versus professional services, each element plays a critical role in delivering quality results that meet customer expectations. By staying informed about paint types and custom design implications, you can better navigate the painting process, ultimately fostering a strong reputation in the motorcycle community.