
Spray painting motorcycle fairings has become an essential aspect of customizing motorcycles, offering business owners an opportunity to provide unique services that cater to passionate riders. As the appeal of personalized motorcycle aesthetics grows, understanding the process of spray painting has significant implications for entrepreneurs in the motorcycle service industry. This guide delves into the entirety of the spray painting process, from preparation steps to ensuring safety and selecting the appropriate materials. Each chapter aims to equip business owners with knowledge not only about the technical aspects involved but also about building lasting relationships with customers through quality workmanship and professional aesthetics. By mastering each facet covered, service providers can distinguish their offerings and meet the increasing demand for uniquely customized motorcycle fairings.
From Prep to Gloss: Mastering the Spray-Paint Process for Motorcycle Fairings

A motorcycle’s fairings are more than protection for the rider and engine; they are a canvas where personal style and mechanical identity meet. When a fairing is sprayed with purpose, the result is not just color but a durable, showroom-worthy finish that can transform a bike’s entire presence. The journey from bare plastic to a flawless coat requires more than a splash of color. It demands discipline in preparation, patience in layering, and respect for the science of adhesion, curing, and protection. In the hands of a careful rider, the same weekend hobby becomes a craft, with results that endure through sun, rain, and the daily grind of riding. The heart of the process lies in balance: meticulous surface preparation, disciplined paint application, and thoughtful finishing that preserves the depth and clarity of the color while guarding against chips and UV damage. As you move through the stages, the fairing begins to reveal its potential, and the bike takes on a new personality that remains true to the rider’s vision.
The first rule of any successful spray job is surface preparation, and it is both simple and exacting at once. Start with a thorough cleaning to remove oils, grease, and dust that can undermine adhesion. A degreaser designed for automotive plastics is ideal because it lifts contaminants that your eyes might not notice but that paint will detect. After cleaning, the next step is to create a mechanical key with careful sanding. A fine grit, commonly in the 400 to 600 range, scuffs the surface just enough to give the primer something to grip. The goal is not to rough up the fairing, but to provide a subtle, even tooth that prevents peeling or flaking. Once the sanding is done, dust must be removed completely. A tack cloth or a quick blast with clean, compressed air helps eliminate the fine particulates that can ruin an otherwise smooth finish. The importance of this stage cannot be overstated; the most flawless paint in the world cannot compensate for a dirty, slick substrate.
Masking off areas that should stay unpainted is the next crucial art. Even tiny bleed lines can ruin a color separation, especially on complex fairings where vents, fasteners, or badge areas must remain uncoated. The masking process requires sharp tape, high-quality film, and a patient hand. If you’re aiming for a two-tone or multi-layer finish, plan the masking so that line edges are crisp and repeatable. Good masking also extends to the interior of openings and hidden edges where overspray could collect and later reveal itself as a dull edge once a gloss coat is applied. After masking, the surface is ready for primer—the bedrock of the final finish. A high-quality primer is not merely a filler; it enhances adhesion, helps to level out minor surface imperfections, and provides a uniform base color that makes the topcoat behavior predictable. Primer typically dries over a few hours and then is lightly sanded with a finer grit, often around 1000 to 2000, to create a silky surface ready for paint. Light, careful sanding avoids gouges while removing any tiny imperfections revealed during the primer’s cure.
With a clean, properly keyed surface, you move into the spray painting itself. The choice of paint matters as much as the technique. For fairings, a paint designed specifically for plastics or automotive bodywork is essential because these coatings are formulated to flex with the plastic’s natural movement and to resist moisture and fuel components. The core rule in application is to apply multiple thin coats rather than one dense layer. Three to five coats is a common target, with the goal of building color evenly and avoiding runs, sags, or heavy texture. Between coats, give the paint a generous drying window—roughly three hours in favorable conditions—so solvents can evaporate completely and the layer can set before the next coat lands. The spray gun technique is just as important as the material. Maintain a steady distance from the surface, usually at a consistent 6 to 12 inches, and use smooth, overlapping passes. A single pass that stops in the wrong place can leave an obvious ridge or uneven texture; the overlapping motion ensures uniform color and minimizes the risk of solvents being trapped beneath a thick edge. As the color starts to look even, you’ll notice texture issues, sometimes called orange peel, that betray uneven evaporation or improper atomization. If you catch these in time, they can be corrected with light sanding and a subsequent light coat after the surface has dried.
Color is where the project often reveals its personality. A modern fairing can carry matte, gloss, or metallic finishes, each requiring its own approach. Matte finishes, for example, demand a flatter, more even base and may require specific clear coats or post-finishing steps to maintain the flat look. Gloss finishes rely on a deep, reflective base that benefits from a well-controlled laydown. Metallics add complexity with light-reflecting flakes that require even dispersion and precise thinning. The key across finishes is consistency: a uniform spray pattern, even pressure, and steady movement. If you’re blending colors or applying a second color, masking and careful edge management become even more critical to preserve clean separation lines. The broader lesson is that the color layer is not merely cosmetic; it defines how the clear coat will interact with light, how scratches will show, and how long the finish will age under UV exposure and road grime.
After the final color coat has dried, the clear coat stage follows as the final guardian of depth and durability. The clear coat is more than a gloss shield; it is an inert, forgiving layer that accommodates minor surface flaws and provides UV protection, chemical resistance, and resistance to common fuels and solvents encountered on the road. As with the color coats, several thin clear coats yield the best results, with light sanding between coats to maintain a near-perfect surface. The clear often dries to a high-gloss finish that enhances depth and color richness, but it also adds vulnerability to orange peel if the ambient conditions shift during application. A controlled environment—stable temperature and humidity—helps the clear coat settle evenly and reduces the chance of solvent pop or solvent entrapment. The curing process extends beyond a simple dry time; it may involve a period where the surface is allowed to harden and then, in a more controlled setting, a period of baking or prolonged cure. Baking, when used by professionals, accelerates cross-linking and yields a more durable finish, though it demands careful temperature control and appropriate equipment.
Once the fairings have cured, you can evaluate the final result with a discerning eye. Bright light reveals any tiny imperfections, while a clean cloth can expose the true color without the distraction of fingerprints. If subtle orange peel or dust nibs appear, a light wet-sand with very fine grit can smooth the surface, followed by a light polish to restore gloss. The finishing touches are the most forgiving and the most revealing: how well the color sits against unpainted plastics, how evenly the edges delineate masked areas, and whether the gloss has a glassy look without magnifying every tiny defect. The entire process hinges on patience: rushing the dry times, skipping corner steps, or compromising on primer or masking quality will always show later in the final look and durability. Safety must accompany every stage. Adequate ventilation, a properly fitted respirator, and gloves are essential. Work in a space free of dust and drafts that can blow debris onto the wet surface, and monitor temperatures and humidity to stay within the paint’s recommended range.
As you consider the broader ecosystem of fairing customization, it’s worth noting that many seasoned enthusiasts consult official automotive paint tutorials from established suppliers. These resources offer practical tips on surface prep, paint selection, and application methods that align with professional standards, without turning the project into a maze of trial and error. For riders eager to explore the world of compatible panels and to see how different makes and models approach fitment and finish, a curated catalog of fairings—such as the Honda section—can be a helpful reference point. If you’re curious to explore a related catalog, you can browse the Honda fairings category for ideas and donor pieces that suit your project goals: Honda fairings.
The path from raw plastic to a smooth, resilient finish is paved with deliberate choices, from the primer’s adhesion to the final gloss’s depth. A well-executed paint job does more than change color; it protects the fairing, preserves resale value, and keeps the rider’s expression clearly visible beneath the finish. The discipline of spray painting motorcycle fairings—preparation, layering, curing, and finishing—becomes a practice in care and craft. It invites riders to think about how every layer interacts with the next, how light will play on the surface, and how color will endure through daily riding, cleaning, and exposure to the elements. For anyone who has stood at the sink with masking tape and a can of color, the virtue of this craft is clear: it rewards method, not luck, and it offers a way to wear a personal narrative on the bike you ride every day.
External resource: For a detailed, pro-level guide on techniques and nuances beyond the basics, see this external tutorial: https://www.motorcyclecruiser.com/tech-tips/how-to-paint-motorcycle-fairings-like-a-pro/
The Painter’s Arsenal: Mastering Tools and Materials for Flawless Motorcycle Fairings
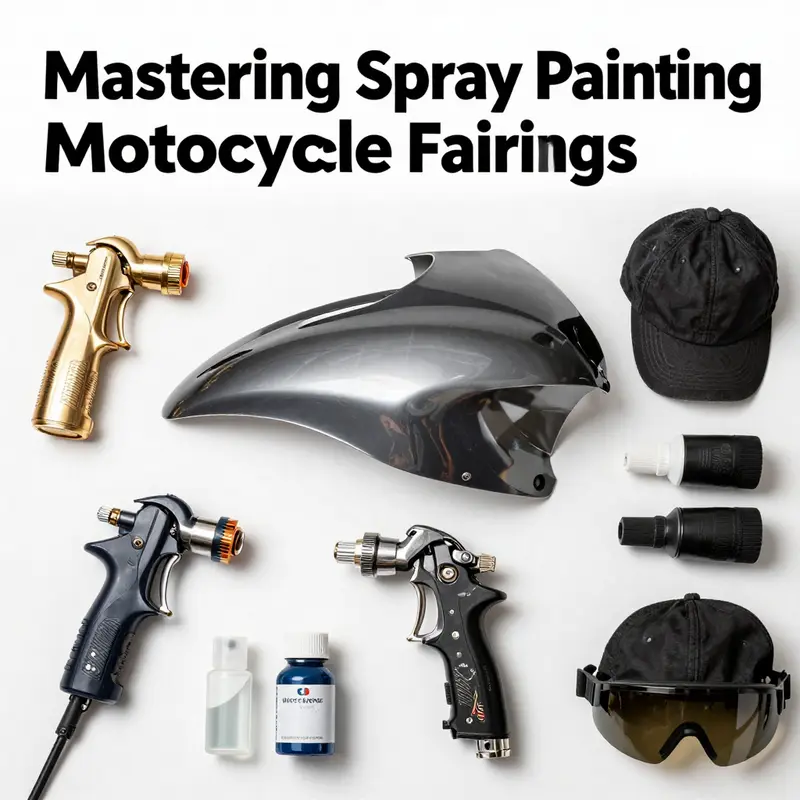
Crafting a finish on motorcycle fairings that looks and feels factory-new starts far before the spray gun rattle of the shop floor. It begins with a well-chosen arsenal of tools and a disciplined approach to materials. The goal is not just color, but adhesion, consistency, and durability, especially when the fairings are plastic or composite and subject to sun, fuel, and road grime. The right tools reduce the guesswork and the right materials create a surface that accepts color evenly and then seals it with resilience. In practice, the work unfolds as a single, guided sequence where preparation, application, and protection are fused into a dependable method. The core tools form the backbone of this method. A quality spray gun—preferably an air-powered HVLP system—offers the control needed for a smooth, even laydown with minimal overspray. Coupled with a reliable air compressor that maintains steady CFM and PSI, the gun becomes a steady hand rather than a fickle spark of luck. The goal is a calm, predictable spray pattern, not a rushed, jagged coat that will telegraph every flaw in the surface. Masking tape and masking film are the quiet professionals in the room. They guard every edge, protect fasteners, lights, and the frame, and prevent accidental paint migration into areas that should stay pristine. High-quality masking materials with low tack are essential, because even a small bleed can ruin fine lines and the perceived sharpness of the finish. On the prep bench, the sequence of sandpapers tells a story: start with a coarser grit to erase old paint and smooth out obvious imperfections, and then move through progressively finer grits to achieve a surface that begs the primer to bond rather than fight it. A sanding block provides even pressure by hand, while a dual-action sander speeds up the job and yields a more uniform texture on larger panels. The quality of the surface after sanding determines how the primer can perform. If the base surface has pits or scratches, the primer will be forced to do more work, which can trap air and create micro-motes in the final coat. The materials, therefore, need to be compatible with plastic and composite substrates. The two-part filler primer is a crucial ally here; it fills minor dents and scratches, giving the base coat a clean canvas. After the filler cures, an adhesion primer is applied to forge a bond between the prepared plastic and the top layers. The base coat must be color-matched with accuracy, which often means professional color systems at the shop level. Yet even with careful matching, the paint you apply needs a proper top layer to preserve it. The clear coat is that layer, providing UV protection and gloss while sealing in the color beneath. A clear coat with the right finish—gloss or satin—adds depth and durability, improving resistance to wear and weathering. The cleaning solvent used to prepare the surface before painting is not a mere formality. Impeccable cleanliness — dust, oils, and sanding residues removed — is the foundation of adhesion. A solvent such as isopropyl alcohol or a dedicated prep solvent wipes away microscopic residues and leaves the surface ready for adhesion. Without this step, even the best paint system can fail at the microscopic level, lifting and hazing with time. The safety gear amplifies the respect you show the process. A respirator with an organic vapor cartridge protects against fumes and particulates, while gloves and safety glasses guard hands and eyes from chemical splashes and debris. The work is best done in a controlled environment that minimizes dust and maintains steady drying conditions—a paint booth or similarly enclosed space reduces the risk of contaminants settling into the wet surface and helps achieve a consistent cure. The practical sequence emerges clearly when viewed as a cascade rather than a series of isolated steps. Surface preparation—to a refined level, using aggressive removal of old coatings where needed, followed by careful sanding to create a uniform profile—sets the stage for the primer. The two-part filler primer then fills in remaining imperfections and is sanded smooth, after which the adhesion primer is applied to improve bonding to the plastic or composite surface. The base coat is sprayed in layers, often with a light tack between passes to eliminate any dust or lint caught in the wet film. The first pass lays down the color with a thin, even veil; subsequent passes build opacity without creating runs. The final clear coat is the capstone, applied with the same care as the base layers. Even small missteps—varying the spray distance, overloading the nozzle, or rushing between coats—show up later as orange peel or solvent pop. Mastery, then, is about patience and repetition within the constraints of room temperature, humidity, and air flow. It helps to understand the chemistry at work: the base coat must bond to the primer and not be obstructed by residues or surface oils; the clear coat must wet and level properly to bring out the color and add depth. For plastics, the chemical compatibility between primer and topcoat is critical; choosing products designed for plastic substrates reduces the risk of flaking or crazing down the line. This is not simply about choosing the right color; it is about choosing the right system and applying it under conditions that favor a uniform cure. Where you practice also affects the outcome. A dedicated space that minimizes dust, with controlled temperature and humidity, yields finishes that look consistent across panels and over time. The visual payoff—depth, clarity, and a hard, protective shine—rests on a synergy between the tools and the materials. When the process is respected, the fairings carry a finish that survives the heat of sun, the abrasion of road grit, and the occasional face-off with fuel drips, all while maintaining color integrity. If you are testing color strategies or working with specific plastic panels, it can be informative to reference a broader catalog of fairings to understand how different materials interact with paints. For instance, the Honda fairings category provides a useful benchmark for how plastic parts respond to preparation and coatings in real-world maintenance strategies. See the Honda fairings catalog for a representative example of substrate tolerance and finish behavior. Honda fairings
Ultimately, the journey from bare plastic to a polished, durable finish is a careful dialogue between the right tools, the right materials, and the right conditions. The job is not simply to apply color but to build a resilient layer that respects the shape and texture of the fairing, reflects light with clarity, and stands up to the realities of riding. The chapter on essential tools and materials is not a checklist so much as a compact philosophy: prepare meticulously, coat you can trust, and finish with a protective layer that endures. As the surface becomes a faithful canvas for color and design, the rider gains not only a new look but a longer life for the investment in the bike’s aesthetic. The sequence—prep, prime, base, clear—becomes second nature, and the resulting finish speaks to the care invested in every stroke and layer. For the reader seeking broader context on automotive finishes, a foundational overview of automotive paint chemistry and application practices can provide a useful backdrop to the hands-on steps described here.
External resource: https://en.wikipedia.org/wiki/Automotive_paint
Guarding the Finish: Essential Safety Practices for Spray-Painting Motorcycle Fairings
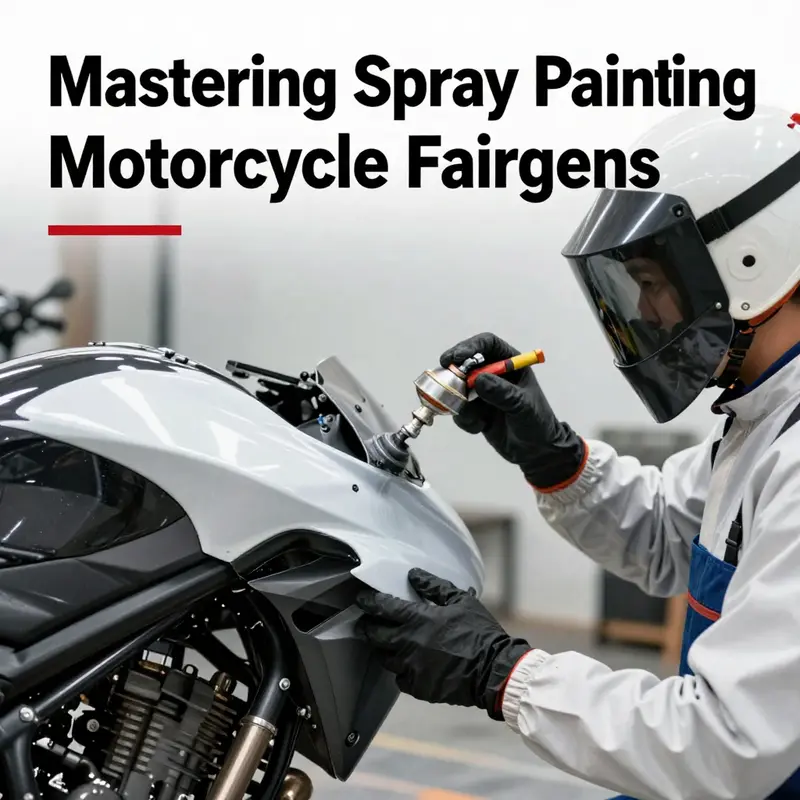
Spray painting motorcycle fairings is as much a test of discipline as it is of color and gloss. The finish riders chase—whether a deep gloss, a smooth matte, or a gleaming metallic—rests on a sequence of careful steps, and safety threads through every one of them. The weakness of a project often lies not in the pigment itself but in what happens when solvent vapors meet an ignition source, or when a particle-laden spray drifts into a worker’s breathing zone. To translate a professional look into durability and reliability, it is essential to approach the task with a holistic safety mindset that respects the chemistry of modern coatings while acknowledging the unique challenges of plastic and composite fairings. The surface you begin with dictates the risk you manage. Cleanliness, evenness, and proper masking reduce the need for rework and minimize exposure to solvents that can irritate skin, eyes, and lungs. If the underlying formation of the fairing is not prepped correctly, a beautiful color can peel, craze, or delaminate, and the very fumes that are meant to enhance the finish become a reminder of what’s at stake when safety is neglected.
The heart of a safe spray operation beats with the right protective gear, the right space, and the discipline to treat every session as a controlled event rather than a race to the last coat. Personal protective equipment is not a cosmetic add-on; it is the baseline that keeps skin, eyes, and lungs shielded from chemical exposure, fine aerosol, and accidental splashes. Workers should wear chemical-resistant overalls designed for constant contact with solvents, gloves made from nitrile or butyl rubber to resist typical thinners, and a respirator with organic vapor cartridges sized for the expected concentrations. In spaces where vapors reach higher levels, a powered air-purifying respirator (PAPR) can be a lifesaver, providing clean intake air while reducing fatigue and masking the sense of breathlessness that can accompany prolonged solvent exposure. Eye protection must be more than a splash guard; full-face shields or goggles that seal well against splatter are a must. Anti-static footwear helps minimize the risk that a static discharge could ignite flammable vapors in a confined spray area. These elements are not optional accessories but integral parts of a safe workflow that protects both health and the project’s integrity.
Ventilation is the quiet guardian of air quality. A dedicated spray booth, ideally with a forced exhaust system, is far more than a convenience; it is a shield against the accumulation of volatile organic compounds (VOCs) and fine paint particles that can irritate the respiratory tract or create an unsafe working environment. In practical terms, this means achieving a balance between fresh air inflow and contaminated air outflow so that solvent concentrations stay well below occupational exposure limits. If a booth is not available, portable air extraction can help, but it must be capable of moving air at a rate that continuously sweeps the workspace and prevents stagnation. In all cases, detectors that monitor VOC levels provide real-time reassurance and a quick alert when adjustments are needed. The goal is simple: maintain air that is safe to breathe while avoiding the buildup of any solvent vapor that could complicate drying and curing.
The specter of fire and explosion is never far away, especially when the pigments are mixed with strong solvents and the aerosolized coating forms a combustible cloud. Any source of ignition—cigarettes, open flames, welding, or even hot electrical equipment—must be strictly prohibited within a wide radius of the spray area. Ground all metal components, including the motorcycle frame and the spray equipment, to dissipate static electricity that can spark in a loosened environment. Electrical apparatus used in this process should be rated for explosive atmospheres where appropriate, and maintenance routines must routinely verify that switches, cords, and connectors remain in good condition. Even the conditioning of the air matters; oil and solvent-laden air can saturate electrical devices, so ensuring that the electrical system itself is clean and properly grounded reduces the risk of arc-related ignition.
Careful attention to equipment handling and maintenance keeps the process predictable. Before any session begins, inspectors should check spray guns, hoses, and air compressors for leaks, cracks, or signs of wear. Running a system at pressures outside manufacturer specifications can aerosolize coatings in unpredictable ways and increase drift and overspray, which in turn raises exposure for workers. After painting, power sources should be turned off and disconnected, and air tanks drained to relieve residual pressure. Cleanliness and organization help rather than hinder. A tidy spray area reduces the likelihood of accidental spills and simplifies the emergency response if something does go wrong. The practical rhythm of the session—setup, mask off the areas not intended for paint, test spray on a discard panel, then proceed with controlled passes—has been refined in professional practice to minimize exposure and maximize transfer efficiency.
Training and written procedures anchor all of these measures. Workers must be trained not only in the mechanics of spray application but also in the safe handling of chemicals, the conditions that foster safe curing, and the steps to take in the event of a spill, exposure, or equipment fault. Adhering to established procedures, including recognized national standards for PPE selection and use, creates a shared language for safety that translates into fewer mistakes and faster, more predictable results. Pre-job safety checks and clearly communicated emergency response protocols are essential. Even the best equipment and the most advanced coatings cannot deliver a consistent, durable finish if the team lacks a shared understanding of the risks and how to mitigate them.
The chain of process steps—from surface preparation to priming, base coating, and clear coating—requires an integrated safety approach that extends beyond the booth. Proper surface prep remains foundational, ensuring correct adhesion and preventing failure modes that could compromise both appearance and structural integrity. When plastics or composites are involved, compatibility between cleaners, solvents, primers, and topcoats becomes a safety concern as well, since some chemicals can interact with substrates in ways that release unexpected vapors or create hazardous residues. In this context, high-quality automotive-grade paints designed for plastic or composite panels are favored because they tend to present fewer surprises in terms of reactivity and odor, while offering durable, long-lasting finishes. For readers seeking deeper technique and recommended practices, the official site of a major automotive coatings producer provides comprehensive tutorials and product recommendations tailored for painting motorcycle bodywork, including fairings, and emphasizes surface preparation, proper paint selection, and controlled application. This resource reinforces the idea that safety and performance are two faces of the same coin, each depending on disciplined preparation and execution.
Within the broader culture of customization, it can be helpful to consult relevant examples of how prepared surfaces interact with finishes on different fairing shapes. For instance, a reference guide to a particular brand’s fairings category can illuminate how masking, edge handling, and substrate texture influence the final appearance. For reference on compatible substrates and how finishes sit on plastic panels, one may explore the Honda fairings category. Viewing such examples provides practical context for the importance of clean masking lines, even paint thickness, and careful edge management, which in turn informs safe practices by highlighting where accelerated drying or extra ventilation might be needed in certain configurations.
Finally, safety documentation is not a formality but a living framework. It is wise to maintain an up-to-date safety data sheet library for every chemical in use, to review emergency procedures periodically, and to conduct drills that simulate common accident scenarios. The aim is to minimize health risks and prevent accidents by combining personal protection, engineering controls, and procedural discipline. For authoritative guidance on spray painting safety, standards such as GB/T 11651-2008, which covers Personal Protective Equipment—Selection and Use Guidelines, offer a structured basis for selecting and using PPE in occupational settings. Readers are encouraged to consult these standards to ensure alignment with current best practices and regulatory expectations. [External reference: https://std.samr.gov.cn/gb/search/gbDetailed?id=9D7A8F8C4B3E4B5EA3D6D8F5A1B6C2B7]
The craft of spray painting fairings thrives when safety is treated as an integral, non-negotiable element of the process. The finish is not just a color; it is the product of careful surface prep, controlled application, thoughtful drying, and a safe, well-supported working environment. When these pieces come together, the ride not only looks right on the street but also carries the assurance that the people who created it did so with discipline, respect for the materials, and a commitment to staying safe as they work toward a flawless, durable result.
Coating Craft: Durable, Aesthetic Finishes for Motorcycle Fairings
Durable finishes on motorcycle fairings require a system designed for plastics and the realities of riding—UV exposure, weather, and abrasion from road debris. The most reliable results come from a two-part epoxy-based paint system formulated for plastics. These systems bond to ABS or fiberglass more strongly than generic spray paints and build a resilient film that resists moisture, solvents, and UV damage. They also offer predictable pot life and cure profiles that suit a shop or meticulous home setup.
Substrate knowledge matters. ABS plastic responds to surface conditioning with primers that activate the polymer surface and create a uniform base for topcoats. A dedicated plastic primer with adhesion promoters is key, especially around edges and flex points. If you’re working with fiberglass, you’ll often need a compatible primer that fills minor imperfections without obscuring color. Avoid trying to force a standard automotive basecoat onto a plastic shell; choose a system labeled for plastics and follow the manufacturer’s mixing ratios and cure times.
Preparation is the quiet work that makes the finish possible. Start with cleaning to remove oils, wax residues, and road grime. Degrease, then lightly sand to create micro-texture for the primer to grab. Mask off edges, mounting points, and any areas that will retain heat or flex. Wipe with tack cloth to remove dust. Apply a thin film of adhesion promoter or plastic primer; this improves bonding and helps the color lay down evenly.
Paint and film build. Base color goes on in thin, even coats rather than a single heavy coat. Allow adequate flash time between coats, and maintain clean, controlled environmental conditions during application. Mix epoxy resin and hardener precisely per the manufacturer’s instructions; mis-proportions can lead to soft cures or brittleness. After the base color has cured to the desired depth, apply a clear coat from the same epoxy family or a compatible polyurethane topcoat to seal the color and add UV protection and scratch resistance.
Finish options and maintenance. Gloss finishes deliver color depth and clarity; mattes require compatible topcoats to avoid chalking. Metallics and pearlescents rely on pigment dispersion and must be sprayed with technique that avoids mottling. Whatever you choose, a robust clear coat is essential for UV protection and durability. Gentle washing with non-abrasive cleaners, avoiding strong solvents, and using microfiber cloths help preserve the finish. Parked in the sun, a topcoat will age; a well-engineered system will resist yellowing and maintain gloss across seasons.
Practical workflow and performance considerations. Start with a plastics-specific primer, followed by the epoxy topcoat, then a UV-filtered clear. Maintain a clean, dust-free workspace with stable temperature and ventilation. Follow the exact mixing ratios, pot life, and cure windows. In high-performance or aero-style builds, coatings can influence surface energy and drag; the goal is a smooth, consistent finish that preserves form and reduces wear.
Rounding out the process. Document your process, test on sample panels, and keep records of materials and times. If you are referencing a particular fairing line, consult its substrate data and the primer/topcoat recommendations to maximize adhesion and color accuracy. For readers seeking deeper science, external resources on coatings science can provide background on how surface energy, filler particles, and curing kinetics influence long-term durability.
From Prep to Shine: Mastering Professional-Quality Spray Finishes for Motorcycle Fairings
Spray painting motorcycle fairings is more than a hobby technique. It is a careful ritual of preparation, control, and patience that yields a finish worthy of a showroom. When done well, it merges the rider’s identity with the bike’s silhouette, turning plastic panels into a sealed canvas that resists chips and stands up to sun and rain. The path from raw fairing to a smooth, durable color is paved first by discipline in preparation, then by the discipline of layering and curing. Each step depends on the last, and skipping even a single stage invites imperfections that are hard to rectify with a fresh coat alone.
Preparation is Paramount: Thorough cleaning, degreasing, and careful sanding set the stage for adhesion. A dedicated automotive cleaner strips away oil and wax. A stubborn film can sabotage primer adhesion, causing fisheyes or peeling later. After cleaning, aggressive sanding removes old paint, scratches, and gloss, creating micro-mechanical keyways for the primer. Start with a coarse grit, like 80 or 120, then step through 180 to 320. The goal is a dull, uniform surface, free of residual gloss. Sand in one direction to minimize crosshatch texture, and wipe with a tack cloth between steps to catch dust. If the fairing has corners or complex shapes, consider a soft sanding pad or flexible block to keep pressure even. Dust is the enemy after every pass, so keep a damp cloth handy to remove fine particles before applying primer.
Masking is precision, not improvisation. Use high-quality masking tape with a low-tack edge and specialized masking film for large panels. Pay attention to edges and recesses around lights, vents, and mounting points. Creases in tape invite paint bleed, so apply tape smoothly and press it down, especially along curved edges. When possible, mask off the entire underside and interior edges that will not receive color. For decals, borders, or color-shift effects, plan the layout before peeling away any protective layer, as a simple misstep can ruin alignment and waste material.
Environment matters. A climate-controlled space helps stabilize solvent evaporation and dust behavior. Ideal conditions sit around 68-77 F and humidity about 40-60 percent. Too cold slows drying and can cause bridging; too humid invites blooming. In a shop, a dedicated spray booth or a clean, open room with a hood and gentle air exchange reduces airborne dust. The aim is a clean, steady flow of filtered air that carries dust away rather than stirring it into the air. Before you begin, cover the floor and nearby surfaces with drop cloths, and ensure all tools and solvents are organized to minimize movement that would suspend dust.
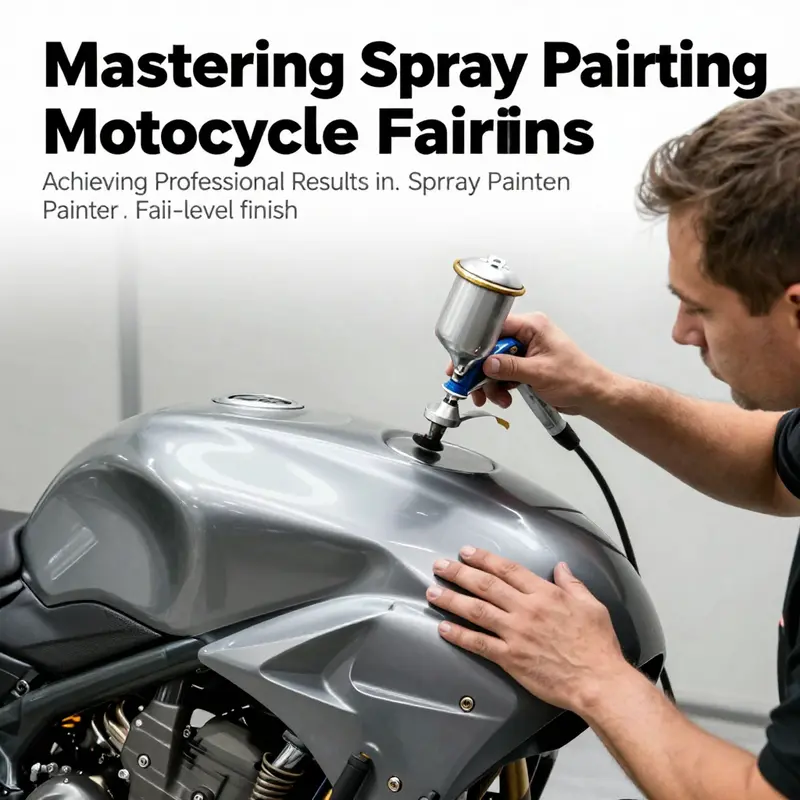
Correct painting technique is a combination of gun setup, distance, and motion. Set the spray gun to the manufacturer’s instructions for the specific paint system. The technique is ‘thin coats, multiple passes’ rather than heavy layers. The spray distance should be about 15-20 cm from the surface, with the gun held perpendicular or at a slight angle. Move the gun in smooth, overlapping strokes, roughly 50 percent overlap so each pass covers the last. Start with a light tack coat to eliminate sags, then apply 2-3 wet coats for primer, letting each layer dry according to the product’s guidance. When applying the color topcoat, maintain the same technique, watching for runs or orange-peel texture. If the color requires a metallic or pearlescent effect, extra care and longer flash times may be necessary. After the color coats, finish with 1-2 clear coats, again in thin passes. The goal is a single, even film that feels glossy and invites a subsequent polishing without revealing gaps or sags.
Drying between coats matters as much as the coats themselves. For primer, a typical touch-dry window is 15-30 minutes, enough to handle but not fully cured. Topcoats usually require 1-2 hours between coats, with longer times in cooler spaces. Clear coats need generous drying time to develop depth and hardness. Do not rush curing; the final cure often takes 24-48 hours before handling, and up to a week for full hardness in some formulations. During curing, avoid heat lamps or direct sunlight, which can cause uneven evaporation and gloss changes. After cure, a light, deliberate polish with a fine compound can remove minor dust nibs or micro-scratches, but aggressive polishing too early can cut through the clear layer. If you see a subtle orange-peel texture, a careful wet-sand with a high-grit paper and a polish can restore a glassy finish, but resist the urge to sand through the color layer.
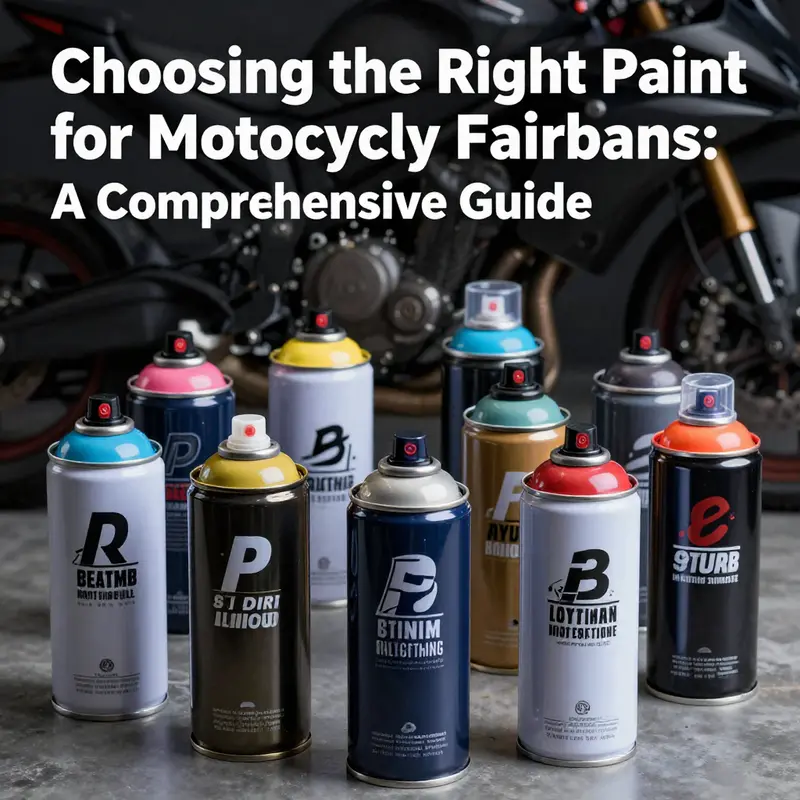
Choosing the right paints matters as much as technique. Automotive-grade paints designed for plastic or composite substrates deliver better adhesion and flexibility than generic spray paints. Many enthusiasts explore custom colors, matte finishes, gloss, or metallic effects to express personality while maintaining durability. Matte finishes require special clear coats and careful handling to avoid finger marks and wet-sand textures; metallics demand even spray patterns to maintain even light reflection. The color you choose should align with the bike’s lines and the rider’s taste, but the latency of color shift in sunny exposure means you may want a UV-protective clear or a tint that resists fading. This is where a well-curated set of products and a consistent technique pays dividends over time, reducing the need for frequent color repairs and ensuring that your investment in time and materials yields a durable, high-gloss or high-flat finish.
Because the technique hinges on consistency, the right tools matter. A good-quality spray gun with proper nozzle size for the chosen paint system helps achieve atomization that can’t be faked with sheer force. Thinning the paint to the correct viscosity—often specified by the manufacturer—avoids runs while preserving coverage. A clean, sealed compressor and proper filters prevent moisture and oil from fogging the finish. Masking supplies, tack cloths, and sanding blocks are not luxuries but necessities that save time and material. If you want more systematic guidance, there are comprehensive manuals and tutorials from major manufacturers that outline surface preparation, product selection, and application methods tailored to automotive refinishing.
Ultimately, the goal is a finish that is not only beautiful but durable enough to withstand road debris, rain, and long-term sun exposure. The best results come from a repeatable workflow: clean, sand, mask, spray thin layers, cure patiently, and polish sparingly only after sufficient curing. The subtlety of a flawless finish hides the labor behind it, yet those who have learned to respect the sequence understand that speed without control is the enemy of quality. To explore a broader ecosystem of fairings and customization, consider browsing Honda fairings, a category that illustrates the range and geometry designers work with when applying color to curved surfaces. Honda fairings.
External resources can deepen your understanding of best practices and safety data. For a thorough technical backdrop and product specifics, consult the automotive refinish manuals provided by major manufacturers, such as PPG Industries Automotive Refinish: https://www.ppg.com/en-us/automotive-refinish
Final thoughts
Spray painting motorcycle fairings presents an opportunity for business owners to offer bespoke services that reflect the desires of their clients. By understanding the intricacies of the process—from preparation to final touches—business owners can not only enhance the aesthetics of motorcycles but also provide superior customer service. The techniques and practices covered in this guide serve as a foundation for building a successful spray painting practice tailored to meet individual rider preferences. As demand for customization grows, mastering these skills will ensure business owners stand out in a competitive marketplace, paving the way for sustained success.