
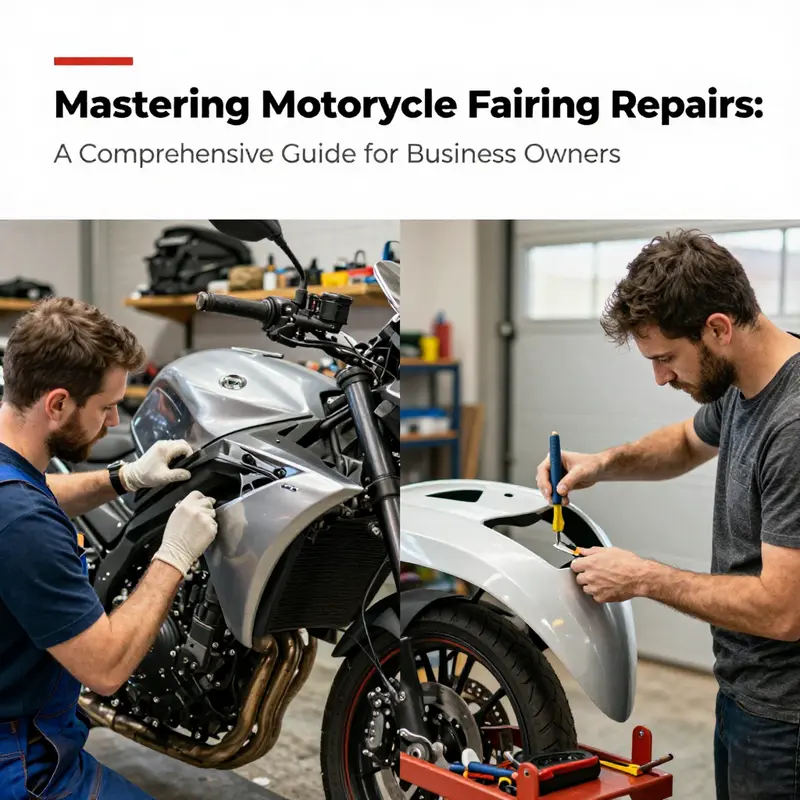
Repairing motorcycle fairings is a fundamental skill that can significantly enhance a business’s service offerings. By understanding the damage assessment process, choosing the right materials and techniques, and recognizing when to opt for professional repairs, business owners ensure customer satisfaction and safety. This guide delves into the critical aspects of assessing damage, selecting appropriate materials, and exploring both DIY and professional repair options tailored for the motorcycle industry, empowering businesses to make informed decisions.
Diagnostics Before Duct Tape: Thoroughly Assessing Motorcycle Fairing Damage to Guide Safe Repairs

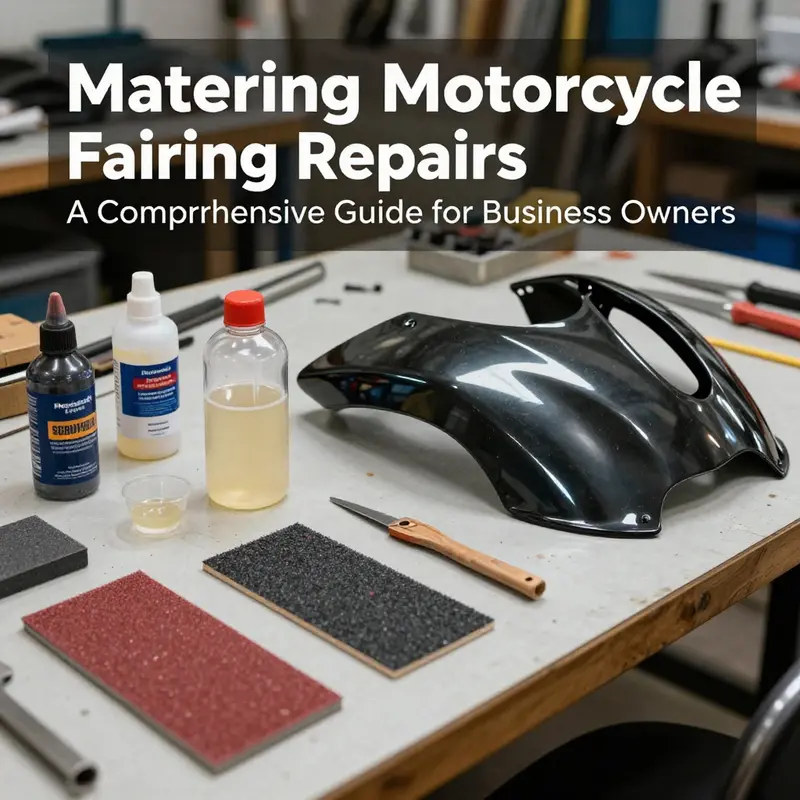
A motorcycle fairing is more than a cosmetic shield. It is a component that influences aerodynamics, rider protection, and the precision of mounting points that align bodywork with the bike’s frame. When a fairing is damaged, the temptation is to fix what’s visible and move on. Yet a thorough assessment—conducted with care and patience—acts as the compass that guides every subsequent repair decision. The goal is not just to cover up a blemish, but to understand whether the damage is superficial or if it alters structure, fit, or performance. Only with that clarity can a repair be durable, safe, and visually near to spec. The process begins with a disciplined inspection, continues with a thoughtful classification of damage, and culminates in a plan that weighs repair versus replacement. This chapter, rooted in the logic of systematic evaluation, sets the stage for the practical techniques that follow in later sections. It anchors every restoration decision to the rider’s safety and to the bike’s intended use, whether that use is track days, daily commuting, or weekend backroad blasting.
Visual inspection is the most accessible and often revealing first step. In bright, even light, a careful sweep around the entire fairing reveals what the eye can see and what the eye may miss when light is dim or cast in awkward angles. Start at the most visible areas—forehead curves, side panels, under-edge contours, and mounting points. Look for cracks that run along fibers or layers, deep scratches that pierce the paint and reveal raw material, and chips that expose a different shade or texture beneath the topcoat. Pay close attention to seams and edges. These are frequent failure zones because they experience the greatest stress during handling, during a tip-over, or in the case of a high-speed wind gust that can pry panels away from their fasteners. A cracked seam or a chipped edge is not always cosmetic. It can be a sign that the underlying structure has sustained a through-thickness impact or a shift in alignment that, if ignored, will propagate damage under vibration and heat.
As you scan, remember that fairings are rarely monolithic slabs. Most modern designs blend ABS plastics, fiberglass, and sometimes carbon fiber composites, each with its own vulnerability profile. ABS, common in mass-market machines, tolerates surface impacts reasonably well but can crack or delaminate at mounting bosses or where ribs reinforce the panel. Fiberglass and carbon may hide micro-cracks under a glossy finish that becomes visible only after polishing or when light catches the surface at a particular angle. This diversity means a glossy surface may conceal an adhesive failure below or a laminate separation inside the core. A thorough visual pass should include both the exterior finish and any exposed edges or cutouts where stress is concentrated. Under high-resolution inspection, even tiny fissures deserve note because they can grow with heat cycles, UV exposure, and the vibrations of road use.
The second layer of assessment builds from what you see to what you suspect. A surface-only blemish—such as a faint scratch, a chip in the paint, or a minor scuff that does not cut through the base color layer—often points to cosmetic repair as a practical path. But the boundary between cosmetic and structural damage can blur. A scratch that looks superficial on the surface may ride over a hairline crack that extends into the substrate. A chip that seems limited to the paint might coincide with a tiny fracture along a mounting boss, where fasteners exert lever action. The challenge is to distinguish these subtleties without removing the protective layer that hides them. This is where tactile assessment and a measured approach become essential allies to the eye.
Tactile assessment turns perception into perception-plus-knowledge. A light tap with a soft tool—your fingertip, a rubber mallet, or the handle of a non-metallic tool—can produce telling sounds and feels. A dull, hollow note typically signals internal damage such as delamination in composite layers or a crack that is not fully visible on the exterior. A solid, resonant thud generally suggests the material beneath is intact, though this should not lull you into assuming there is no issue. In the case of ABS plastics, a hollow sound near a mounting point can indicate a small internal separation that, over time, will worsen under heat and vibration. For fiberglass or carbon fiber, delamination may manifest as a soft spot under the paint that is more felt than seen, sometimes accompanied by a slight give when pressed. The tactile test is not a substitute for measurement, but it adds a critical dimension to your understanding of damage depth and distribution.
Measuring damage is the discipline that translates perception and feel into data. A caliper or a straight edge can quantify the depth and width of dents, the length of cracks, and the extent of any deformation. In the context of fairings, even small deviations in thickness or surface flatness can impact fit around speedometer housings, radiator shrouds, or air channel intakes. When you encounter a dent, measure its depth from the surrounding surface to the deepest point, and record its width and curvature radius if applicable. For cracks, note the length along the surface and, where possible, the distance from a known feature such as a mounting boss or seam. The aim is not to micromanage every imperfection but to establish a tolerance envelope within which a repair remains legitimate and safe. This data-driven approach prevents a hidden fault from becoming an ignition point for later, more serious failures.
A practical touchpoint in deciding how to proceed is to consider standard performance and safety norms. Industry guidance emphasizes that any repair should preserve the fairing’s structural integrity and functional performance after reassembly. A robust repair must maintain the alignment of mounting holes, the splash protection function, and the aerodynamic envelope around critical components. The point is not to chase perfection in every scar but to ensure that the repaired panel can continue to perform its role without risk of distortion or detachment under real-world use. In this light, the assessment should always be oriented toward the rider’s safety and the machine’s reliability, rather than merely restoring appearance.
This is precisely where professional judgment often enters the decision loop. Not every dent or crack deserves a fix, especially when the damage is extensive, located near high-stress zones, or involves multiple layers that have begun to separate. In some cases, the most prudent choice is replacement rather than repair. Replacement prevents the risk of undetected residual damage that could compromise aerodynamics, protection, or mounting integrity. The decision is rarely black and white, and it benefits from a balanced view of the fairing’s function, the availability of replacement parts, and the feasibility of a repair that will withstand the next heat cycle and vibration profile.
To help visualize the range of possibilities, it can be useful to think in terms of damage classes. Surface damage is confined to the cosmetic finish or to paint layers. It may be addressed with polishing, touch-up color work, and clear-coat reapplication, keeping the underlying material intact. Structural damage, by contrast, includes cracks that penetrate the laminate, delamination, broken ribs, or significant warping that changes how panels mate with adjoining pieces. The latter category often requires more involved repair techniques or even part replacement. When a fault crosses into structural territory, the path forward must be weighed with care, because the goal is not to “patch” a problem that could propagate under load. In some circumstances, a professional assessment is essential to determine whether a repair can restore functional performance or whether a part has reached the end of its service life.
The assessment also benefits from a careful cataloging of the fairing’s functional role. A fairing surrounding air inlets and radiators contributes to cooling efficiency and engine protection. If the damage risks creating a gap, misalignment, or a loose panel, the aerodynamics could be compromised, increasing fuel consumption or reducing protection during a ride. Mounting points are another critical area. A crack near a fastener boss, or a separation that allows a panel to shift under load, can cause rattling, vibration, or even panel detachment. In these cases, a repair might temporarily address cosmetic concerns but fail to address the underlying vulnerability around the mounting hardware. The upshot is that the assessment must examine both the visible surface and the hidden seams where stress concentrates.
Once you have mapped surface versus structural concerns and identified mounting and alignment risks, the next decision hinges on the availability of replacement parts and the feasibility of a durable repair. If the damaged area is isolated, with clean edges and no evidence of internal cracking, a minor repair may be reasonable. This typically involves cleaning and preparing the surface, applying an appropriate adhesive or filler, letting it cure, and finishing with sanding and repainting to blend the patch with the surrounding panel. If the damage is broader, if there is delamination in composites, or if mounting structures are compromised, a more extensive repair or replacement should be considered. It is here that the lesson of sound judgment—common to professional repairs and to well-conceived DIY projects alike—becomes paramount. The goal is to avoid a cosmetic fix that masks a deeper issue, or a repair that fails under the next heat cycle or impact.
A practical insight that often emerges from careful assessment is the value of documenting findings before any repair work begins. A written note or a simple diagram that marks cracks, delaminations, areas of chip loss, and mounting-point concerns can serve as a reference during the repair process. It helps ensure consistency if more than one person handles the panel and allows you to track whether subsequent work has adequately addressed the underlying defects. Documentation also helps when evaluating whether a replacement may be the more cost-effective or safer option, particularly if the damaged area is common across multiple bike models and aftermarket parts are readily available.
At this junction, it’s helpful to consider a practical example that mirrors the decision path described above. Suppose you have a mid-size sport bike with a fairing that sustained a low-speed tip-over. A thorough inspection reveals a shallow surface scratch that has not pierced the paint layer, and a narrow vertical crack near a mounting boss but not through the core. The crack does not extend into any large ribs, and the mounting points show no obvious looseness. Visually, the panel looks mostly intact, aside from the paint damage. The tactile test yields a dull but non-punctured surface near the crack, with no obvious soft areas that would suggest deep delamination. The measurements show the crack is short, the dent depth is shallow, and the edges around the mounting point remain square and true. In this scenario, the damage classification would lean toward surface damage with a minor structural concern near the mounting boss. The repair plan could proceed with a cosmetic restoration—careful sanding to feather the edges, touch-up color matching, and a protective clear coat—while keeping the mounting area intact. However, if the crack deepened during inspection, or if tapping produced a hollow resonance near a rib, the assessment would tip toward a more robust repair or even a replacement of the affected panel. This example illustrates how assessment guides the path from uncertainty to a deliberate course of action, ensuring the repair aligns with safety and performance needs rather than simply hiding the damage.
An important caveat accompanies all assessment work: never underestimate the influence of material-specific behavior. ABS plastic, fiberglass, and carbon composites each respond differently to heat, solvents, and mechanical stress. For ABS, heat constancy and adhesive compatibility are critical when pursuing a bond that can survive vibration and environmental exposure. A repair strategy that relies on solvent-softening agents to fuse edges may be tempting but can weaken the material if not carefully controlled. For fiberglass, moisture and resin compatibility become central during repairs to prevent further delamination. In carbon fiber composites, the risk is hidden damage that can propagate along fiber directions, sometimes invisible under paint until stressed by heat or mechanical load. The assessment must acknowledge these material realities and tailor the approach accordingly. The decision to repair or replace should reflect not only the visible damage but also the structural behavior of the material involved.
To connect the assessment with practical repair planning, consider the broader ecosystem of options. Minor finish defects can often be resolved through careful surface restoration and repainting, preserving the original panel and its fit. Moderate damage that does not compromise integrity may be addressed with targeted bonding and filler work, followed by sanding, priming, color matching, and protective clear coating. More significant damage—especially near critical mounting points or where core laminates are affected—may require a panel replacement or a more advanced repair technique that blends structural repair with cosmetic restoration. In all these paths, the objective remains the same: restore safety, maintain aerodynamics, and deliver an aesthetically coherent bodywork surface that looks and feels right when the bike is stationary and when it is traveling at highway speeds.
As you move from assessment toward the actual repair, your mental model should remain anchored in the idea that a repair is only as good as its underlying assessment. The subsequent chapters in this article will dive into the material choices, adhesive systems, fillers, and finishing steps that transform a well-understood damage profile into a durable repair. The materials chapter will guide you in selecting the right resin systems or bonding agents for ABS, fiberglass, or carbon fiber, while the finishing chapter will address sanding sequences, priming, color matching, and clear coats to achieve a seamless visual reunion. A well-executed assessment is the backbone that ensures those technical steps actually restore the fairing’s function, rather than merely masking a defect.
For readers who want to visualize repair options in a broader context, it can be helpful to explore available fairings for various models as you plan replacements or replacements-plus-repairs. For instance, browsing the Honda fairings category can provide a sense of the geometry, mounting patterns, and gap tolerances typical of modern sport bikes. This broader perspective helps ensure that the repair work you embark on will not only fit the bike in the shop but also align with the rider’s expectations for fit and appearance when the bike is back on the road. The goal is to marry meticulous assessment with compatible design choices so that, whether you repair or replace, the finished result reads as a coherent, well-integrated part of the machine.
In summarizing the essence of assessing damage for repair, a few guiding principles emerge. First, look broadly and then look closely. Visual inspection is the map, but the tactile and measuring steps are the compass. Second, classify the damage clearly into surface and structural categories, and acknowledge how mounting points and edges influence the assessment. Third, recognize that materials behave differently under stress and heat; tailor your approach to ABS, fiberglass, or carbon with appropriate bonding and finishing strategies. Fourth, document findings to support decision-making and to guide the repair process. Fifth, weigh repair versus replacement with safety and performance as the top criteria, not just aesthetics. Finally, keep in mind that this assessment is not a one-off task but a forward-looking investment. A sound assessment reduces the risk of future returns to the workshop and ensures that the bike remains safe, predictable, and visually coherent for miles to come.
As you prepare to dive into the repair techniques themselves, you may find it useful to connect with the broader ecosystem of parts and options available online. If you are exploring replacement paths or seeking a reference for how a specific model’s geometry is designed, you can browse the Honda fairings category to understand common mounting patterns, seam tolerances, and contour alignments that define successful panel replacement. This reference point helps you judge whether a repair plan will maintain the intended aerodynamics and rider protection. The link to that category page is embedded here for convenience: Honda fairings category.
Honda fairings offers a window into the range of shapes and mounting interfaces that designers and manufacturers establish. Seeing how panels relate to one another can illuminate why certain damage near a joint is not trivial, and why a seemingly minor fracture at a seam may require a more robust solution than cosmetic patching. This awareness, however, should not replace your own careful, on-bike assessment. Instead, it should complement it, enriching your judgment with practical context about fit and geometry that influence the durability of any repair.
In closing, the process of assessing damage for repair is not merely a preliminary step. It is the strategic moment when knowledge meets responsibility. The signals you collect—what you see, what you hear when you tap, what you measure in your hands—form the basis for a repair plan that honors the bike’s design, protects the rider, and preserves the aesthetic that drew you to the machine in the first place. The techniques discussed here are not about rigidity of process but about disciplined reasoning. They prepare you to choose the right path—cosmetic restoration, targeted bonding, laminate repair, or full-panel replacement—and to execute that path with the confidence that comes from understanding the true extent of the damage. As you move forward into the practical repair techniques, keep the assessment as your compass. It will help you navigate the complex terrain of fairing restoration with clarity, patience, and safety at the forefront.
External resources can further illuminate the standards that govern repair decisions. For a broader perspective on safety and performance criteria relevant to protective equipment and body components, consider consulting the ISO documentation. This standard provides a framework for evaluating structural integrity and ensuring that repaired components meet functional requirements after impact and exposure to the elements. You can explore more details at ISO 13232-1:2005/Amd 1:2012: https://www.iso.org/standard/67892.html.
null
null
null
null
Final thoughts
Effective motorcycle fairing repair can greatly impact your business’s reputation and customer satisfaction. Understanding how to assess damage critically sets the foundation for deciding on the best repair approach, whether using specific materials or invoking professional services. Ultimately, balancing these techniques and knowing when to engage in DIY repairs versus seeking professional help will not only enhance service quality but also foster customer trust and loyalty. Business owners are encouraged to apply the insights gained from this guide to improve their motorcycle repair offerings, ensuring they meet the needs of every rider.