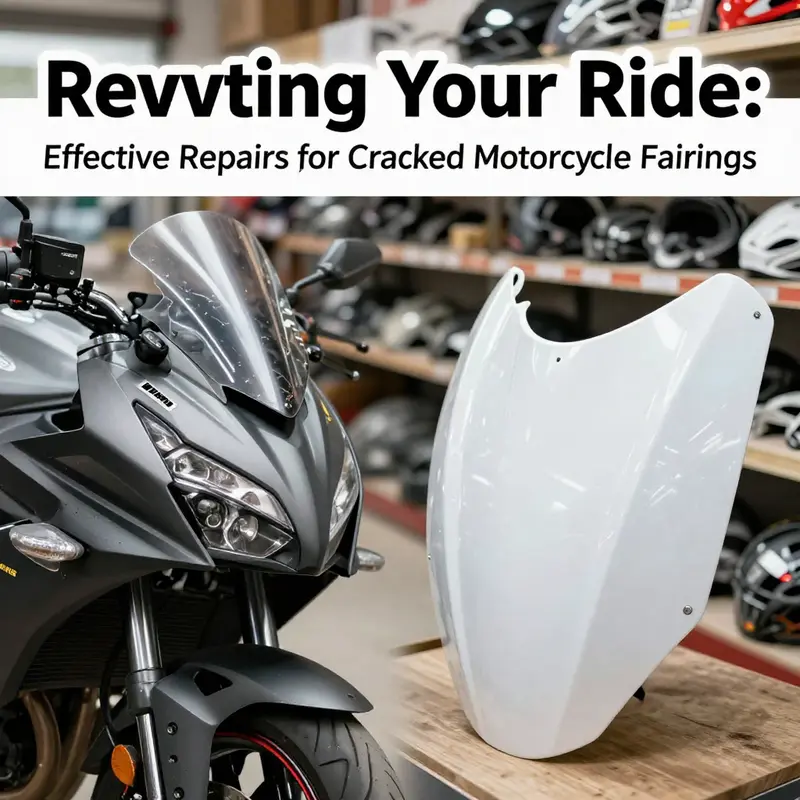
A cracked motorcycle fairing can tarnish the aesthetics of a beloved ride, affecting its overall performance and safety. As a business owner in the motorcycle industry, understanding how to effectively repair these fairings not only enhances customer satisfaction but also impacts your bottom line. This article will delve into various repair techniques, assessing when to seek professional help, and highlighting the importance of safety best practices. By exploring these aspects, you’ll be better equipped to make informed decisions regarding motorcycle fairing repairs, ensuring the longevity of both the motorcycle and your business.
null
null
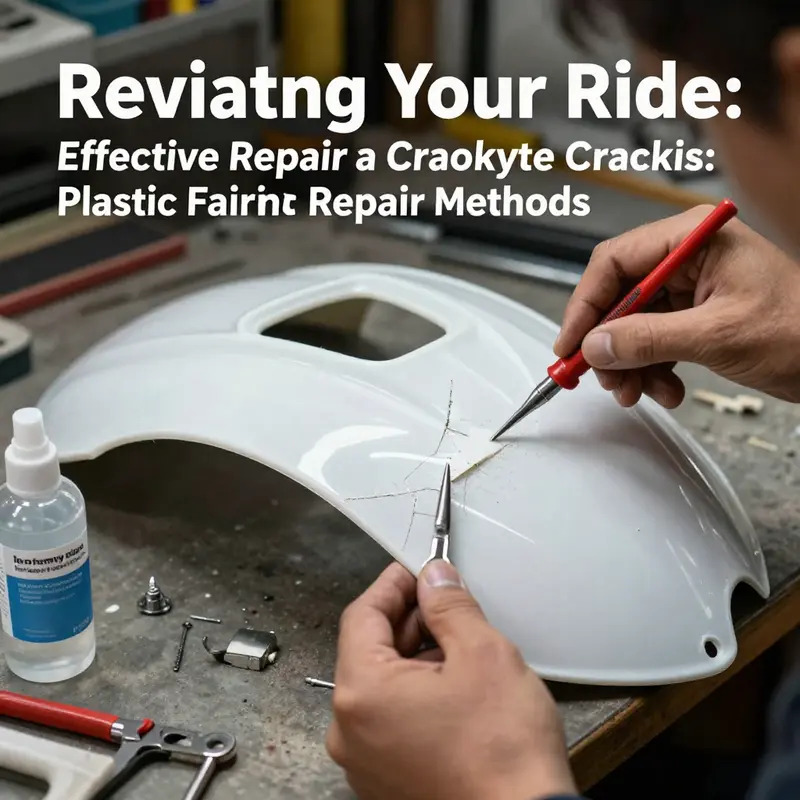
Fiberglass Fairing Repair: Breathing Life Back Into a Cracked Panel
A cracked fiberglass motorcycle fairing is more than a cosmetic blemish. It is a sign that the panel has absorbed energy, stress, and perhaps a close encounter with the road. The goal of repair is not merely to hide the fracture but to restore the panel’s rigidity, contour, and weather resistance so it can withstand vibration, sun, and minor impacts in the months ahead. Fiberglass, with its woven heart and resin spirit, responds to a careful blend of prep, reinforcement, and finishing. When approached with a steady hand and a clear plan, a damaged piece can be rebuilt stronger than it appeared on day one. The path I describe here threads together the practical steps with the discipline of patient execution, recognizing that every crack is different and every repair demands a tailored touch. The emphasis is on a durable bond, a smooth surface, and a finish that lies flush with the rest of the bike’s lines, so the repair remains invisible until it is, eventually, time to repaint or replace as the project dictates.
Start with assessment. A quick yet honest appraisal of the damage sets the course. Hairline splits and surface crazing can often be addressed with simpler repair techniques, while larger cracks, delaminations, or cracks that reach structural areas call for more robust methods. In all cases, the surface must be clean and free of wax, grease, and loose fibers. A fairing that carries road grit and oil can prevent adhesion, so begin with a thorough wipe using a degreaser or isopropyl alcohol. Then gently inspect the crack’s edges: if the edges feel brittle or flake away, you may need to cut away compromised material and replace it with a patch. The distinction between a light surface defect and a structural compromise guides your choice of technique and materials.
Preparation is the bridge between damaged reality and a solid repair. Cleanliness is nonnegotiable because resins and epoxies need a clean surface to bond. Lightly sand the crack edges with 80 to 120 grit sandpaper to create a rough, toothy surface that grabs the resin. After sanding, wipe again to remove dust. The next crucial choice is how to reinforce the area. For small cracks, a fiberglass repair resin or a two-part epoxy with a compatible hardener can be worked directly into the crack, but you’ll still benefit from an internal sealant that fills micro-gaps from within. If the damage is more substantial, plan to back it with fiberglass cloth or a pre-formed patch. The resin is mixed according to the manufacturer’s instructions, then applied over the crack, sometimes first lightly, then with additional coats to saturate the cloth and form a solid layup. A roller or squeegee helps press out air bubbles and smooth the surface—air pockets in resin are a common source of future weaknesses. The goal is a uniform, molded bond that blends into the surrounding surface without creating ridges or hollow spots.
Choosing the repair method is not a ceremonial act; it’s a practical decision rooted in the crack’s size and the fairing’s role on the bike. For small cracks or hairline breaks, a resin infusion into the crack, sometimes aided by a syringe or small applicator, can seal the path and prevent further propagation. Allow the resin to cure fully before moving to shaping. The cure time is not a suggestion; it is the only thing that unlocks the integrity of the repair. For larger cracks or structural damage, you’ll often remove the damaged section and replace it with a patch formed from fiberglass cloth. This approach demands careful cutting, careful fit, and a resin-heavy reinforcement that covers both sides of the crack. When you lay the patch, use enough resin to saturate the cloth but avoid pooling. A rolling action helps push out excess resin and avoid air voids. Let the patch cure in a stable environment; patience here pays dividends in the subsequent shaping step.
The post-repair finishing phase is the craft’s art. Once cured, the repair site should be sanded progressively from coarse to fine. Start with 180 grit to knock down the most obvious irregularities, then move to 220 and 320 to approach a flush contour. The aim is not merely a smooth surface but a surface that mirrors the fairing’s original curvature and edges. If the repair has disrupted the symmetry of the contour, a light application of gel coat or a compatible body filler can rebuild the surface so it aligns with the surrounding materials. Gel coat, in particular, helps reproduce the fairing’s original sheen and can be buffed to a near-perfect finish. After the sanding, wipe away all dust and inspect the area under bright light. Any slight depression or bump should be addressed before paint, because a cosmetic fix without structural perfection inevitably reappears as soon as the bike vibrates at speed.
Painting is the final, transformative act. Use a color-matched paint system designed for plastic or fiberglass, and apply several thin coats rather than one heavy coat. Each layer should dry thoroughly before the next, and a clear topcoat provides UV resistance and gloss. Proper ventilation is essential, as resins and solvents can be hazardous in enclosed spaces. Mask off adjacent areas with tape to protect the rest of the fairing. A careful painter’s eye will catch any changes in hue or texture that appear as the finish ages; the goal is a seamless transition that makes the repair invisible to casual inspection. Throughout this process, maintain a steady temperature and stable humidity; fluctuations can affect resin cure and paint adhesion. The result should be a panel that not only looks right but behaves like a single, unified piece when the bike is in motion.
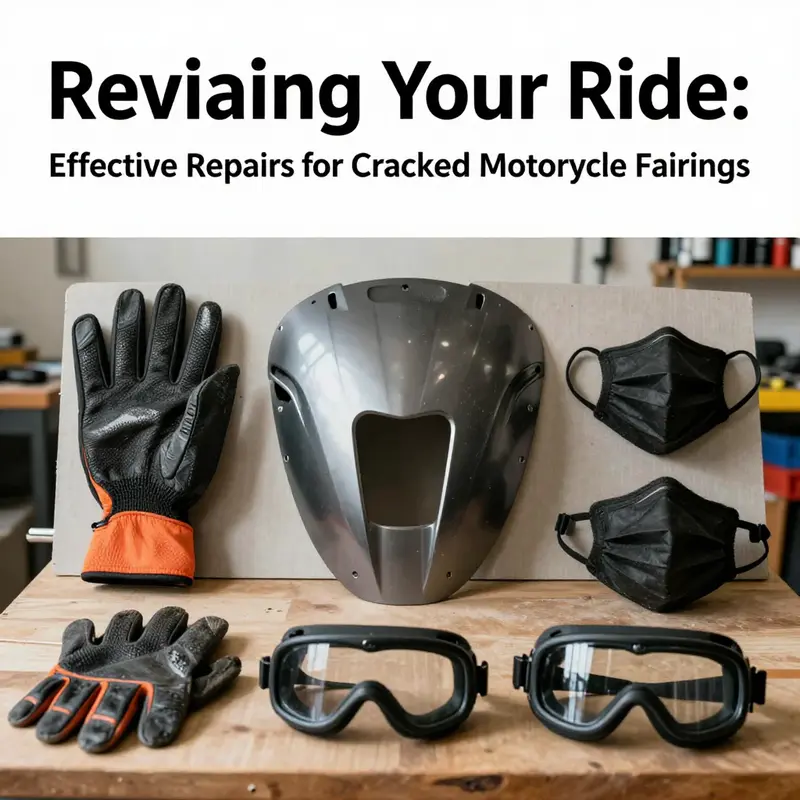
Beyond the technique, there are practical considerations that keep the repair resilient over time. Work in a well-ventilated area and wear gloves, eye protection, and a respirator if you’re working with strong solvents or aerosols. Keep a clean workspace and avoid rushing the cure between coats. If you’re unsure of your ability to achieve a professional finish, consider consulting a shop that specializes in motorcycle bodywork; they can deliver a durable fix with a finish that matches the rest of the bike. And for riders who anticipate longer-term maintenance, it’s worth considering how the fairing is mounted and whether any mounting points or nearby supports were compromised—these factors can influence how well a repair endures vibration and road impact.
If you’re thinking about replacing rather than repairing, or you want to explore options for matching panels as your bike ages, you can explore fairing categories that align with your model. For example, the Suzuki GSXR line has a dedicated range of fairings that can be a helpful reference when planning a full panel replacement or upgrade; you can explore these options here: GSXR fairings — Suzuki. This link serves as a practical reminder that, while repair is often the most economical path, replacement panels can offer a restoration that’s accurate to the bike’s original geometry and aesthetics.
As you complete a fiberglass repair, remember that the repair’s strength rests on the bond’s integrity as much as on the surface’s appearance. A well-executed repair resists both the inside pull of the resin and the outside forces of wind, water, and heat. The finish should be smooth, and the color should be matched across the repaired area. When the bike returns to the road, you’ll feel the difference not just in the look of the fairing but in how it behaves with engine vibrations and road irregularities. The highway test—where the fairing meets wind at speed—offers the ultimate measure of a repair’s success. If, after a ride, you notice the surface is still soft, or new cracks begin to form, it’s a signal to reassess the repair and possibly escalate to a more robust method or professional service. The repair’s measure is not only how it ends up looking but how it holds up under the real-world tests of riding, weather, and the occasional unforeseen impact.
For readers seeking a deeper dive into fiberglass repair techniques, a detailed external resource offers a broader step-by-step guide. It complements the approach outlined here and provides additional tips for achieving a professional finish. Read the external guide here: https://www.motorcyclecruiser.com/repairing-a-cracked-fiberglass-motorcycle-fairing/.
Knowing When to Call in the Pros: Balancing DIY Fixes With Professional Repair for Cracked Motorcycle Fairings
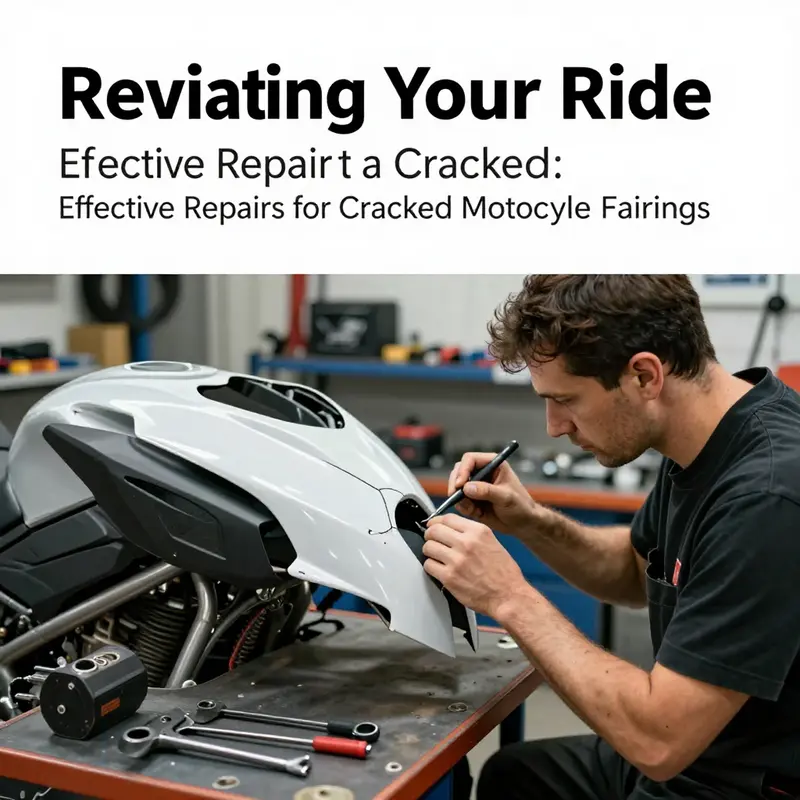
A cracked motorcycle fairing is rarely just a cosmetic blemish. It can ripple through the bike’s aerodynamics, mounting integrity, and even its resale value. The decision to DIY or seek professional repair hinges on a careful assessment of damage, load paths, and the fairing’s material. Start by imagining the fairing as a curved shell that helps direct air, protect internal components, and maintain a clean line of sight for the rider. If a crack is small, isolated to a single panel, and distant from mounting points, it’s often feasible to tackle at home. But when a fracture crosses a structural line, or if it splay across critical areas such as the mounting brackets, headlight housing, or air intake ducts, the risk of a hidden weakness increases dramatically. In those cases, professional repair is not a luxury; it is a safety decision, because a failed repair can loosen at speed, throw the fairing out of aerodynamic balance, or even compromise rider protection. The material matters just as much as the crack’s breadth. Plastic fairings—usually ABS or polycarbonate—tend to respond well to careful epoxy-based repairs or specialized plastic repair kits when the damage is minor. Fiberglass fairings require resin and cloth reinforcement to restore strength, while composite or more exotic materials demand even more precision in repair strategy to preserve both form and function. The affordable at-home route can be compelling, yet it demands honesty about limitations. If the damage is near mounting points or involves a large fissure running along the curve of the panel, the repair’s load path becomes more complex, and a professional technique may be the only way to guarantee long-term reliability. Even for DIY enthusiasts, there is a practical boundary: the goal is to restore plane-like rigidity and a smooth surface that can be color-matched and sealed, not merely to fill a crease with filler and hope for the best. The most important guiding principle is to ensure that the repaired area will endure vibration, weather, and impacts without shifting or cracking again. This is particularly crucial for riders who regularly ride at highway speeds or on rough surfaces, where a marginally repaired panel can fail with little warning and at a dangerous moment.
For riders facing minor surface cracks, a measured, methodical approach can yield durable results. The materials involved—epoxy resins, fiberglass cloth, and plastic-specific repair compounds—provide a workable toolkit. The repair sequence matters as much as the materials themselves: first, clean the area thoroughly with a degreasing agent to remove wax and grime; next, lightly sand the crack edges to create a roughened surface for the adhesive to bite into; then apply the repair compound or resin, layering fiberglass cloth if the crack extends beyond a simple line. Allow the material to cure fully before adding a second layer if needed, then sand the repaired zone smooth and proceed to primer and paint. Finishing matters nearly as much as the repair itself, since a well-matched color and a flawless gloss will help the repair blend with the rest of the fairing and reduce the visual cues that reveal patchwork. Even with a careful DIY repair, it’s wise to perform a functional check afterward: confirm that all mounting points sit true, that the headlight assembly remains properly aligned, and that the airflow around intakes is unobstructed. A good, well-adhesive fix should feel solid to the touch and show no soft spots when pressed, a telltale sign that the bond may still be compromised.
When the damage crosses into more demanding territory, professional repair becomes the prudent course. A shop with experience in motorcycle fairings can offer structural reinforcement, precision reshaping, and, crucially, color matching that preserves the bike’s original appearance. Professionals can employ methods not easily replicated in a home workshop, such as vacuum-assisted resin infusion or CNC shaping, which help restore both the panel’s strength and its aerodynamic contour with a degree of accuracy that is hard to achieve otherwise. These techniques are especially important for high-performance models where even a small deviation in fairing geometry can alter airflow, stability, and cooling efficiency at speed. A professional assessment also extends beyond the visible crack. Shops often inspect for hidden internal cracks, delaminations, or micro-fractures that may not be obvious to the naked eye but can undermine long-term reliability. The diagnostic process itself is a form of insurance: it reduces the risk that a fix will fail under vibration or stress conditions years after the repair. For multi-panel damage or color-sensitive repairs, professionals can coordinate a seamless finish, ensuring that the repaired panel is indistinguishable from the rest of the fairing. This level of service, while more costly and time-consuming, protects the bike’s aesthetics and resale value, and, perhaps most importantly, preserves the rider’s confidence in the machine’s integrity.
Cost and time are practical considerations that riders cannot overlook. DIY repairs generally take less time and cost less upfront, but they demand a level of skill, patience, and the right materials. Professional repairs incur higher labor charges and a longer turnaround, yet they minimize the chance of a repeat failure and offer warranties on workmanship that DIY fixes typically cannot. For riders on performance models or those whose bikes live on the edge of aerodynamics and safety, the extra investment often translates into a safer, more reliable ride. It can also be compatible with the bike’s warranty or dealership service plans, an important factor for riders who rely on their machine for daily commuting or racing duties. Model-specific considerations can tilt the balance toward pro services as well. If your fairing is part of a highly engineered, performance-focused model, consulting a technician who understands the exact materials, tolerances, and paint systems used on that model helps ensure the repair preserves not just the look but the performance characteristics of the original design. To help riders connect with appropriate resources, consider exploring catalogs that host model-specific fairings, such as a Honda fairings collection, which can guide you toward panels that match your bike’s lines and dimensions. Honda fairings catalog.
Ultimately, the choice between DIY repair and professional service comes down to a balance of damage severity, location, material, and your personal willingness to invest time and money for a longer-lasting fix. If the crack is minor, well away from critical mounting points, and the rider is patient enough to execute careful surface preparation and curing, a well-executed at-home repair can restore function and aesthetics. If, however, the crack threatens structural integrity, aligns with mounting points, or lies near the headlight, air intake, or other high-stress regions, the safer, longer-lasting option is to entrust the repair to a qualified shop. They bring higher-grade tools, such as precision alignment jigs and controlled curing environments, along with access to materials tailored for motorcycle applications and capable technicians who can guarantee both strength and color fidelity. Engaging a professional also provides an opportunity to review the bike’s overall fairing integrity—checking for hidden damage and ensuring that the repair preserves the intended aerodynamic profile. For riders who want a reliable guide to the process, a comprehensive, step-by-step overview from an industry resource can be a valuable reference, while keeping in mind that the specifics of your model may require slightly different approaches. For a detailed DIY guide and safety reminders, see the external resource linked at the end of this chapter.
In sum, the decision to seek professional repair should be guided by a clear-eyed assessment of the damage’s scope and a respect for the bike’s performance needs. A minor crack in a non-critical area may be well worth a careful home fix, while any fracture that touches mounting structures, aerodynamic surfaces, or internal components should prompt professional evaluation. This approach protects both the rider and the machine, ensuring that the repairs, whether home-based or shop-based, restore the fairing’s function and the rider’s confidence on the road. For model-specific considerations and to explore compatible fairing options, you can consult a dedicated catalog in your bike’s make group, which helps you align the repair approach with the exact geometry of your machine. For a more in-depth, professional-oriented guide, refer to the external resource provided by industry experts.
Cracked Fairings, Severe Damage: Navigating Replacement Paths for a Safer Ride
A cracked motorcycle fairing tests more than just appearances; it tests the resilience of your bike’s protection, aerodynamics, and the reliability of your mounting points. When a crack is discovered, the instinct to fix it quickly is strong, but the wiser move is to first assess the damage in context. A small crack on a plastic fairing might be a quick repair, yet the same fracture expanding toward a mounting point or a structural feature can quickly become a safety concern. The distinction between a cosmetic blemish and a structural compromise matters because fairings do more than shield the engine. They help manage airflow, reduce engine heat buildup, and protect you from debris and weather at speed. If the crack runs near a fastener, hinge, or brace, the risk of vibration-induced failure grows as the bike shudders over road irregularities. In short, severity and location guide your next step, whether repair or, in more serious cases, replacement.
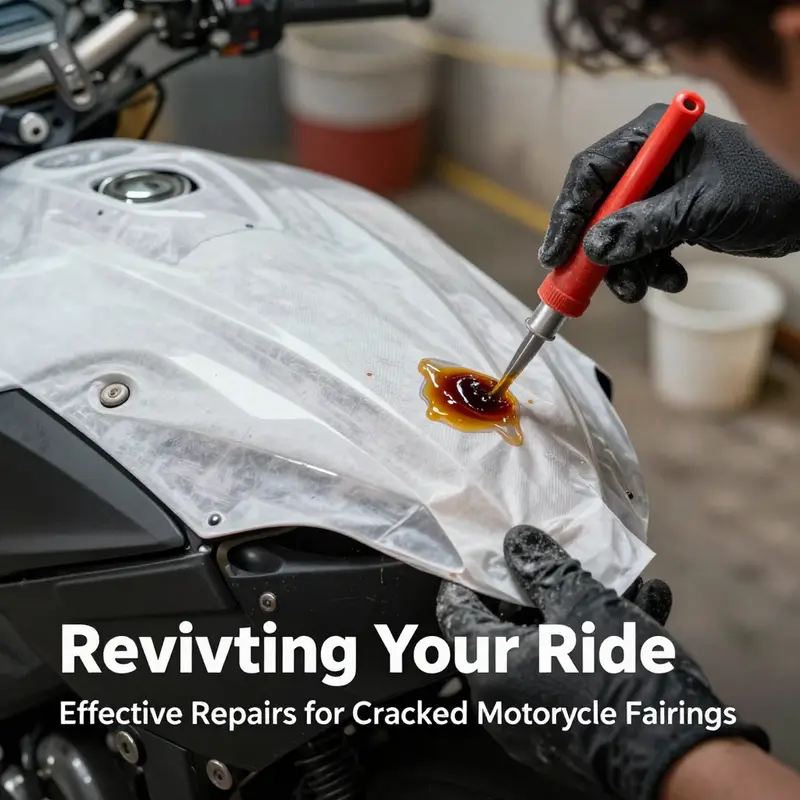
For minor cracks and small punctures, the path of repair is practical and often effective. A high-strength adhesive designed for automotive plastics can bond the cracks, provided the area around the damage is clean and sound. Preparation matters as much as the adhesive itself: clean with an isopropyl-alcohol wipe to remove oil and dust, then lightly abrade the surrounding surface to promote bonding. Apply the adhesive per the manufacturer’s instructions, pressing the fractured sections together firmly to eliminate gaps. In many cases, a filler can be used after curing to smooth any surface unevenness, followed by careful sanding, priming, and paint to restore color and edge definition. The key, though, is to validate the repair’s integrity under real conditions. A repair that cannot withstand vibration, weather exposure, and minor impacts is a liability rather than a solution.
If the crack is larger or if the fairing has suffered deformation, the repair becomes less reliable. In those situations, replacement or a carefully planned hybrid approach may be the best course. A replacement does not merely restore aesthetics; it reestablishes the protective boundary between rider and machine and preserves the bike’s intended aerodynamics. The question then moves from “can I fix it?” to “which replacement path should I take?” Three principal routes exist: Original Equipment Manufacturer (OEM) parts, aftermarket fairings, and used or salvaged components. Each option carries its own balance of fit, finish, cost, and risk, and the decision often hinges on model compatibility, budget, and the importance you place on precise aesthetics.
OEM parts provide the cleanest path back to original specs. They are designed to fit precisely with your motorcycle’s lines, contours, and mounting points, ensuring the least amount of labor during installation and the highest confidence in performance. The downside is the price and, in some cases, longer lead times if the part needs to be ordered. For riders who prize exact color-matched finishes and pristine fit, OEM replacements are often worth the investment. In contrast, aftermarket fairings broaden the field considerably. Third-party manufacturers offer a wide range of styles, finishes, and sometimes lighter-weight designs that can enhance the look or reduce weight slightly. The trade-off is that you must verify model compatibility, mounting hardware requirements, and the quality of fit. Some aftermarkets align perfectly with the bike’s geometry, while others require additional trimming or custom work to achieve a seamless transition between fairing pieces.
Used or salvaged fairings represent the most economical option, but they come with risks that demand careful scrutiny. Color matching can be inconsistent, and there may be unseen damage such as micro-cracks, weakened mounting points, or hidden structural flaws behind a cosmetic outer shell. If you choose this route, inspect the donor piece for integrity, assess the compatibility with your fairing’s substructure, and be prepared to invest additional time in patching and refinishing to blend it with the rest of the bike. Regardless of the path chosen, professional consultation adds a layer of assurance. A technician who specializes in fairing work can verify the structural safety of the mounting points, confirm that the replacement does not interfere with radiator clearance or steering lock mechanisms, and ensure that fasteners and brackets align correctly. In some cases, a pro may also recommend reinforcing mounting areas or revising internal subframes to accommodate a different design or thickness from the replacement part.
Before you decide, take a measured, methodical approach to fit and finish. Start by documenting the exact model, year, and fairing section impacted. Check the motorcycle’s service manual for torque specs and mounting references. Lay the candidate replacement pieces on the bike to visualize alignment, clearance, and how the pieces meet at seams. If you are contemplating an aftermarket option, collect color swatches or request color-matched panels, or plan for a repaint to achieve a uniform appearance. The painting stage is not merely cosmetic; it also seals the surface against moisture ingress that can undermine bond strength and accelerate wear over time. If painting is part of the plan, coordinate with a shop that has experience blending new panels with original paintwork to prevent noticeable transitions that could attract unwanted attention or reduce resale value.
In terms of execution, installation requires attention to hardware and surface preparation. If you are installing OEM or aftermarket components, verify that the fasteners are compatible and that the mounting points are not stressed beyond their service limits. Clean all contact surfaces to remove oils and dust, then reassemble with the correct sequence and torque guidance. Hybrid approaches—repairing a segment and replacing another—are possible but should be guided by a professional to ensure that the structure remains sound and that the overall aerodynamics stay within the bike’s designed tolerances. It’s worth stressing that a poorly integrated replacement can cause misalignment, air leakage, and flutter at speed, which could compromise rider comfort and stability.
As you weigh the replacement options, consider not only the price but also the long-term value. OEM parts offer assured compatibility and finish but may stretch a rider’s budget. Aftermarket fairings provide flexibility in style and cost but require careful vetting for fit quality. Used panels can deliver immediate savings but may incur hidden costs in refinishing and reconditioning. Whatever path you choose, ongoing inspection after installation is essential. Check seams for gaps after the first test ride, confirm that there is no interference with cables or bodywork in the stored position, and monitor for unusual vibrations or wind noise that might indicate a subtle misalignment. A temporary fix can become a safety concern if ignored, especially on high-speed roads or long-distance rides where vibration and heat are continuous factors.
For riders who want to explore model-specific options, the market is broad and varied. The availability of fairings by brand and model means that a precise fit is often available within both OEM and aftermarket ecosystems. If your bike is a common sport or sport-touring platform, you will likely find a compatible replacement that matches your preferred color and graphics. In cases where you prioritize integration with a particular style, aftermarket parts can be a channel to achieve your aesthetic goals without compromising protection. When navigating these choices, remember to confirm the compatibility with your exact motorcycle year and submodel, as small differences can affect mounting points and overall fit.
If your decision leads you toward a Honda-specific path, you can explore a curated set of compatible components and styles from dedicated suppliers. For example, you can browse Honda fairings to compare options and verify fit with your model year. This approach helps you balance style with function, ensuring that the chosen panels will not only look right but also stay secure under ride conditions. Honda fairings can serve as a starting point for evaluating available replacements and assessing how the pieces might align with your existing substructures.
Ultimately, the choice to repair versus replace hinges on more than a price tag. It tests your assessment of risk, your patience for a precise fit, and your willingness to invest in the bike’s long-term protection. For most severe cases, replacement is the more predictable path. It preserves the integrity of the windscreen line, the mounting geometry, and the bike’s overall aerodynamics. It also restores the confidence that comes from knowing the fairing is a solid shield against weather and road debris. When done with care, a properly selected and installed replacement fairing can look virtually seamless with the rest of the bike, and it can deliver many miles of reliable service.
For further guidance on how to navigate these decisions and to see how replacement strategies play out in real-world repair scenarios, consult comprehensive resources that focus on compatibility, installation, and finishing details. You’ll find grounded advice about selecting and installing replacement motorcycle fairings that aligns with practical needs, safety, and the nuances of different models. As you weigh your options, remember that the goal is a repair path that keeps you protected, comfortable, and confident on the road. For broader coverage on compatibility and installation tips, see Cycle World’s detailed guidance on selecting and installing replacement fairings. https://www.cycleworld.com
Repairing a Cracked Motorcycle Fairing: Safe, Durable Solutions
A cracked motorcycle fairing is more than cosmetic; it can affect airflow, water intrusion, and structural integrity. Repair decisions depend on material – ABS plastic, polycarbonate, fiberglass, or composites. The overarching goal is a bond that withstands vibration and weather while preserving aerodynamics and aesthetics. For minor ABS cracks, start by cleaning with isopropyl alcohol to remove grease and dust, then lightly roughen the cracked edges. Apply a two-part epoxy formulated for plastics, working it into the crack to fill voids and create a solid bridge. After curing, roughen the surface, apply a compatible filler if needed, then prime and color match for a seamless finish. The final coat should protect against UV and flexing that can reopen a weak bond.
For deeper cracks or polycarbonate panels, bond strength and heat sensitivity matter more. Polycarbonate is tough but can craze or debond if the adhesive chemistry is wrong. Small cracks near nonload bearing areas may be repairable at home; larger cracks near mounting points or load paths often require professional repair or replacement. If attempting at home, keep cracks small, work only from the clean side to avoid wicking contaminants, and monitor around mounting bosses for signs of stress. The objective remains a robust bond, a smooth surface, and a paint finish that resists sun, rain, and road grit.
Fiberglass or composite fairings require a resin system and reinforcement fabric. The typical repair involves cleaning the damaged area, roughening the surface, applying resin with hardener, and laying reinforcing fiberglass cloth to restore strength. Allow full cure before sanding, priming, and painting. This approach is less forgiving near edge joints or mounting bosses, so consider professional help if the damage spans critical anchors or affects the finish of visible panels.
Across all materials, plan your finish to blend with the surrounding fairing. After curing and sanding, use a primer compatible with the base material, apply a filler that accepts topcoat pigments evenly, and finish with a color-matched base and clear coat to restore gloss and texture. Proper preparation and finishing reduce the telltales of repair and help your appearance stay factory-like.
Safety first: wear protective gear and work in a well ventilated area. Follow the adhesive and epoxy manufacturers curing times, and avoid inhaling fumes. If in doubt about bond integrity, have a qualified technician recheck the repair before riding. For many riders, a small ABS repair can be a DIY project, while larger polycarbonate repairs or any panel near attachment points are better handled by professionals to preserve load paths and mounting integrity.
Final thoughts
Repairing cracked motorcycle fairings is vital for maintaining both aesthetics and safety, ensuring customer satisfaction and loyalty. By utilizing appropriate repair methods for plastic and fiberglass fairings, recognizing when to consult professionals, and knowing when to opt for replacements, business owners can navigate the complexities of fairing maintenance effectively. Prioritizing safety measures throughout this process not only enhances repair quality but also builds consumer trust and promotes a safe environment for all. As you cultivate these repair skills and practices, your business will not only thrive but also ensure that riders can safely enjoy their journeys.