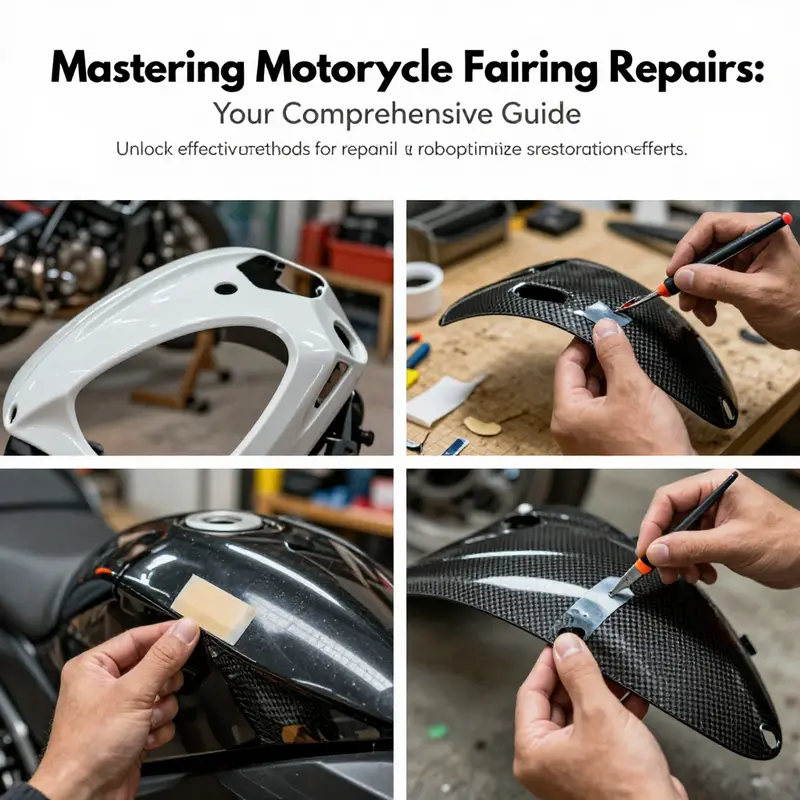
Repairing broken motorcycle fairings is not just about aesthetics; it’s crucial for maintaining the overall performance and safety of motorcycles. Business owners in the motorcycle industry stand to gain significantly by understanding the various effective methods to repair motorcycle fairings. This guide explores essential techniques ranging from fixing minor damage to advanced carbon fiber applications. Each chapter delves into practical solutions, providing you with the insight needed to make informed decisions that can enhance service offerings and improve customer satisfaction.
From Subtle Dings to Seamless Surfaces: A Practical, Integrated Guide to Minor-Damage Repair on Motorcycle Fairings
Fairings are more than just a shield for the bike’s innards; they are a canvas that defines your ride’s character. When a dent forms or a scratch scuffs the surface, it can feel like a breach in the bike’s personality as much as in its aerodynamics. Yet minor damage is a common, manageable part of riding, and it doesn’t have to mean surrendering a clean, polished appearance. The path from a blemish to a near-perfect finish is not a single shortcut but a careful sequence of decisions about materials, preparation, and technique. The goal is not a perfect replication of the original plastic but a durable, aesthetically consistent repair that blends with the surrounding panel and holds up under heat, rain, and the daily grind of road grime. That holistic view—starting with a clear assessment and ending with a careful finish—keeps repairs practical and satisfying, allowing you to ride with less worry and more pride in your bike’s appearance.
The first step in any minor-damage repair is honest assessment. Look closely at the damage and map out its reach. A shallow dent or hairline scratch that only touches the surface is very different from a deeper gouge that compromises the fairing’s shape or edge. The line you draw between cosmetic touch-ups and structural repair is not always perfectly sharp, but it matters. For cosmetic damage that sits on the exterior layer, a filler-based approach can restore a smooth plane and a uniform reflection. If you detect a jagged edge or a crack that travels through the thickness of the plastic, you are entering a zone where more robust methods—such as plastic welding or patch reinforcement—may be warranted. It’s crucial to consider the plastic type in use. ABS and polycarbonate are common, and each responds differently to heat, solvents, and adhesion. A repair that relies on a filler without addressing a real crack may only hide the issue, while a welding approach that distorts the surface can create a new problem area if not controlled.
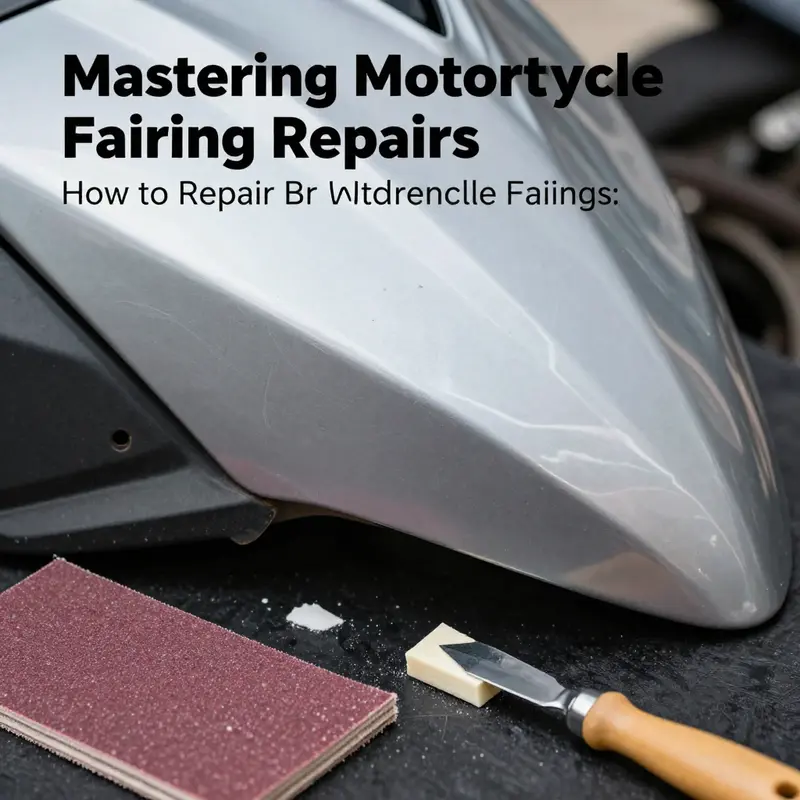
With minor dents and scratches, the repair strategy centers on feathering the edge and persuading the surface to resume a single, uninterrupted plane. The process begins by cleaning the area. Dirt, oil, and old waxes create a poor bond for filler or adhesive. A simple mixture of degreaser and water, followed by a wipe with a clean cloth, is usually enough to prepare the surface. In some cases, a quick wipe with isopropyl alcohol helps remove residue and ensures better adhesion. It’s important to avoid aggressive solvents on painted surfaces. If the paint layer is thin or old, acetone can lift or haze the finish, so test a small corner first or choose milder cleaners on painted portions while reserving acetone for raw plastic areas. The next move is to roughen the surface. Lightly sanding with a fine abrasive—say in the range of 180 to 320 grit—creates micro-roughness that helps the filler lock in. The key is feathering: you’re not trying to grind away a chunk of plastic but to give the filler a subtle surface to grip and a gradual transition back into the surrounding texture.
Once the area is prepped, apply a plastic body filler with a spreader or a putty knife. The aim is to lay a thin, even skin that fills the low spot without accumulating in a raised mound. It’s often better to build in multiple thin layers than to try one thick coat. Allow each layer to cure fully according to the manufacturer’s instructions before a light final sanding. Sand gradually—from coarser grit to finer—as you blend the repaired patch with the adjacent surface. You want a feathered edge that disappears under paint. When you reach a surface that feels smooth to the touch and visually matches the surrounding panel, you’re ready for paint. The color-matching task is delicate and can require a careful eye and multiple light passes of color and clear coat. Primers can help achieve a uniform base tone and provide a uniform surface for topcoats. In this stage, patience becomes the technician’s most valuable tool. Rushing can leave uneven sheen or patchy color that reveals the repair instead of concealing it.
The painting phase is where the repair starts to feel complete. A base coat in a color that matches the rest of the fairing is followed by a clear finish that protects the repair from UV light and weathering. When color matching, it’s often better to test with a small spray on a hidden area or a test panel. Thin, even coats are preferable to heavy, run-prone layers. Allow each coat to dry fully, then inspect under both natural and artificial light. Gloss can reveal subtle differences in texture; the feathered edge should disappear when viewed from typical riding angles. If the finish looks slightly off, a final feathering pass with fine compound and polish can help harmonize the repaired patch with the rest of the panel. The goal is a consistent sheen and reflection across the entire fairing, so the repair remains invisible to onlookers rather than conspicuous upon close inspection.
For modest repairs, a cosmetic approach may be sufficient, but not all minor damage remains purely cosmetic. Some cracks, especially those that coincide with joints or mounting points, may require a supplementary reinforcement. One practical approach is a light, controlled plastic-weld technique. The concept is to fuse the damaged edges with heat while introducing a compatible plastic filler along the seam to bolster strength. The process must be executed with care: keep the heating tool moving to avoid overheating and warping, and use a compatible plastic rod to fill the seam from the inside or the outside depending on access. After cooling, the seam can be ground smooth and re-sanded to a seamless finish before re-painting. This approach restores structural integrity while preserving aesthetics, a crucial balance for fairings that endure vibrations, wind, and road stress.
If the damage runs deeper or the fairing exhibits multiple fractures, a more robust option may be warranted. Advanced repairs, such as carbon-fiber reinforcement, offer a combination of strength, rigidity, and a modern, premium look. The carbon-fiber approach involves laying down fabric in layers with resin over the repaired area, pressing out air pockets, and curing under controlled conditions. For riders who pursue performance aesthetics or cherish cosmetic upgrades, carbon fiber patches can be applied to tail sections or larger panels to restore strength while maintaining a light weight. This method is more technically demanding and requires appropriate safety practices, ventilation, and curing control. It is not a DIY shortcut for every damaged fairing, but it remains a viable route for dedicated builders who want a durable and striking result that stands up to track-day conditions as well as street riding.
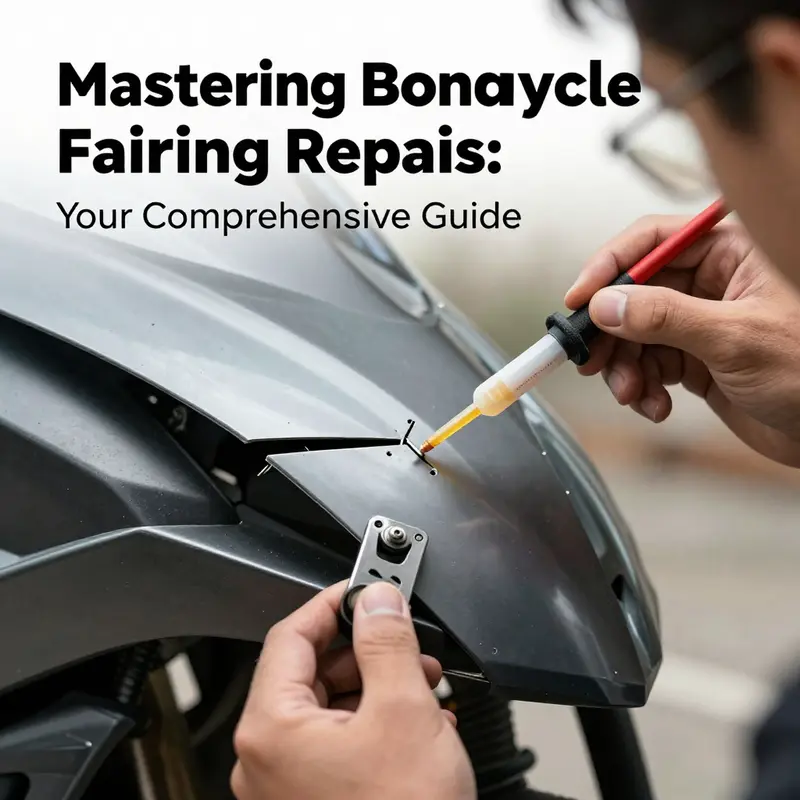
In the interest of practicality, many riders will also encounter temporary or cosmetic fixes that bridge gaps until a more thorough repair can be done. High-strength, fast-curing adhesives can bond cracks in non-load-bearing areas, such as side panels or mounting shrouds, to keep parts from spreading further apart. When using adhesives, surface preparation is crucial: clean, dry surfaces and a careful clamping or securing method prevent misalignment during cure. It’s essential to avoid applying strong adhesives to load-bearing joints or critical safety components. The temporary fix should not replace a proper fix if the part is a load-bearing element or if structural integrity is in question. In this context, the repair functions as a stopgap, buying time for a more complete solution and keeping the fairing in place while road use continues.
The final stage of any minor-damage repair is the thoughtful integration of the fix into the bike’s broader aesthetic. Even after a flawless patch, the surrounding area should receive attention. A light compound polish will help restore the shine and remove micro-scratches around the repaired zone. If the panel is aligned with other pieces, a touch of color-matched paint and a clear coat can help unify the finish. Texture variations sometimes reveal themselves in certain lighting, particularly after a repair that involved sanding. If the finish looks inconsistent under bright light, a second, ultra-fine polishing pass can help. The aim is not a laboratory-perfect surface but a ride-ready, visually consistent fairing that you can be proud of during a casual ride or a show-day photoshoot.
Beyond the mechanical steps, there is a practical, often overlooked, discipline: the prevention and ongoing care of repaired surfaces. Exposure to sun, heat, or aggressive weather accelerates aging. A simple protective approach—keeping a consistent wash routine and applying a light wax or sealant to the repaired area—can extend the life of the fix. The repaired surface benefits from a periodic inspection: look for new hairline cracks, delamination, or color shift that suggests moisture ingress or heat-induced stress. Addressing these signs early can prevent more extensive damage and maintain the integrity of the repair. The goal is a repair that not only looks good but also remains reliable through ride after ride, season after season.
It helps to place the repair in a broader context. If you are pursuing a factory-like finish or are building toward a high-end restoration, the path may include more involved steps, such as color mixing, advanced masking, or even professionally-applied finishes. Yet the core principles remain unchanged: clean, assess, feather, bond, and protect. The sequence is logical because each step builds on the last, and the result is a fairing that carries the rider’s confidence as much as it carries the bike’s silhouette. The narrative of repair becomes a testament to care—care for the material under your hands, care for the ride you cherish, and care for the skill you choose to practice.
For riders who want a direct path to compatible components as part of ongoing customization, you can explore a dedicated catalog that focuses specifically on models and brands. For example, a brand-focused catalog for Honda fairings makes it easier to identify panels that align with your bike’s geometry and mounting points. This targeted approach helps ensure compatibility and reduces the trial-and-error that can accompany aftermarket repairs. Honda fairings catalog offers a curated starting point for those considering a replacement panel or a new skin to complement a repaired area. While not a substitute for substantial structural work, a matching or near-matching panel can elevate the overall impression of the repair and help you maintain a cohesive look across the entire bike.
The repair journey does not end with the final coat. A seasoned rider knows that the best repairs are those you forget about because they hold up under normal use and look indistinguishable from the surrounding surfaces. The confidence that comes from a well-executed fix adds to the pleasure of riding, letting the bike’s lines speak for themselves rather than drawing attention to the damage that preceded the repair. And while minor-damage repairs can be deeply satisfying on their own, keeping a careful eye on the fairings and treating them with respect is the ongoing discipline of ownership. A fairing that has endured a successful repair is a reminder that the road, with all its surprises, can be met with a calm, methodical approach rather than a rush to patchwork quick fixes.
External resources can deepen your understanding of more demanding repair techniques, especially when you consider carbon-fiber reinforcement or professional resurfacing. For readers seeking a broader perspective on carbon-fiber repair methods and their applicability to motorcycle fairings, an in-depth guide offers practical insights into laying up layers, tuning resin viscosity, and curing processes that yield robust, lightweight results. This external resource provides an informed complement to the hands-on steps outlined above and can help you gauge whether a more advanced route aligns with your goals and capabilities.
External reference for deeper exploration of carbon-fiber repair: https://www.rideapart.com/carbon-fiber-repair-motorcycle-fairings/
In sum, minor-damage repair on motorcycle fairings is a craft of balance. It requires a disciplined assessment, careful material choices, and a measured approach to finishing. The techniques described here enable you to salvage aesthetics and function without surrendering the bike’s integrity. Whether you follow a simple filler-and-paint path, employ plastic welding for deeper cracks, or choose the premium route of carbon-fiber reinforcement, the key is to proceed with intention, test as you go, and respect the limits of the material you are working with. With patience and practice, those small dents become nothing more than a well-kept memory on a machine you continue to ride with pride.
null
null
Carbon Fiber Renaissance: An Integrated, Precision-Driven Repair of Broken Motorcycle Fairings
The motorcycle you ride is more than a machine; it is a sculpture in motion, and the fairings are the armor and the aesthetic syllables that define its voice. When a fairing cracks, dents, or splits, the instinct to patch it with quick fillers or a dab of glue is strong. Yet advanced repair asks for more than surface cosmetics. It asks for a disciplined dialogue between material science and craftsmanship. Carbon fiber offers a path that reconciles durability, lightness, and visual fidelity, transforming a damaged panel into a repaired region that behaves like the original — or close enough to satisfy both performance and pride. This chapter treats carbon fiber repair as a cohesive process, not a collection of unrelated tricks. It is a holistic approach that begins with a careful assessment, continues through a scarf repair that prepares a living substrate for reinforcement, and culminates in a controlled cure, precise finishing, and thoughtful aesthetics. It is a method suited to high-performance machines, to bespoke builds, and to riders who demand longevity from every square inch of their ride.
The first step is assessment. Not every flaw justifies the complexity or expense of a carbon fiber repair. Surface scratches and minor cosmetic chips may be more efficiently and economically addressed with traditional paint and filler methods. But when damage involves deep cracks, delamination, or a compromised structure in load-bearing areas, carbon fiber becomes not merely an option but a practical necessity. The decision requires honest appraisal of the damage’s extent, a calculation of the repair’s feasibility, and an understanding of when replacement might be more cost-effective than an ambitious rebuild. In this light, the repair process straddles engineering judgment and artistic craft. The goal is to restore structural integrity while preserving, as much as possible, the original geometry and visual character of the fairing.
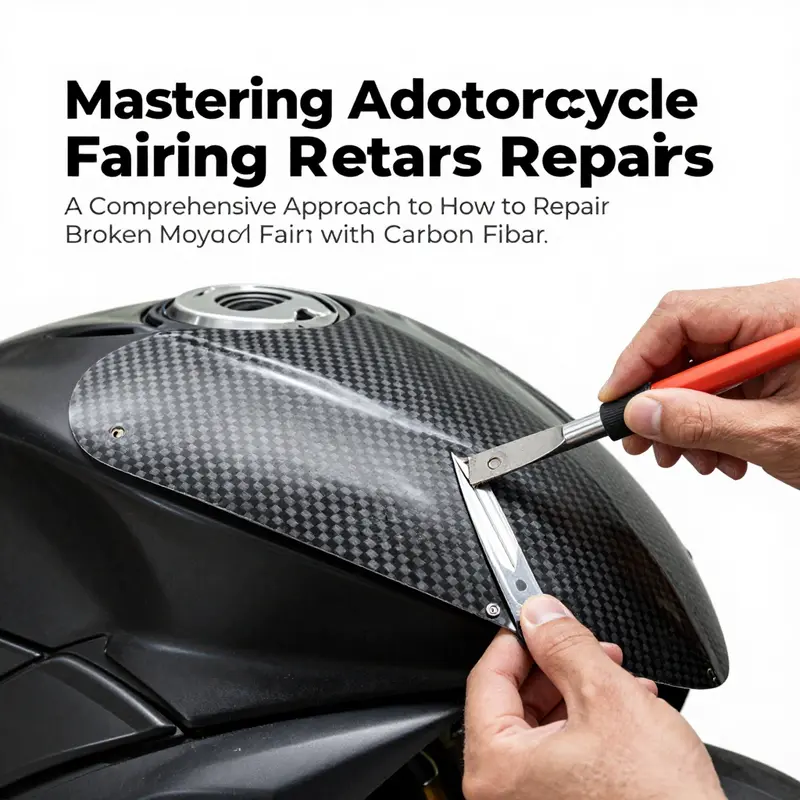
If the call is for carbon fiber repair, the scarf repair technique stands as the backbone of a durable reconstruction. Scarfs involve removing the obviously compromised section and shaping the surviving substrate into a tapered, stepped profile. This geometry provides a generous bonding surface area and a gradual transition that resists stress concentrations. Proper scarfing is a meticulous undertaking. It begins with clean, deliberate removal of damaged material, followed by surface preparation that favors adhesion: cleaning with an appropriate solvent, then sanding with progressively finer grits to create micro-roughness that invites resin and fiber to lock in place. The aim is not merely to remove damage but to reveal a foundation that can accept an organic, continuous bond with fresh carbon fiber layers. Any residue, including oils, dust, or solvent film, must be eliminated with a dedicated cleaning step to ensure the resin fully saturates and the bond remains durable through years of vibration and temperature swings.
Once the scarf is prepared, the process moves to the reinforcement stage. This is where the artistry of layup meets the discipline of engineering. Carbon fiber fabric is chosen in response to the panel’s geometry, anticipated loads, and the desired balance between stiffness and flex. The material may come pre-impregnated with resin or supplied as dry cloth that is wetted out during assembly. In either case, the fabric is cut to fit the repaired area with a clear plan for fiber orientation, often aligning with the original weave pattern to preserve mechanical properties in the same directions the panel experienced in service. A carefully chosen low-viscosity epoxy resin is applied, ensuring that every fiber strand is fully impregnated and that resin pockets are minimized. The objective is a uniform, bubble-free layup that yields a cohesive, strong laminate when cured.
Many skilled rebuilds take the extra step of vacuum assistance. The vacuum bagging method is widely regarded as the gold standard for high-quality composite repairs. By enveloping the layup in a flexible membrane and drawing a controlled vacuum, this technique applies uniform pressure across the repair site. The result is thorough resin impregnation, absence of voids, and a bond that mirrors the kind of consolidation achieved in factory composites. Vacuum bagging can be done with room-temperature curing resins for slower, more forgiving cures or with heated cycles to accelerate cross-linking, depending on the resin system chosen. This stage is where the difference between a good patch and a lasting repair becomes apparent. The investment in real vacuum equipment and carefully controlled curing conditions is not merely technical pedantry; it is what yields a structure that can endure the rigors of sustained riding, including cornering loads, wind pressure, and the subtle but persistent fatigue of long hours on the road.
With the carbon fiber layers laid and cured, attention shifts to finishing and integration. The repaired region must be brought back to a shape that matches the surrounding fairing and presents a seamless transition to the rest of the panel. This involves trimming excess laminate, contouring to restore the original profile, and then a measured sequence of sanding with progressively finer abrasives. Wet-sanding from around 1000 to 2000 grit smooths the surface, blends the repair into the surrounding geometry, and prepares it for final finishing. A protective coating — typically a clear gel coat or a clear polyurethane layer — is then applied to seal the carbon and preserve the gloss. For riders seeking a distinctive visual effect, some repairs may incorporate water transfer printing to reproduce a carbon weave or introduce a custom design that harmonizes with the bike’s overall livery. The objective here is not merely invisibility; it is a harmonized finish where the repaired panel sits in quiet visual conversation with the rest of the bike.
The path to a successful carbon fiber repair is as much about process as it is about materials. It is crucial to distinguish between cosmetic restoration and structural restoration. Cosmetic repairs might tolerate a lighter touch and simpler materials, and they can be completed by DIY enthusiasts with the appropriate safety precautions and workspace. Structural repairs, however, demand a higher level of expertise, a careful selection of materials, precise layups, and controlled curing environments. This distinction matters because carbon fiber is unforgiving of sloppy prep or rushed curing. The bond must transfer load without delaminating or creating new points of failure. The consequences of missteps are not just cosmetic; they can compromise the fairing’s ability to manage air flow, protect underlying components, or even fail under load in a crash scenario. Thus, deciding whether to pursue a DIY route or engage a professional is a critical, safety-conscious choice.
The practical implications of these choices extend beyond technique. For riders considering carbon fiber repair, the economics are important too. While carbon fiber offers an impressive combination of strength and lightness, the materials, tooling, and skilled labor required for a scarf-and-vacuum repair carry costs that can rival or exceed the price of a high-quality OEM or aftermarket panel. That is why informed planning matters. A repair might preserve the original part and deliver an appearance that matches the bike’s styling, but it must be weighed against the availability of replacement panels and the potential for future incidents that could require additional reinforcement. In many cases, riders discover that a well-executed scarf repair with carbon fiber can extend the life of a fairing by several seasons, especially on performance builds where rigidity and aero consistency are paramount. Still, professionals caution that attempting major structural work without adequate equipment and testing can introduce hidden flaws that undermine overall safety and performance. The guiding principle remains clear: preserve structural integrity first, then cultivate a finish that honors the bike’s aesthetics.
To those who find the repair journey persuasive, there is also the practical matter of sourcing and integration. Readers may want to explore replacement panels when planning a complete refurbishment or when OEM parts are scarce. For those who are navigating the broader ecosystem of fairing options on the market, the BMW fairings catalog provides a sense of the range, fit, and design language that contemporary plastics and composites offer. It serves as a reference point for understanding how a repaired section might align with the rest of a bike’s silhouette and mounting geometry. BMW fairings catalog is a helpful anchor when considering how a repaired area must respect the surrounding curves and attachment points, ensuring a cohesive look and predictable aerodynamics.
The discussion of advanced materials must also acknowledge the boundaries of DIY versus professional repair. It is tempting to pursue carbon fiber reconstruction with a do-it-yourself kit, and such kits exist for minor repairs. However, when structural elements are involved, the complexity rises quickly. Vacuum equipment, oven or controlled-temperature curing, precise resin chemistry, and meticulous measurement of layup thickness are not universal household tools. A miscalculation in resin content, layer orientation, or cure time can create a repair that looks good but fails under stress. This is why many riders advance with a hybrid mindset: they perform the initial scarf repair, stabilize the area, and then seek a professional composite repair specialist for the final curing, finishing, and integrity testing. The goal is not to pretend the repair is original; it is to restore the fairing’s performance envelope while preserving the bike’s character and safety margins.
Throughout this process, safety remains non-negotiable. Ventilation, proper personal protective equipment, and a sober assessment of the panel’s load-bearing role are essential. Do not repair load-bearing components or parts that affect critical aerodynamics without a professional evaluation. Carbon fiber resins emit fumes during curing, and the solvents used in surface prep can irritate the respiratory system. A dedicated workspace with adequate airflow and containment reduces the risk of fire and exposure. In other words, the repair is not simply a workshop trick; it is a controlled, methodical operation that treats the fairing as a load-bearing, aero-critical element of the bike’s performance profile.
If the repair proceeds, the end result can be striking. Reinforced with carbon fiber, the damaged segment often regains much of its original stiffness and impact resistance. With correct scarf geometry, careful layup, vacuum bagging, and proper finishing, the repaired section can approach the strength of undamaged material, sometimes reclaiming a substantial percentage of the original load-bearing capacity. The visual fidelity is equally compelling, with the weave and gloss offering a convincing impression of a continuous surface. The ride remains responsive, the airfoil characteristics preserved, and the rider spared the downtime and expense of an outright replacement. Yet the chapter’s bottom line is practical: carbon fiber repair is a specialized path with meaningful payoffs when executed with discipline, planning, and respect for material behavior.
For readers who want to delve deeper into the standards that govern composite repairs, turn to industry guidelines and professional references. The journey toward mastery in this domain benefits from established practices and peer-reviewed knowledge. If you want to explore formal benchmarks, consider the Society of Plastics Engineers (SPE) and related professional bodies, which offer technical guidance on composite repair practices and resin systems. These resources provide a broader context for what makes a repair durable, repeatable, and safe across different vehicle configurations and service conditions.
As you contemplate carbon fiber repair, remember that this approach is not a single trick but a comprehensive discipline. It rewards patience, precision, and a willingness to blend engineering rigor with hands-on craftsmanship. When done well, it can restore a fairing to high performance, maintain the bike’s aesthetic integrity, and extend the life of a panel that otherwise could have become disposable. The resulting repair stands as a testament to what modern materials and careful workmanship can achieve: a repaired fairing that performs nearly as well as new and looks every bit as compelling, with the added satisfaction that comes from knowing you guided the process from start to finish.
Further resources for technical depth and industry standards can be found in official guidelines published by professional societies and composites associations. These sources offer deeper dives into resin chemistries, laminate theory, curing kinetics, and best practices for vacuum-infused or pre-preg carbon fiber repairs. Engaging with these materials helps frame the practical steps described here within a broader, validated engineering context and supports informed decision-making for complex or high-stakes repairs.
External resource for broader standards and best practices: https://www.spe.org
Note: This chapter integrates an internal reference to related product categories to help readers understand how repair work fits within the broader ecosystem of fairing options and replacements, while preserving the focus on the carbon fiber repair technique itself. The overarching aim is to equip riders with a clear, technically grounded pathway for restoring damaged fairings that honors safety, performance, and aesthetics.
Safe Hands, Solid Shells: A mindful, safety-first path to repairing broken motorcycle fairings
Protective shells that shield a rider from wind, debris, and the road are more than cosmetics. Fairings carry a practical duty: they shape airflow, protect components, and preserve rider comfort at speed. When a fairing cracks or dents, the urge to fix quickly can be strong, but this approach follows a safety-first rhythm. It starts with safety, then material awareness, then methodical repair, with the goal of restoring a shell that performs predictably under stress. Before any resin meets plastic or carbon fiber, the repair mindset matters as much as the technique. The rider’s safety and the bike’s integrity depend on it. Begin with safety basics: PPE is essential, a good pair of safety glasses protects eyes from shavings, gloves shield hands from sharp edges, and a properly fitted dust mask or respirator protects lungs during sanding and solvent use. Ensure adequate ventilation, work outdoors or in a well ventilated garage, and avoid breathing fumes directly. Disconnect the battery before any work near electrical components, locate and unplug connectors that power fairing lights or sensors, and keep the area dry and free of energized circuits. Material knowledge matters because not all fairings are the same. Thermoplastics soften with heat and take adhesives differently from fiberglass. Some plastics accept filler well, others require preserving flexibility. For fiberglass, plan resin-impregnated patches and careful layering. Choose repair paths with compatibility in mind, considering adhesion, elongation, and thermal expansion. For minor dents, start with cleaning to remove wax and oils, then scuff the surface, apply plastic body filler with a spreader, cure, and sand progressively to a smooth contour. Maintain a clean, dry surface and check the shape by touch. For cracks or broken edges in non-load bearing areas, use a high strength epoxy or cyanoacrylate adhesive, clean and dry surfaces, clamp or weight the joint as it cures, and reinforce with a fiberglass patch if needed. This strengthens the repair and distributes stress away from the crack line. In high end or cosmetic work, carbon fiber reinforcement offers a light, strong finish; lay a patch with compatible resin, cure under controlled conditions, then sand, prime, and paint to blend with the panel. Finishing involves sanding through finer grits, applying primer for a uniform base, color matching when possible, and applying a clear coat for depth and protection. The goal is a seamless look that still respects the geometry of the original panel. Realistic expectations matter: minor repairs can restore appearance and function without adding weight or compromising safety, while more significant damage near mounting points may require replacing the panel. If in doubt, seek professional advice to balance repair versus replacement. Finally, ensure ongoing safety by checking alignment with nearby components, movement of doors or panels, and how the repair influences aerodynamics and airflow during riding. Following a methodical, safety-forward approach yields a repaired fairing that is mechanically sound and pleasing to the eye.
Final thoughts
Understanding the various methods of repairing motorcycle fairings is invaluable for business owners in the motorcycle industry. By mastering techniques for both minor damage and advanced repairs, you can ensure not only the aesthetic appeal of motorcycles but also their performance and safety. Incorporating these practices into your service offerings can increase customer satisfaction and loyalty, making your business a go-to destination for motorcycle repairs. Stay informed and prioritize safety as you enhance your skills in fairing repairs.