Removing paint from motorcycle fairings is a critical task for business owners in the motorcycle industry, whether for restoration or customization. Understanding the importance of using safe and effective methods will not only protect the underlying surfaces but also enhance customer satisfaction. This article delves into proven techniques, focusing on chemical agents, heat treatment methods, and essential precautions to consider. Each chapter builds upon the previous one, equipping you with a comprehensive toolkit to tackle paint removal effectively.
The Delicate Art of Paint Removal: Safe, Surface-Preserving Techniques for Motorcycle Fairings
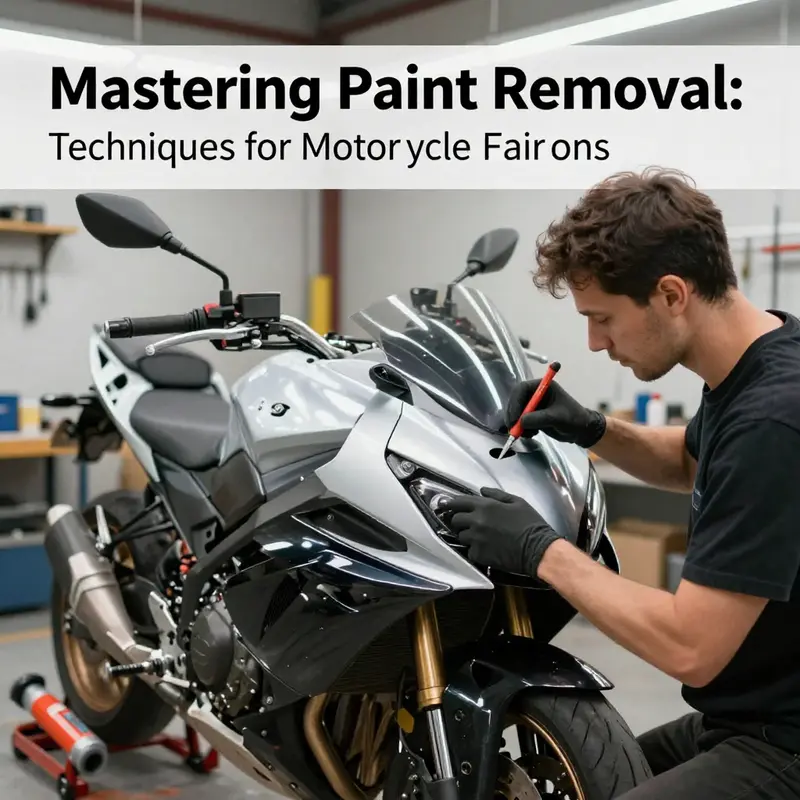
The shell of a motorcycle fairing often tells a story beyond color. When the finish wears or you want to reimagine a colorway, removing paint becomes a careful negotiation between removing pigment and preserving the plastic or composite beneath. The goal is to lift the paint with respect for the material, not to strip everything away.
First assess the substrate. Fairings are typically plastics or fiber reinforced composites, sometimes with multiple coatings, decals, and adhesives. Plastics can craze, embrittle, or soften when exposed to aggressive solvents, so choose a remover formulated for plastics or composites. These formulations are designed to be less aggressive on the substrate, while still softening the pigment enough for lifting. When selecting a remover, look for dwell time guidance and surface compatibility. Begin with a small test patch in a hidden area to observe any adverse reaction before continuing.
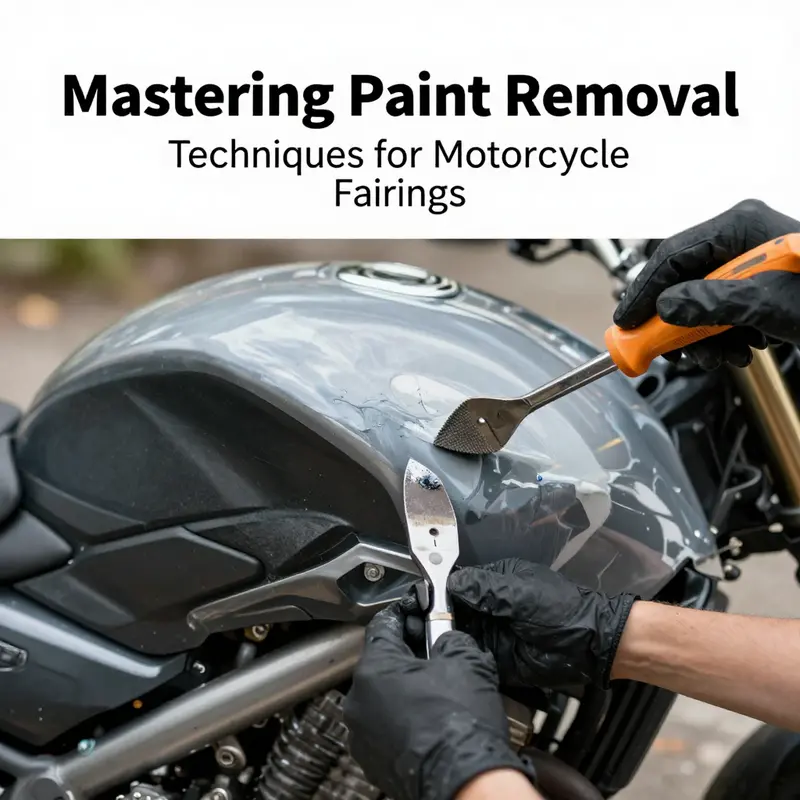
Application and lifting technique involve applying a thin, even coat, allowing the remover to dwell for the manufacturer recommended time, then testing a small inconspicuous area. If the plastic shows no signs of clouding, discoloration, or tackiness, proceed to gentle mechanical lifting. Use a plastic scraper or a wooden implement held almost parallel to the surface to avoid scoring. Maintain a light, steady pressure and work in small areas, reapplying remover as needed and testing again on fresh patches.
Adhesive residues around decals can complicate removal. In those spots, isopropyl alcohol or a similar mild solvent can help dissolve adhesive residues after the paint has been lifted. Wipe with a clean cloth, keeping the cloth damp rather than soaking the surface, and repeat as necessary to minimize moisture entering seams where the fairing pieces join.
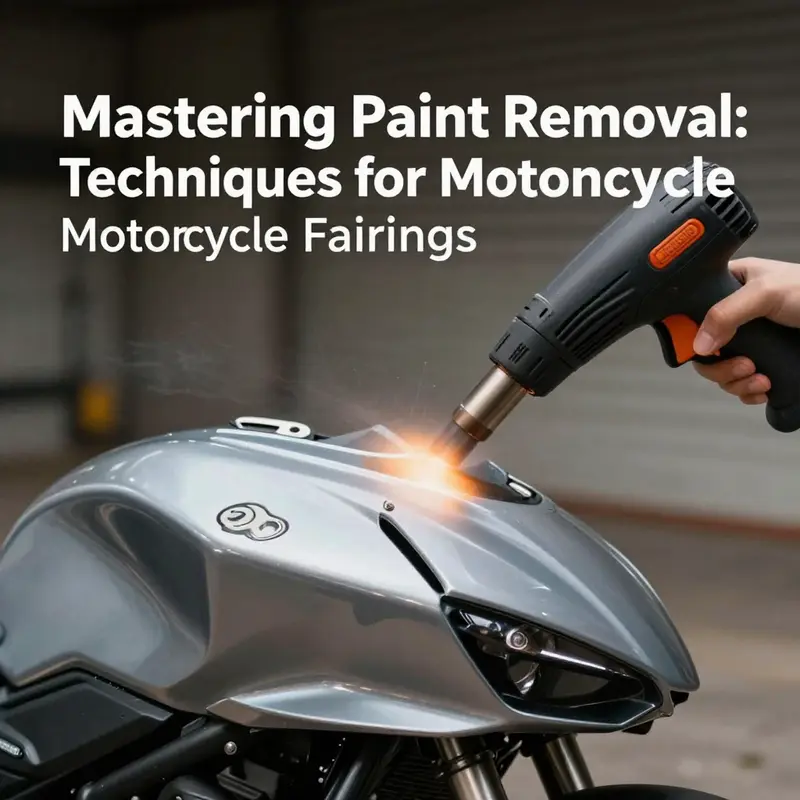
Heat is a useful supplementary option for stubborn patches. A heat gun or a hair dryer can relax the paint so it yields to lifting. Keep the heat source moving and at a safe distance to avoid warping the plastic. If you notice any distortion, pause and switch back to a chemical or mechanical method to preserve surface integrity.
There is also a do it yourself option: a paste made from baking soda and water. This mild abrasive approach can lift paint gradually with careful scrubbing using a non abrasive pad after the paste sits for a short period. Rinse and inspect frequently, and avoid overworking delicate areas. This method reduces chemical exposure and can be kinder to sensitive finishes.
Post removal cleanup and protection are essential. Wash with a mild soap solution, rinse thoroughly, and dry completely to remove any solvent residues or micro particles. Apply a plastic protectant or UV guard to restore gloss and provide a light barrier against environmental attack. Whether you plan to repaint or preserve the natural look, ensure the surface is clean, dry, and ready for adhesion or finishing steps.
Planning the final finish matters. If repainting, ensure the surface is corrosion-free and free of remaining chemicals that could cause fisheyes or poor adhesion. If preserving the plastic look, focus on maintaining a uniform texture and minimizing fine scratches. Keep a small stock of dedicated pads, brushes, and cloths to avoid cross contamination from other projects.
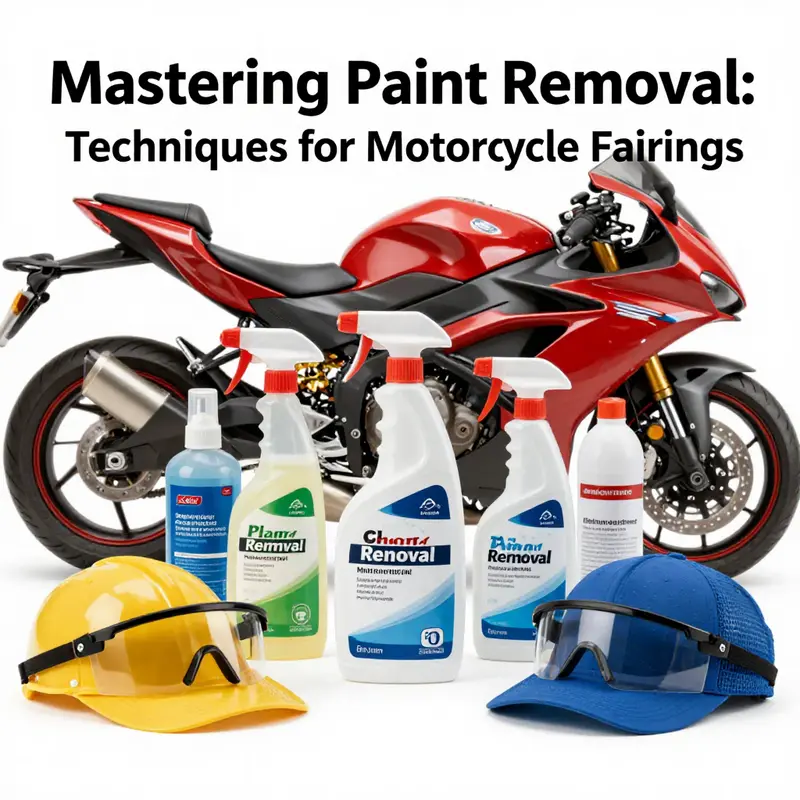
Safety and process discipline tie everything together. Wear protective gloves and eyewear, work in a well ventilated space, and test patches before committing to larger areas. Document dwell times, area results, and any adjustments to guide future efforts. If in doubt, start with the most conservative approach to preserve substrate integrity.
For readers seeking broader context, an external reference can provide additional perspectives on best practices for fairing materials and compatible finishes. External resources can offer model specific considerations and community-tested tips to complement the steps outlined here.
Chemistry and Craft: Safe, Effective Paint Removal from Motorcycle Fairings
Paint removal from motorcycle fairings is more than a cosmetic chore; it is a careful negotiation between chemistry and craft. The goal is to restore the surface to a clean, receptive state for repair, refinishing, or a fresh paint job, without compromising the integrity of the underlying plastic, fiberglass, or composite layers. The fairings that wrap modern bikes are not just cosmetic shells—they are lightweight, structurally significant components often made from fiberglass-reinforced plastics, carbon fiber, or advanced composites. Harsh solvents, aggressive solvents, or rough mechanical methods can introduce micro-pitting, soften or warp the laminate, or alter surface gloss in ways that complicate later refinishing. A thoughtful approach to chemical removal, paired with technique and patience, yields a cleaner base and a safer path to the finish you want.
At the heart of this approach lies a spectrum of chemical agents that are designed to strike a balance between effectiveness and material safety. Specialized paint strippers formulated for automotive composites are the safest bet when you are removing multiple layers of paint from fairings. These products are designed to soften dried paint while minimizing attack on the plastic matrix and any embedded reinforcement. Within this family, some formulations rely on potent actives such as methylene chloride or N-methyl-2-pyrrolidone (NMP). These compounds are effective at loosening and dissolving paint films, but they also demand careful handling. Because of their potential to irritate skin and eyes and to generate hazardous fumes, ventilation becomes a non-negotiable part of the process, along with gloves, goggles, and, where appropriate, a respirator. Conversely, there are gentler options—citrus-based or gel-formulated biodegradable strippers—that rely on terpene blends or biodegradable solvents. These milder choices may require longer dwell times or additional passes, but they offer a more forgiving safety profile and can be easier to handle in a typical home workshop.
Gel-based formulations hold particular appeal for fairing work. The gel consistency helps the remover cling to vertical or curved surfaces, reducing runoff onto nearby paint, trim, or the work surface. This characteristic is especially valuable when you are working on full fairing assemblies or on areas with complex contours where paint peels at edges or around vents. The adherence also helps you maintain more consistent exposure times, which can improve the predictability of paint lift. Yet gels are not a panacea; they still require patience, adherence to the manufacturer’s recommended dwell times, and a disciplined cleaning regime to ensure no residue remains that could interfere with adhesion later.
Before you reach for any chemical, a fundamental step anchors the entire process: preliminary testing. The bugbear of long-term repairs on fairings is compatibility. A small, inconspicuous area—a corner beneath a vent, a recessed panel, or the inside edge of a clip-on piece—should be treated first. If the material darkens, warps, or exhibits clouding after a short exposure and a gentle wipe, you have your answer: this product is not compatible with that section, or the dwell time is too long. The test can also reveal how quickly the paint lifts in your chosen environment. You want to confirm that the finish softens evenly and lifts in sheets rather than sputtering or leaving a brittle film behind. If the test passes, proceed with caution, always following the product’s explicit instructions and safety guidance.
The removal process itself is a choreography of time, temperature, and tool choice. After confirming compatibility, apply the chosen chemical according to the guidelines. Work in small sections to avoid drying too far in before you begin removal. The removal agent should be applied with a non-porous tool and, where possible, with a brush or sponge that encourages even coverage without abrading the surface. The idea is to let the solvent permeate the paint film, softening it to a point where a gentle scrape can lift it away. Plastic or wooden scrapers are the preferred tools; metal blades risk gouging or scratching the composite layers. The key is to keep the edge of the scraper at a low angle and to maintain a light touch, allowing the paint to release rather than forcing it. If you encounter stubborn patches, a second application after the first lift can help, but never rush—perseverance is part of preserving surface integrity.
Heat can be a complementary ally in this process, especially when paint is stubborn or multiple layers exist. A heat gun or a carefully directed hair dryer can soften the topcoat just enough to ease its removal. The heat should be applied in a moving, steady pattern, keeping the source at a safe distance to avoid softening or warping the plastic. The idea is to warm the paint film, not the fairing itself, so you can lift the film cleanly with minimal friction. In practice, a few passes with moderate heat followed by a brief scraping can be highly effective. If you find the paint adhering stubbornly around edges or near recessed panels, a gentle reapplication of heat can help, but monitor tension in the material. Overheating can lead to deformation that undermines repair work later on. In all cases, pair heat with chemical action rather than relying on heat alone; the goal is to reduce mechanical load and risk while maintaining control over the surface.
Isopropyl alcohol or rubbing alcohol plays a helpful role when residues remain, particularly around decal areas or after the bulk of paint has been removed. A cloth dampened with alcohol can dissolve residual oils or adhesives that cling to the surface after paint removal. This step is especially valuable if you plan to re-decal or refinish because adhesive residues can compromise new decals or bonding agents. Alcohol is less aggressive toward plastics than many harsher solvents, and it can be used as a final wipe to prepare the surface for cleaning, degreasing, or priming without adding new risk factors.
Throughout this process, the materials themselves deserve consideration. Fairings today are often multi-material assemblies. Fiberglass-reinforced plastics offer a strength-to-weight ratio that is well suited for motorcycles, but the resin systems used to bond the laminate can be sensitive to certain solvents. Carbon fiber layers, while extremely strong, can be more resistant to chemical attack in some systems but can delaminate if solvents interact with the resin or release agents used in the prep stage. The lesson is clear: compatibility matters. Chemicals that attack the resin matrix or the interface between the fiber and the resin can undermine the fairing’s structural integrity and surface uniformity, even if the topcoat looks fine at first glance. This is why the use of specialist strippers designed for automotive composites is strongly recommended over household solvents when a full fairing is being addressed.
Post-removal cleaning closes the loop. Once the paint has been removed, you should rinse thoroughly with water and follow with a neutral detergent to remove any solvent residues. A final rinse with clean water ensures that no trace of chemicals remains, which could interfere with adhesion of primers, sealers, or finish coats. It is at this stage that you verify the surface texture—whether it still feels uniformly smooth or if the sanding block will be required to restore uniformity before refinishing. If you plan to refinish or repaint, you will likely need to scuff the surface slightly to promote adhesion. The exact method—whether abrading with a fine-grit pad or using a dedicated plastic-safe abrader—will depend on the particular fairing material and the thickness of the coating you are removing. After all refinishing steps, a protective layer can help maintain the new surface against UV degradation and environmental exposure. A dedicated plastic protectant or UV guard is a prudent final touch that keeps the surface glossy and resilient, extending the life of the new finish while maintaining the ride-ready aesthetic.
The environmental and safety footprint of solvent use cannot be ignored. Dispose of chemical waste and used wipes according to local environmental regulations. Do not pour leftover solvents down the drain, and never mix incompatible chemicals, as the combination can release hazardous fumes or create dangerous reactions. Work in a well-ventilated area to minimize inhalation exposure, and consider using a dedicated extraction setup or shop fan to move fumes away from the work area. Keeping a spill kit on hand and personal protective equipment within reach is a small but wise precaution that reduces risk during longer sessions or when tackling larger fairing sections.
When all paint has been removed and the surface is clean, dry, and uniformly prepared, assess the next steps. If you are planning to refinish, you may require a primer formulated for plastic or composite substrates, followed by color coats and a clear top layer designed for automotive use. The selection of primers and finishes should reflect the material type and the local climate where the bike will be used. For those who maintain a bike with aftermarket or OEM-like fairings, one of the practical considerations is how a given fairing family is configured by model and year. An internal reference for brand-focused components—such as Honda fairings—can provide context on how models differ in their surface chemistry and fusing processes. For an example of the broader fairing ecosystem across brands, see this resource: [Honda fairings for CBR]https://ultimatemotorx.net/product-category/honda-fairings/fairings-for-cbr/. This link illustrates how different shapes, textures, and attachment points may influence subsequent refinishing steps and the choice of protective coatings.
In parallel with the chemical and mechanical workflow, there is value in grounding the practice within a broader framework of safety, environmental responsibility, and professional standards. Industry guidelines emphasize the use of compatible paint removers suited for automotive composites, careful environmental disposal, and proper ventilation. The Motorcycle Industry Council (MIC) guidelines offer a wider perspective on maintenance and restoration practices, reinforcing the idea that effective paint removal is part of a structured process rather than an isolated intervention. Following established guidelines helps ensure that the work you perform respects the integrity of the fairing, aligns with safety norms, and supports durable outcomes as you move toward refinishing or reapplication. For readers seeking a deeper dive into standardized approaches, the MIC resource provides a trusted baseline for best practices and protective strategies that extend beyond a single chassis or model.
For readers who want a practical, experience-based reference to the details of removal timing, surface preparation, and the interplay between solvent action and plastic resilience, a detailed external guide can provide procedural clarity and real-world nuance. A comprehensive walk-through from a respected motorcycle maintenance publication offers step-by-step insights into dwell times, testing, and post-removal care that echo the considerations described here. See this external guide for a broader synthesis of the methods discussed above: Motorcycle.com guide.
In the end, the art of removing paint from motorcycle fairings rests on a balanced mindset: treat the material with respect, choose the right chemical with a respect-for-safety mindset, apply with patience, and clean thoroughly to prepare for whatever finish comes next. The goal is a surface that is not only aesthetically restored but also mechanically sound and ready to accept a new layer of protection or color. The path from painted surface to pristine base is rarely a single step; it is a sequence of measured decisions, each one designed to protect the very surface you intend to preserve and enhance. When approached with discipline, the task becomes less a battle against stubborn coatings and more a careful negotiation that yields a durable, beautiful result that will perform as well as it looks. And as you move toward refinishing, the value of taking the time to test, to respect material limits, and to follow proven procedures becomes clear—the bike is more than the sum of its parts, and the fairing is the gracious envelope that carries both form and function forward.
Untangling the Heat Myth: Safe, Solvent-Driven Paint Removal for Motorcycle Fairings
Paint on motorcycle fairings benefits from a measured approach. Heat alone is rarely safe or effective for removing paint from plastics.
This chapter outlines a chemical-mechanical workflow designed to respect polycarbonate blends, ABS, and other plastics used in modern fairings. Direct heating can deform the surface, cause microcracking, or vent hazardous fumes. The safer path relies on automotive-grade strippers applied evenly, a controlled dwell time, and careful removal with plastic scrapers.
Mechanical steps are supported by light sanding when necessary, using 400-600 grit to begin and 800-1000 grit for refinement. Always test on a small area first, ventilate, and wear PPE. For adhesive residues, isopropyl alcohol on a soft cloth is usually sufficient, tested first in an inconspicuous spot.
Post-removal, clean the surface to remove residues and prepare for repaint. Consider a plastic protectant to help maintain visibility of the underlying panel during the project, but do not substitute for proper paint preparation.
If in doubt, consult a professional for larger panels or layered paint, to avoid substrate damage. The goal is a predictable base for a durable finish, not a rushed result.
null
null
Final thoughts
In summary, paint removal from motorcycle fairings is an essential process for maintaining and enhancing motorcycle aesthetics. By employing effective techniques such as utilizing the right chemical agents and heat treatment methods, along with adhering to necessary precautions, business owners can achieve satisfactory results with minimal risk of damage. Ultimately, mastering these techniques not only improves service quality but also builds long-term customer trust.