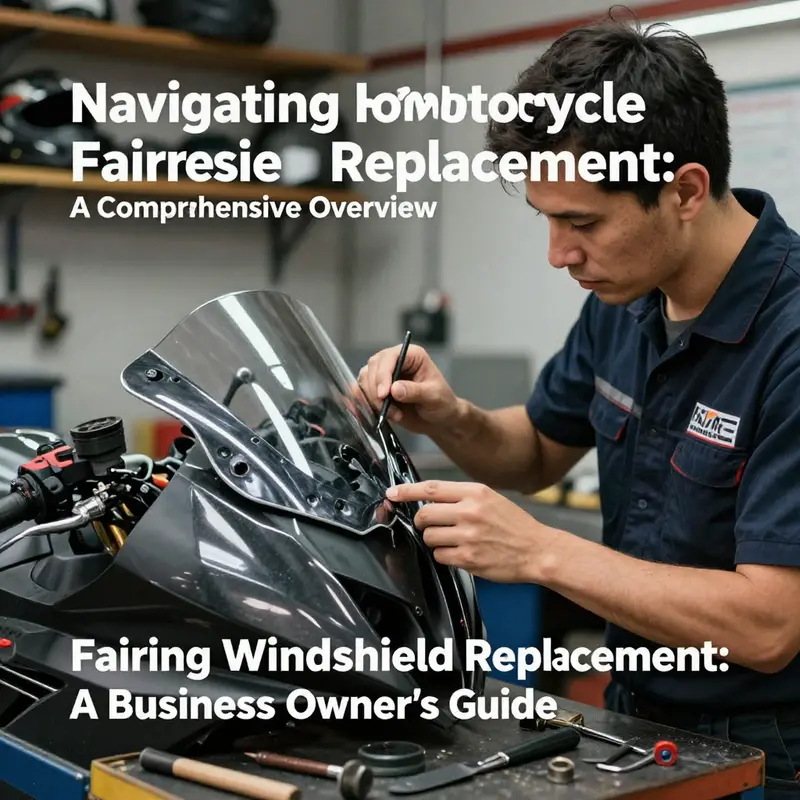
Motorcycle fairing windshield replacement is a vital maintenance task that not only enhances rider comfort but also serves to protect against environmental elements. For business owners in the motorcycle industry, understanding this process becomes essential as it can influence customer satisfaction and safety perceptions. Over the next chapters, we will delve into a comprehensive overview of the windshield replacement process, critical selection criteria regarding material and fit, detailed installation techniques, and the importance of maintenance post-installation. Each chapter is designed to equip you with the knowledge to effectively manage windshield replacement, ensuring both high standards for your customers and potential revenue increases through this service.
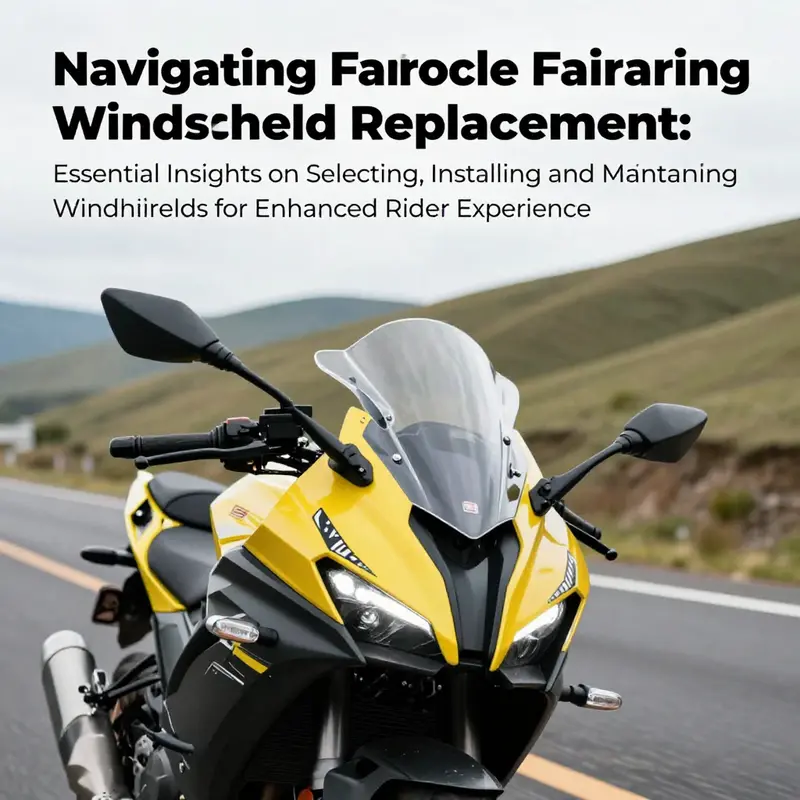
How a Fairing Windshield Replacement Transforms Fit, Comfort, and Control
Understanding what changes when you replace a motorcycle fairing windshield helps make the right choice. The windshield is more than a transparent shield. It shapes airflow, affects rider comfort, and ties into the fairing’s structural fit. A well-chosen replacement can reduce fatigue, improve visibility, and refresh a bike’s look. A poor choice can introduce noise, vibration, and dangerous fit issues.
Start with the reasons riders replace windshields. Comfort ranks high. A taller or differently contoured screen can redirect wind away from the chest and helmet, reducing buffeting and neck strain. A change in height or angle also alters noise levels and turbulence. Protection is another motive: tougher materials resist stones and debris. Aesthetic updates and damage repair round out the common reasons. Each reason points to different priorities: aerodynamics, impact resistance, style, or simple replacement of a cracked piece.
Material choice defines performance. Two clear options dominate: acrylic and polycarbonate. Acrylic is rigid, offers good optical clarity, and resists scratches to a degree. It is often thinner and can produce a sharp look. Polycarbonate, by contrast, is far tougher and more impact resistant. It absorbs strikes better and resists shattering. Polycarbonate scratches more easily but can be coated for scratch resistance. When impact resistance and rider safety are key, polycarbonate is typically the better option. When optical clarity and long-term surface durability under UV exposure are priorities, a well-manufactured acrylic screen may be preferred.
Size and shape determine how the windshield interacts with airflow. Taller screens push the stagnation point farther forward. This reduces wind pressure on the rider’s torso but can increase side pressure and catch crosswinds. Low-profile and sport screens lower the wind column, favoring aggressive posture and minimal frontal area at speed. Curvature, rake, and edge geometry also matter. A forward-tilted screen encourages airflow over the helmet, while a more upright design deflects air down or to the sides. Small changes in curvature can eliminate buffeting by smoothing the wake created at the rider’s shoulders and helmet.
Modern designers use airflow testing and simulation to optimize shapes. Even for aftermarket pieces, the same aerodynamic principles apply. A hooded lip at the top of the screen can reduce turbulence by guiding the airflow. Vents and adjustable vanes give a rider the ability to tune airflow for different conditions. Consider how you ride: long highway miles call for a different profile than short urban hops. Think about helmet style too, since that interacts directly with redirected air.
Fitment and compatibility cannot be overstated. A windshield must match the fairing’s mounting points and contour. Poor fitment stresses mounting hardware and can create cracks or vibration. Confirm bolt patterns, spacer requirements, and the fairing’s thickness where the screen seats. Some fairings require specific spacers or gaskets to avoid overtightening. Always verify the replacement’s fitment notes. If you plan to alter the fairing or use adapters, expect additional trimming or reinforcement work. When in doubt, consult a parts diagram or a fitment guide for your model.
Aftermarket options offer broad variety. You can find tall touring screens, short sport screens, tinted or clear options, and windshields with integrated vents. Each aftermarket piece balances cost, material quality, and fit accuracy. Choose vendors with clear return policies and documented fitment for your bike. Look for units that include complete mounting hardware, or at least list the necessary washers, bolts, and spacers so you can compare with what your motorcycle already uses. Cheap hardware may save money short term but increase risk of misalignment and vibration.
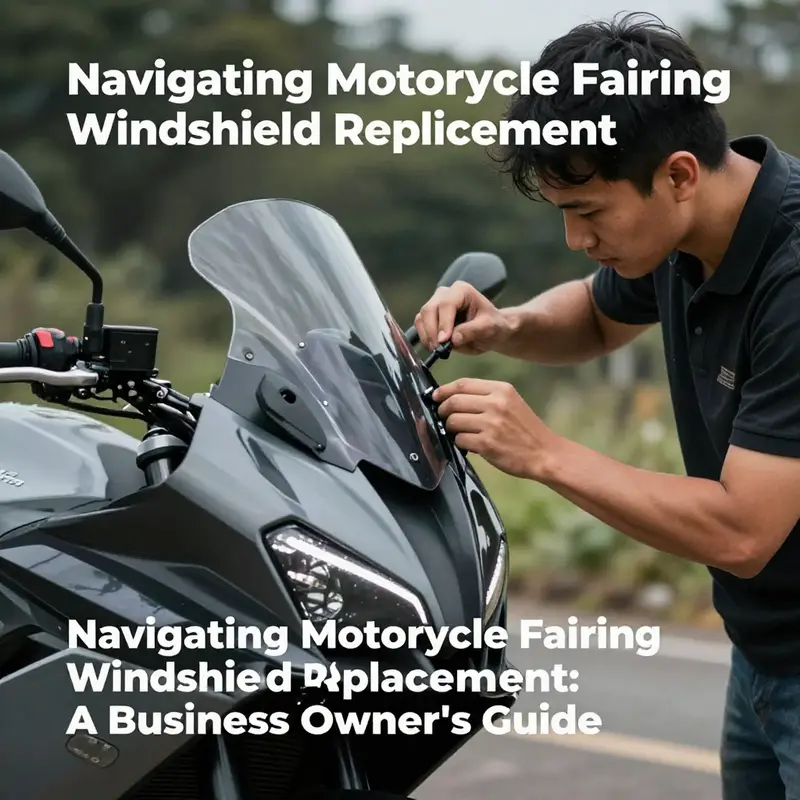
Installation technique matters as much as part selection. Prepare the workspace and protect paint and gauges. Use clean, stable surfaces and soft padding to prevent scratching. Remove the old windshield carefully. Keep fasteners organized and note the order in which parts come off. When reusing hardware, inspect each piece for wear or corrosion. Replace any stripped threads, damaged washers, or fatigued grommets. Many fit problems trace back to worn rubber grommets that once isolated vibration. New grommets offer better damping and a snug, rattle-free fit.
When mounting the new screen, start bolts by hand and use a cross pattern for even pressure. Do not fully tighten until all fasteners are snug. Over-tightening can crack acrylic or stress the fairing. Use appropriate torque values when provided, and consider nylon washers or thread locker where vibration is likely. If the replacement includes spacers, respect their order and orientation. Small errors here can introduce gaps that change airflow and increase buffeting.
Avoid common installation pitfalls. Cutting or trimming a windshield without a proper guide can ruin its optical quality. Drilling into a fairing or screen requires appropriate drill bits and a firm backing to prevent cracking. If any trimming is necessary, use a fine-toothed blade and finish edges with a file or sandpaper. Mask fragile surfaces before work. When dealing with coated polycarbonate, follow the manufacturer’s instructions; some coatings can be softened by certain solvents or cleaners.
Safety and legality deserve attention. Local regulations sometimes limit tint darkness or require a specific minimum height in the rider’s field of view. Check the rules before choosing a heavily tinted or mirrored screen. Impact resistance standards may also apply in some regions for commuter vehicles. Consider how changes in wind protection affect the rider’s control. Excessive side area can increase susceptibility to crosswinds. Changes in sightlines are also important: a very tall screen may reflect light into the rider’s eyes at certain angles.
Post-installation checks keep the new windshield reliable. Inspect fasteners after the first few rides. Temperature changes and initial settling can loosen hardware. Recheck torque values and ensure gaskets remain in place. Look for stress cracks near mounting holes. Monitor vibration and noise. Small adjustments in angle or spacer thickness can significantly alter comfort, so experiment within safe limits. For adjustable windshields, trial different settings and note their effect. Keep a log of preferred positions for different speeds and passenger loads.
Maintenance extends service life. Clean the screen with a soft cloth and mild cleaner meant for motorcycle screens or eyeglasses. Avoid ammonia-based cleaners, which can cloud coatings. For polycarbonate, use products designed for that substrate. Regular waxing of the screen can reduce water beading and help visibility in rain. Replace scratched or crazed screens promptly; surface damage can scatter headlights and reduce clarity.
When weighing options, think in terms of ride type rather than appearance alone. Long-distance riders benefit from screens that minimize fatigue through smoother airflow. Urban riders may prefer smaller, less obtrusive screens that keep visibility high. Sport riders typically favor low profiles that maintain a sleek silhouette while reducing drag. The right balance of protection, visibility, and aesthetics depends on your priorities.
If you prefer one-stop shopping for fairing components, consider browsing manufacturer-agnostic fairing categories that list parts by bike family. For example, browsing a comprehensive catalog of Honda fairings can reveal compatible screens and mounting kits for a range of sport and touring models. This helps cross-reference fitment notes and hardware lists before purchase: Honda fairings catalog.
Finally, consult authoritative step-by-step guides when performing a replacement for the first time. A detailed walk-through covers common surprises such as hidden fasteners, trim panels, and wiring routes. Those guides also show correct fastening sequences and torque recommendations. Use a trusted how-to resource to double-check steps and avoid mistakes that damage the fairing or screen. For a full procedural reference and additional installation tips, see this comprehensive step-by-step guide: https://www.motorcycle.com/repair-maintenance/how-to-replace-a-motorcycle-windshield-step-by-step-guide/
Choosing and fitting a replacement windshield affects more than looks. It alters airflow, rider comfort, and mechanical loads on the fairing. Focus on material, exact fitment, and correct mounting practice. Pay attention to maintenance and legal limits. With the right choices and careful installation, a new windshield will improve comfort and performance for many miles.
Choosing the Right Fairing Windshield: Material, Height, and Fit for Safer, More Comfortable Riding
Material, Size, and Fit: Choosing the Right Fairing Windshield
Selecting a replacement windshield for a motorcycle fairing is more than a cosmetic choice. It changes how the bike moves through air, how you feel on long rides, and how well you stay protected from wind, rain, and debris. Making the right decision means balancing three core factors—material, size, and fit—so they work together rather than compete. Consider them as a single system: the material affects weight and clarity; size changes aerodynamics and coverage; fit determines stability and long-term safety.
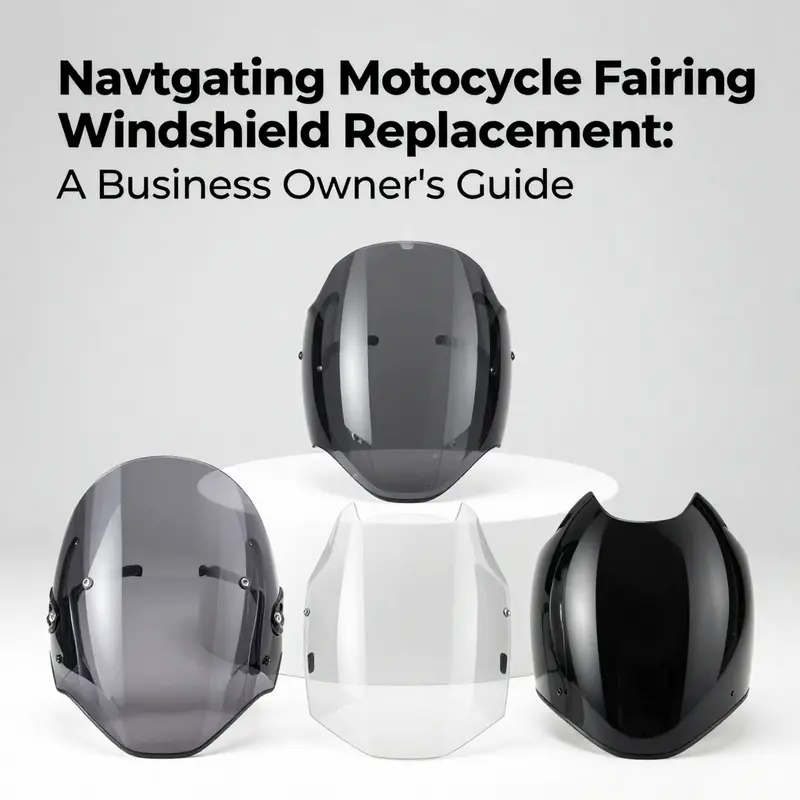
Start with material because it sets the baseline for performance. Polycarbonate is a common first choice for riders who prioritize durability. It offers exceptional impact resistance at low weight, so rocks and road debris are far less likely to crack it. Polycarbonate also flexes under stress instead of shattering. The trade-off is scratch sensitivity. High-quality polycarbonate often comes with protective coatings that help resist abrasion. If you choose polycarbonate, seek a coated option or plan to apply protective films and maintain careful cleaning routines.
Acrylic, sometimes sold under the broader term PMMA, sits between polycarbonate and glass in character. It delivers very clear optics and a glass-like appearance while remaining lighter than glass. Modern toughened acrylic blends better impact resistance with superior clarity. For riders who want a clearer view of the road, acrylic is attractive. It resists yellowing less well than some premium plastics, so UV-stabilized acrylic is preferable if your bike spends a lot of time in sun.
Glass provides unrivaled clarity and a premium look, but it brings weight and risk. Heavier windshields change handling feel, especially on bikes with sensitive steering geometry. Glass also shatters under extreme impact, which raises safety concerns. For most street riders, the cons outweigh the aesthetic pluses. Glass may still be chosen for certain touring rigs where mounting is exceptionally robust and aesthetics matter more than minimizing weight.
Generic plastics are inexpensive and light. They are fine for short-term replacements or low-speed urban commuting. Over time, however, these materials can show UV damage and rapid scratching. If you want longevity and consistent clarity, invest a little more in polycarbonate or acrylic. Fiberglass is not commonly used for full windshields, but it appears in custom fairing work. It is strong and durable but heavier and often more expensive.
Next, think about size. Windshield height is the most obvious variable. Short screens reduce wind buffeting to the chest and are popular on sport bikes for visibility and a sleek look. Taller screens reduce wind pressure on the torso, neck, and helmet. For mixed use, a mid-height screen around 45 cm is often recommended. It offers a compromise between protection and visibility. For dedicated touring riders, taller options—65 cm or even 72–75 cm—are better. They channel airflow over the rider’s helmet and shoulders, reducing fatigue on long miles.
Size affects more than coverage. It changes aerodynamic balance and wind noise. A taller screen will redirect airflow but can create new turbulence if not shaped correctly. Sometimes raising the screen moves the airflow right into the rider’s helmet, increasing noise. Conversely, a well-shaped taller windshield can dramatically reduce windblast without adding noise. Consider the windshield’s contour as much as its height. A shaped lip or vent can reduce turbulence and manage pressure zones, improving comfort without needing extreme height.
Practical measurement tips help avoid surprises. Measure from the fairing mounting plane to the screen’s tallest point. Keep in mind the rider’s eye level and preferred helmet height when seated in riding position. If you plan to wear different helmets, test with the tallest and most aerodynamic helmet you own. Also measure mounting hole patterns and offsets on the fairing. Small differences can make seemingly compatible screens unusable.
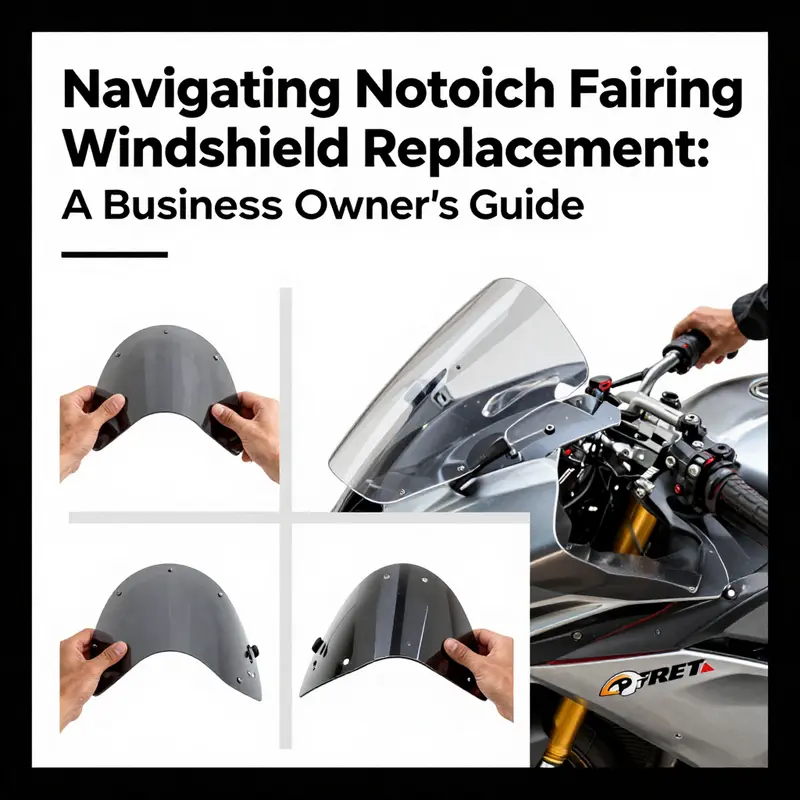
Fit is the final and arguably most critical factor. A windshield that is slightly off will vibrate, rattle, and eventually fail. Proper fit secures the screen to the fairing and distributes aerodynamic loads without overstressing one bracket. Start by confirming compatibility with your motorcycle’s make, model, and year. Many aftermarket options are model-specific. If you choose a universal part, verify hole spacing, bolt diameter, and fairing profile carefully.
Mounting style matters. No-drill mounts use existing points such as mirror brackets and fairing tabs. They are non-invasive and preserve resale value. These systems are convenient for owners who want a reversible change. Drilled mounts provide a more rigid and adjustable attachment but require permanent modification. Drilling can offer a lower profile and better load distribution for high-speed or heavy-duty touring. If drilling, plan the reinforcement around the mounting areas to prevent cracking.
Fit also requires attention to fasteners and vibration control. Use rubber grommets, washers, and vibration-isolating hardware where the manufacturer recommends them. Tighten bolts to specified torque values; over-tightening can crack plastic fairings or distort the windshield. Under-tightening invites loosening during ride vibrations. Thread lockers of the appropriate grade can help, but avoid permanent adhesives unless you are certain about the application.
Think about visibility and finish. Surface clarity matters in rain, dusk, and direct sun. Acrylic typically offers sharper optics, but coated polycarbonate closes that gap. Anti-fog treatments and hydrophobic coatings improve performance in wet conditions. Scratches scatter light and reduce clarity, so choose scratch-resistant surfaces or maintenance routines that minimize abrasion. For cleaning, use microfibre cloths and non-ammonia cleaners. Avoid paper towels and household glass cleaners that can etch or dull coated surfaces.
Weight distribution is often overlooked. A heavy windshield alters steering inertia. On sport-oriented machines with quick steering, even a pound or two in the wrong place can change feel. If your replacement is heavier than stock, consider how it affects handling and whether you need to adjust suspension preload or steering dampers. Conversely, a lighter windshield can improve responsiveness but may transmit more vibration unless well mounted.
Legal and safety considerations deserve attention too. Local regulations sometimes set limits on windshield height or tint. Very tall screens can obscure lighting or signals, or violate protected sight lines. Tinting and color treatments can reduce visibility in low light. Choose a finish that complies with local rules and maintains safe visibility in all conditions.
Match your riding style to the combination of material and size. Urban and short-distance riders may prefer a shorter, lighter windshield in acrylic or budget plastic. Commuters facing varying weather might choose polycarbonate with a scratch-resistant coating. Touring riders should aim for taller, well-shaped screens, preferring materials that combine impact resistance with UV stability. Consider the whole package: a slightly taller polycarbonate screen with the right contour and anti-scratch treatment often outperforms a cheaper, taller acrylic screen that fogs or scratches quickly.
Finally, plan for maintenance and future replacement. Expect to replace cheaper windshields more often. Keep spare mounting hardware and grommets on hand. Preserve the screen with proper cleaning, and consider protective films for the most vulnerable lower sections. When installing, dry-fit first and test for leaks, vibration, and interference with controls. Take a short test ride at various speeds. Listen for new noises, and inspect fasteners after the first few rides.
If you need model-specific guidance or parts, sourcing from a specialized fairing supplier can simplify the process. For example, a dedicated collection of motorcycle fairings can help you find matching screens and brackets tailored to particular models. Refer to authoritative, step-by-step installation guides when fitting a new windshield to avoid damaging fairings or compromising fit. For a comprehensive installation walkthrough, see this external step-by-step guide: https://www.motorcycle.com/repair-maintenance/how-to-replace-a-motorcycle-windshield-step-by-step-guide/.
Choosing the right replacement windshield requires thought and a system-level view. Match the material to your durability and clarity needs. Match the size to your comfort and aerodynamic goals. Ensure the fit is precise, secure, and compatible with mounting hardware. When these elements align, you gain quieter rides, improved protection, and more confidence on the road. For model-specific fairings and matched parts, consider checking a dedicated fairings category like https://ultimatemotorx.net/product-category/honda-fairings/ to find options that fit your motorcycle.
null
null
Securing the View: Mastering Windshield Replacement on Motorcycle Fairings for Comfort, Safety, and Performance
The windshield on a motorcycle is more than a shield against weather; it is a carefully engineered interface between rider, machine, and environment. When it comes time to replace a fairing windshield, the decision is not merely cosmetic. Proper selection of material, precise fit, and careful installation all ripple through a ride’s comfort, safety, and performance. The overarching goal is to preserve or improve the rider’s experience by reducing wind fatigue, minimizing noise, and ensuring the system remains structurally sound under load. This means paying attention to how a new windshield interacts with the fairing, the mounting points, and the surrounding components that help shape the airflow around the cockpit. It also means recognizing that every model—every fairing curve, mounting pattern, and edge contour—has its own calibrated behavior in the wind. A holistic approach, rather than a quick swap, pays dividends on longer rides and in varying weather conditions.
Material choice sits at the heart of that approach. Windshields are commonly produced from polycarbonate or acrylic, each with distinct properties that influence how the piece behaves over time. Polycarbonate offers exceptional impact resistance and flexibility, a factor that matters when stones, branches, or other road hazards throw an unpredictable hit at highway speeds. Acrylic, by contrast, tends to deliver excellent optical clarity and a smoother surface finish, but can be more susceptible to scratching and may respond differently to temperature swings. The thickness of the windshield matters too: a denser panel can dampen vibration more effectively and resist flexing under gusts, yet it may add a touch of weight and alter the perceived balance of the front end. These material choices do not live in a vacuum; they must harmonize with the fairing’s geometry, mounting hardware, and the rider’s posture. This integration is not only about durability but also about the kind of wind interaction the rider experiences at cruising speed versus city riding or canyon carving.
Choosing a windshield is also a matter of fit. The fairing’s silhouette, the placement of fasteners, and the shape of the mounting gaskets determine how well the replacement seals against the elements and directs airflow. A windshield that is too tall or too short relative to the fairing can create unwanted eddies behind the shield, increasing fatigue on long rides. A misaligned shield is more than an annoyance; it can shift weight on the mounting points and introduce micro-movements that translate into noise, vibration, and even structural strain. Whenever you select a replacement, verify compatibility with your specific model and year. It helps to consult manufacturer guidelines or a comprehensive fit guide, because a misfit can negate the benefits of a new shield and can complicate future maintenance.
The practical process of replacement begins with an orderly assessment of the old setup. Start by removing any auxiliary components that might obstruct access to the mounting hardware. This typically involves loosening the securing bolts or screws that fasten the windshield to the fairing. It’s important to refrain from forcing the windshield away from the fairing; instead, back off the hardware gradually while supporting the shield with your hands to prevent a sudden drop or hinge. Keeping a soft cloth nearby helps protect the paint and trim from accidental contact. As the old windshield comes free, inspect the mounting points for wear, stripped threads, or damaged gaskets. If any mounting hardware shows signs of fatigue, replace it with new fasteners that match the original thread size and pattern. A rushed swap at this juncture can set the stage for misalignment or looseness once the new windshield is installed.
With the old shield removed, attention shifts to the mounting surface itself. The fairing edge should be clean, dry, and free of debris that could mar the seal or hinder proper seating of the new hardware. Some riders use a light bead of gasket sealant or a manufacturer-recommended sealant to create a weather-tight interface between the fairing and the windshield, especially in damp or variable climates. If you choose to apply sealant, follow it strictly with a wipe of excess material to avoid interference with the fasteners or the edge of the shield. The aim is to create a stable, uniform contact against the fairing without creating a compound that could squeeze out and interfere with the edge seating.
Now comes the critical step of alignment. The windshield must sit flush against the fairing with all mounting points aligned. Before inserting any screws, place the shield in position and manually verify that each hole aligns with its corresponding fastener. It can help to use a guide rod or a temporary clamp to maintain alignment while you begin threading the first fasteners by hand. This step reduces the likelihood of cross-threading, which can strip threads and invite leaks or wobble. When you start tightening, work in a crisscross pattern to distribute stress evenly across the mounting points. Tighten gradually and stop just short of the point where you feel the material begin to resist. If you encounter any resistance beyond normal snugging, recheck alignment rather than forcing the fastener. Over-tightening can distort the windshield or the mounting points and ultimately reduce the life of the installation. If your bike’s design requires the use of washers or spacers, ensure they are in place and that their thickness is appropriate to preserve the intended angle and height of the shield.
The relationship between height, tilt, and the rider’s seating position is subtle but consequential. A windshield that is angled too aggressively forward or backward will alter the flow of air, potentially creating turbulent zones directly in the rider’s line of sight or across the helmet. Small adjustments in the angle can yield meaningful changes in wind buffering and noise. If feasible, perform a short, low-speed test ride in a safe area to feel the change in wind exposure. Then repeat the procedure, again checking alignment and ensuring no binding occurs when you operate the handlebars or steering lock. The goal is a stable, predictable aerodynamic profile that keeps air off the rider’s chest at highway speed while minimizing buffeting and helmet lift that can sap focus and comfort.
As with any component that lives at the frontier between machine and atmosphere, maintenance matters. Clarity is a practical priority, and it begins with regular cleaning using non-abrasive, motorcycle-specific cleaners. Household cleaners that contain ammonia or other harsh chemicals can degrade both polycarbonate and acrylic surfaces over time, leaving hazy layers or micro-scratches that compromise visibility. A microfiber cloth is ideal for daily maintenance, paired with a gentle solution that won’t strip coatings or sealants. UV exposure is another factor that wears on windshield material; protective coatings or UV inhibitors can help slow yellowing and loss of clarity. Even the best windshield will degrade if it’s treated roughly with abrasive pads or rough sponges, so restraint is essential.
Durability hinges on ongoing inspection. Periodically examine the edge seal, mounting hardware, and the shield itself for signs of wear, cracking, or loosening screws. Cracks can propagate under vibration and thermal cycling, especially if the shield is subjected to impact or if there is any residual play in the mounting points. If you notice a crack that grows with each ride, address it promptly by replacing the shield or the affected mounting components. The seal around the edge should be intact and free of gaps; if you discover gaps, reseal or replace to preserve the weather-tight performance and to prevent water intrusion that could compromise electrical components under the fairing. A simple, proactive routine—wipe-down after rides, recheck torques after the first few hundred miles, and replace worn fasteners—helps preserve both appearance and function over time.
A proper installation and disciplined maintenance regime also contribute to the broader reliability of the motorcycle’s fairing system. When the windshield is securely fastened and correctly aligned, it works with the fairing to channel air in a way that reduces overall drag and supports smoother engine cooling at speed. A loose shield can create vibrations that travel through the fairing and into the handlebars, rattle mirrors, and fatigue mounting points over time. In contrast, a well-fitted windshield supports a clean aerodynamic profile, minimizing energy losses that manifest as rider fatigue, reduced fuel efficiency, and, in the worst case, accelerated wear on surrounding components. The interplay between the windshield and the fairing is thus a shared, long-term relationship: one that rewards careful initial installation with continued attention to form and integrity.
For riders who want to explore compatibility with broader fairing ecosystems, the catalog of fairings for specific makes and models provides a useful reference point. For instance, those considering a comprehensive fairing update or a model-specific windscreen solution may find it helpful to browse options within a BMW fairings category, where a range of compatible shapes and mounting patterns is documented. This kind of exploration can expand the possibilities for tailoring airflow, noise, and turbulence to the rider’s preferences while preserving the riding posture that best suits the bike and the road. BMW fairings catalog offers a practical starting point for thinking about how a windshield upgrade might integrate with a broader fairing strategy.
In sum, windshield replacement on a motorcycle fairing is a multi-layered task that blends material science, mechanical fit, and aerodynamic awareness. The best results come from thoughtful material selection aligned with the fairing’s geometry, meticulous attention to mounting and alignment, and a steady routine of cleaning and inspection. When performed with care, a new windshield does more than improve visibility; it contributes to rider comfort, reduces fatigue, and supports more confident performance across a range of riding scenarios. For those who want to dive deeper into the procedural details and gain confidence with step-by-step techniques, a detailed guide that covers the installation sequence, hardware considerations, and common pitfalls can be a valuable companion on the bench and in the garage. https://www.motorcyclecruiser.com/how-to-replace-a-motorcycle-windshield-step-by-step-guide/
Final thoughts
In conclusion, motorcycle fairing windshield replacement is not merely a technical endeavor but a critical aspect of motorcycle maintenance that resonates with rider safety and comfort. For business owners, mastering this process can lead to increased customer trust and satisfaction. By understanding the replacement overview, material selection, proper installation techniques, and maintenance importance, you enhance your ability to provide top-notch service. Ultimately, investing in knowledge regarding windshield replacement can yield significant returns, not only in terms of business efficiency but also in fostering a loyal customer base.