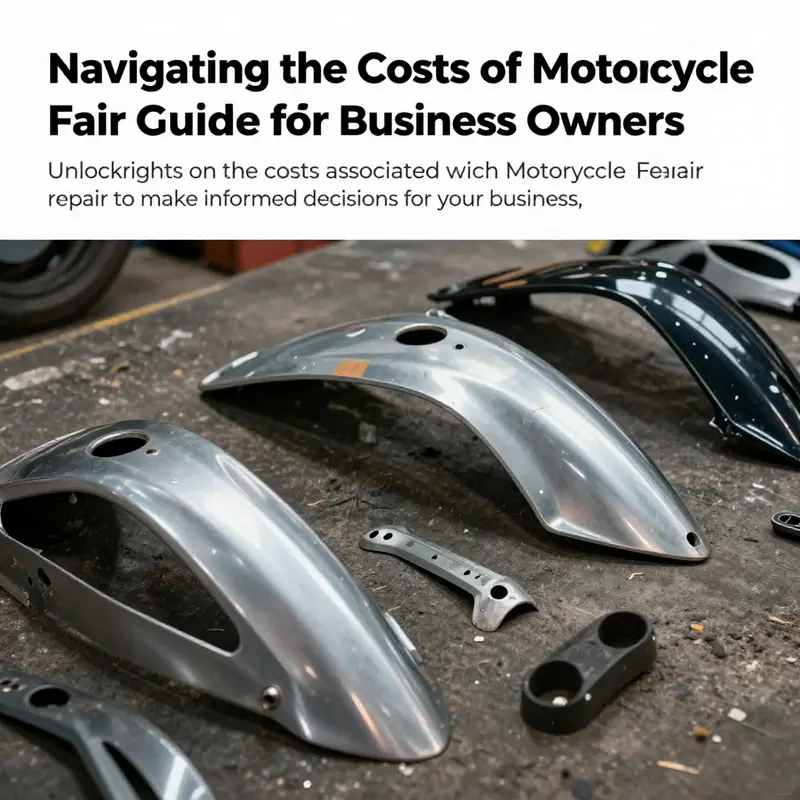
Understanding motorcycle fairing repair costs is essential for business owners involved in the automotive or motorcycle industry. Repairing fairings efficiently can save significant expenses while ensuring customer satisfaction. The choice between DIY repairs and professional services can greatly influence your expenses. This article provides an insightful breakdown of the costs, helps you weigh the benefits of different repair options, and explores essential factors affecting pricing. Moreover, it delves into the implications of repair versus replacement, backed by real-world experiences that highlight potential savings. Each chapter will arm you with the information needed to navigate the intricacies of motorcycle fairing repair in a cost-effective manner.
From Scratches to Savings: A Practical Guide to Understanding Motorcycle Fairing Repair Costs
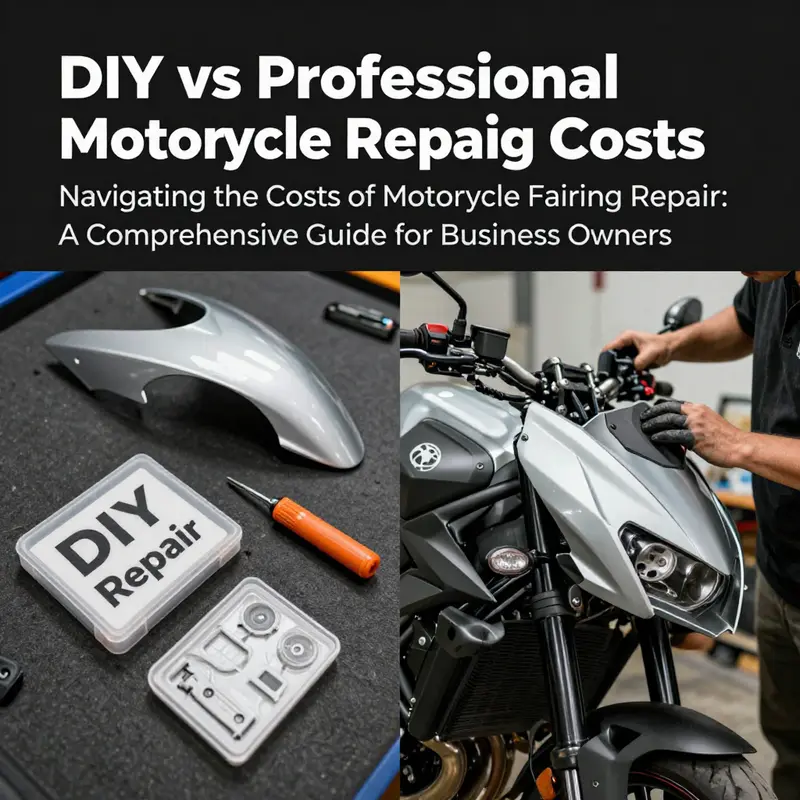
Repairing a motorcycle fairing is not merely about aesthetics. It sits at a practical crossroads where cost, safety, and performance intersect. The cost landscape for fairing repair is wide because the damage can range from a minor scratch to a structural crack that compromises mounting points or aerodynamics. What riders pay hinges on three core variables: the extent of the damage, the materials involved, and whether they tackle the repair themselves or seek professional help. A DIY approach can be astonishingly affordable for small blemishes, while more extensive damage quickly shifts into professional territory, sometimes prompting a full replacement when the damage threatens integrity or windscreen alignment. The numbers tell a story that is as much about decision making as it is about metal, resin, and paint. For a minor surface issue, a well-chosen repair kit can be enough. Kits that include resin or filler, sandpaper, and matching paint often come in at the tens of pounds or dollars—roughly £36 or about $47 in many cases—highlighting how inexpensive a cost-effective fix can be when the damage is cosmetic. A rider’s real-world example illustrates the point: a repair kit saved hundreds of dollars that would have been spent on a new guard, while delivering results that looked nearly new. Beyond the monetary savings, DIY repair preserves insurance status and reduces the administrative friction of making a claim, with the added convenience of doing the work on one’s own schedule.
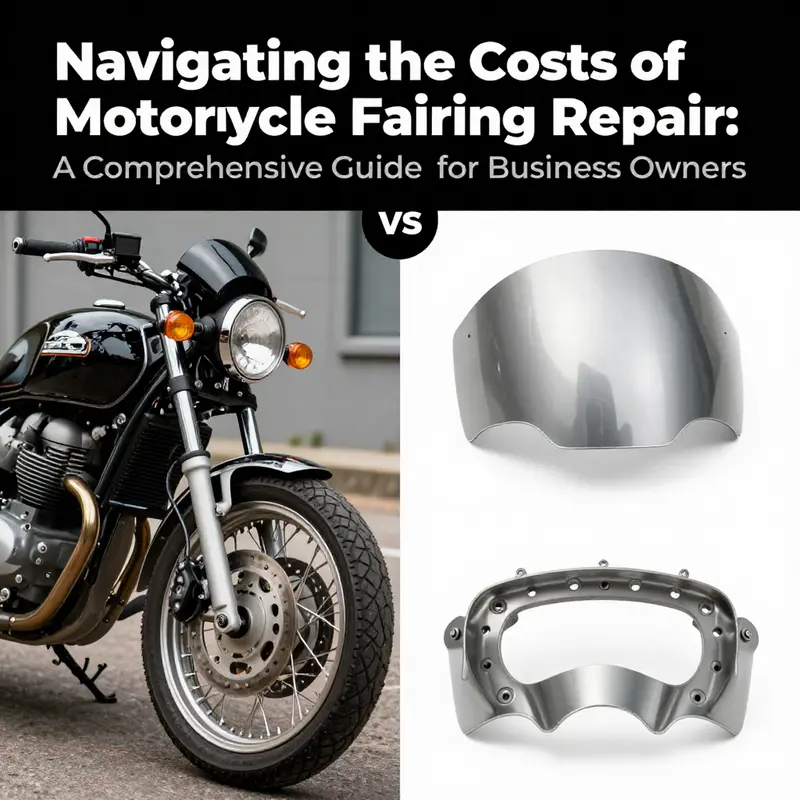
The choice between repair and replacement broadens when you scale up from cosmetic scuffs to structural compromise. Full fairings, common on sport bikes and many touring models, serve a dual role: keeping the rider shielded from wind and debris and enhancing airflow for performance. Replacing an OEM full fairing set can be a substantial investment, often ranging from $800 to $2,000 or more, depending on the model and whether the parts are original equipment or aftermarket. Aftermarket full fairing kits offer a more affordable path, typically between $200 and $600, but they may require careful fitment and sometimes additional finishing to achieve a seamless look. Half fairings, which cover just the front portion including the headlight and instruments, present another tier of cost and practicality. They are lighter, easier to replace, and generally less expensive, making them a popular choice for commuters who want protection without the high price tag tied to full fairings. The contrast between full and half fairings is not purely about price. It also reflects installation complexity, weight, and aerodynamics. A full fairing requires meticulous alignment, mounting of mirrors, lights, and possibly a repositioning of the fuel tank or subframes. The labor time balloons as the installer ensures that every screw line matches, every fairing panel aligns with the others, and every gap is consistent. In contrast, a half fairing is simpler to handle, with fewer attachment points and a smaller surface area to fill, sand, and paint. These differences in installation complexity directly influence labor costs and total project time.
For riders who lean toward DIY repairs, the most critical decision is selecting the right repair kit and following a disciplined process. A typical kit provides resin or epoxy-based filler, perforated or standard sandpaper sets, bonding agents, and color-matched paint or primer. The repair sequence starts with a thorough cleaning of the damaged area, followed by gentle sanding to create a rough surface for bonding. Epoxy or resin is then applied to cracks or gouges, sometimes with internal supports or mesh to restore stiffness in case of larger breaks. Once cured, the area is sanded smooth, primed, and painted to blend with the surrounding shell. The finish can be surprisingly convincing, especially when the color tone is matched carefully. The challenge, however, is not just matching color; it is also ensuring that the repaired area remains durable under UV exposure, high temperatures, and the vibrational stresses of riding. UV resistance, impact resilience, and the long-term behavior of filler materials are all considerations that influence the durability of a DIY repair. In this context, the value proposition of DIY kits rests on achieving a professional-looking result without the higher labor costs of a shop, while acknowledging that a particularly severe crack or a damaged mounting point may demand expertise and specialized equipment.
Yet there is more to the cost calculus than the price tag on parts and the time spent with sandpaper in hand. The choice between DIY and professional repair also hinges on the component’s role in safety and performance. When damage spreads to mounting points, light assemblies, or the structural junctions that connect the fairing to the frame, professional repair becomes a necessity. Structural repairs may involve precise alignment checks, reattachment of brackets, or even the reproduction of mounting lugs. A misaligned fairing can hamper aerodynamics, distort lighting, or create vibrations that degrade rider comfort. In these scenarios, the added cost of professional labor pays back in the assurance of proper fit and reliability. Color matching is another subtle but meaningful cost factor. Some shops offer color-matching services that aim to reproduce the factory finish with a high degree of fidelity. While this service adds to the total bill, it can be crucial for riders who demand a near-seamless appearance, especially on visually prominent panels that catch the eye during every ride.
From a materials perspective, the kind of fairing material you have or choose for replacement can influence both cost and repairability. The spectrum ranges from traditional ABS plastic to fiberglass and, in some high-end or performance-minded builds, carbon fiber composites. ABS tends to be forgiving for repairs and cost-effective, allowing repairs and paint to be integrated with moderate effort. Fiberglass offers strength and flexibility in shaping but can demand more careful repair work to avoid water ingress and fiber breakout. Carbon fiber, while prized for lightness and stiffness, presents unique repair challenges and cost considerations, often requiring specialized skills and materials. The official documentation from major manufacturers underscores that material choices affect long-term performance, including durability under impact, heat exposure, and UV degradation. For technicians and informed owners, understanding these material properties helps set realistic expectations about repair feasibility, the likelihood of color fade, and the likelihood of a seamless finish after repair.
When weighing repair versus replacement, a practical decision model emerges. If the damage is cosmetic and confined to surface layers—cracks in non-structural sections, small dents, or shallow scratches—a DIY repair kit can deliver what looks like a factory finish at a fraction of the cost. If the damage extends into load-bearing areas, alters alignment, or affects the fairing’s ability to shield important components like the radiator or electrical harnesses, professional repair or even a full replacement becomes a safer option. In some cases, the cost of professional repair, including color matching, can approach the lower end of aftermarket full-fairing kits, but with the added confidence of a factory-grade fit and finish. It is also worth noting that pursuing a claim with an insurer for a fairing repair can carry indirect costs. Premiums and no-claims bonuses are factors that riders may wish to preserve, and a DIY repair can help avoid those insurance-related expenses, especially for damage that does not threaten rider safety.
For riders considering the path of an intermediate option—replacing only the damaged panel while keeping the rest of the fairing intact—the choice often hinges on the availability of a suitable panel and the compatibility of mounting points. Aftermarket panels offer a balance between cost and fit, but they can introduce fitment variances that require careful alignment and sometimes minor modifications to achieve a seamless look. In many cases, this compromise can be preferable to a full OEM replacement when the goal is to restore appearance and aerodynamics without paying the premium for an original kit. It is also here that the role of knowledge and preparation becomes essential. Access to accurate part numbers, proper mounting hardware, and precise torque specs ensures that the repair not only looks good but also holds up to the rigors of road use.
For readers intrigued by the broader ecosystem of motorcycle fairings, a broader category page can offer a sense of the available aftermarket landscape and how different brands approach styling and protection. Explore the Honda fairings category to see how aftermarkets and OEMs position themselves in the market, and consider how that positioning translates into repair options and costs. https://ultimatemotorx.net/product-category/honda-fairings/. This link provides a spectrum of fairing options that can help riders gauge where their repair or replacement budget might land relative to the bike’s character and performance expectations. While the technical minutiae of materials and finishes resides in factory documentation—such as the official technical guide on fairing materials and standards—a practical understanding of cost is built most effectively through experience and comparison shopping. For readers seeking deeper technical context, the official Honda technical guide provides authoritative data on material grades and manufacturing specifications that influence long-term repair and replacement decisions.
In sum, the economics of motorcycle fairing repair unfold along a continuum from low-cost cosmetic fixes to significant rebuilds. DIY kits can deliver substantial savings for minor damage, while professional repair or replacement remains essential when safety, fit, and long-term durability are at stake. The key is to balance cost against accuracy, time, and risk. With careful assessment, riders can preserve their bike’s aesthetics and performance without overpaying, while also maintaining peace of mind about safety and reliability on the road. External resources and manufacturer guidelines can provide deeper context to inform that balance, ensuring every decision aligns with both immediate needs and long-term riding goals. External resource: https://www.honda.co.jp/tech/technical-docs/fairing-materials-and-standards-2026
null
null
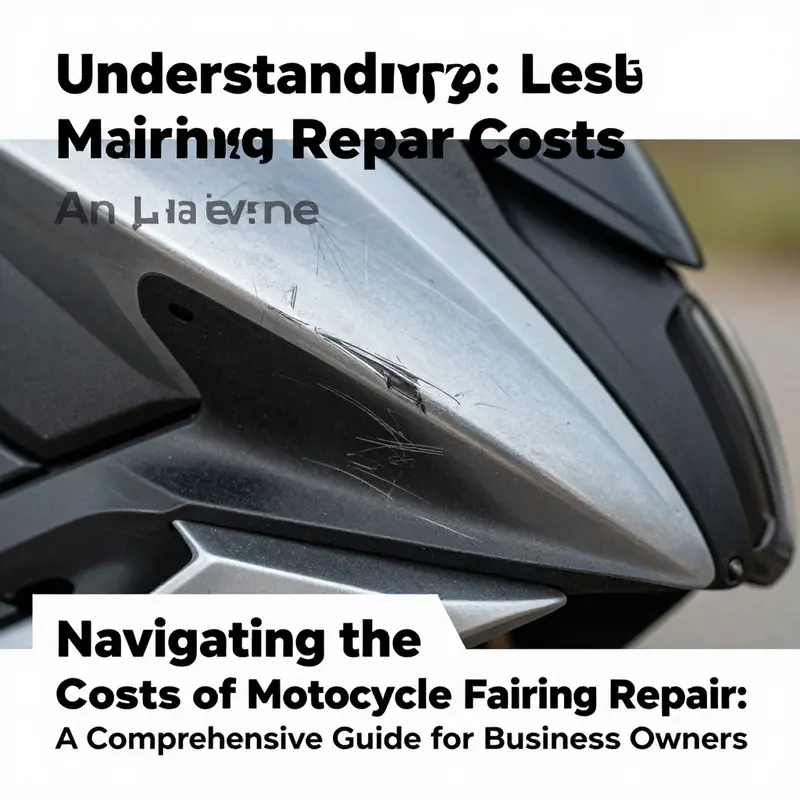
How Materials and Damage Shape Motorcycle Fairing Repair Costs
Materials and damage type set the baseline for any fairing repair bill, and understanding how they interact helps you make smarter choices. Fairings are more than cosmetic panels; they protect components, influence aerodynamics, and affect resale value. That means the cost to fix them depends on the plastic or composite used originally, how badly it’s damaged, and whether cosmetic perfection or structural integrity is the goal.
Fairings are commonly made from different materials, each with its own repair profile. Lower-cost models often use injection-molded thermoplastics. These plastics bend and snap back into shape more easily. Repairs can be simpler and cheaper when dealing with these materials. Fiberglass panels are layered and cured. They take fillers, sanding, and multiple coats of primer and paint to hide repairs. Carbon fiber and other advanced composites are strong and lightweight, but they require skill and special resins to restore structural strength and finish. If a repair must preserve load-bearing characteristics, composite work will increase both labor time and the materials bill.
Material quality also affects long-term costs. Using higher-grade resins, UV-resistant clear coats, and factory-grade primers can raise the initial repair price. But they reduce the chance of future cracking, fading, or delamination. A cheap touch-up may save money now but lead to repeat work later. Conversely, opting for premium materials often raises the immediate invoice by a noticeable margin. When shops quote, ask which materials they plan to use and why. A price difference of a few dozen dollars might reflect significant durability gains.
Damage type is the other major cost driver. Surface scratches and small hairline cracks typically require filler, light sanding, and paint. That work can be done quickly at modest cost or by a competent rider using a repair kit at home. Deeper gouges and dents require reshaping and rebuilding the profile of the fairing. This involves additional filler layers, shaped sanding blocks, and more paint. In many cases, an experienced technician can return the panel to near-original shape, but the labor time doubles or triples compared with a scratch.
When sections are shattered or missing, replacement often becomes the most economical option. Large broken tabs that secure the fairing can complicate things: repairing multiple mounting points takes precision and time. If the fairing’s structural integrity is compromised—especially near engine mounts or steering components—professional replacement or certified composite repair is the safer choice. For collectors or riders who want a showroom finish, replacing a full fairing set may be preferable despite a higher cost.
Labor rates amplify the effect of material and damage choices. Independent shops typically charge between $80 and $150 per hour. Complex composite repairs demand experienced technicians and can consume many hours. A small cosmetic repair might take an hour or two, while an extensive rebuild for a worn or cracked panel can consume a full day or more. Always request a time estimate and a breakdown. Some shops quote a flat fee for specific repairs, while others charge by the hour plus parts and paint.
Paint work is a cost multiplier. Single-color touch-ups are cheaper than full panels repainted with custom or metallic finishes. Color matching for factory shades can require blending adjacent panels and using multiple coats of base and clear. Matching modern, multi-layer finishes increases both materials and labor. If your bike has a rare or discontinued color, matching will be harder and more expensive. In those cases, shops may recommend replacing the affected piece with a pre-painted aftermarket option. That can be faster, but it might still require some blending for a seamless look.
DIY options can cut bills dramatically for minor damage. Repair kits are inexpensive and include basic filler, resin, and sandpaper. For a novice, these kits can restore a panel’s appearance sufficiently for everyday use. However, kits rarely deliver a flawless, factory-quality finish. They also require time, patience, and a suitable workspace. Poorly executed DIY repairs may complicate later professional work and could increase total lifetime costs.
Shipping is an often-overlooked expense when parts are replaced. Dimensional weight pricing means lightweight, bulky panels can cost more to ship than heavier, compact parts. This affects replacement fairings bought online, whether aftermarket or OEM. For riders considering mail-order panels, factor in shipping and possible customs or duties. Sometimes it’s more cost-effective to buy locally or through a shop that handles parts procurement and shipping as part of a repair package.
Cost comparisons help clarify choices. For minor scratches, a DIY approach or simple shop touch-up might cost $20–$100. Moderate repairs involving cracks, filling, and repainting typically fall in the $150–$600 range at a professional shop. Large repairs, specialty composite work, or full repainting can push the bill into four figures. Replacing a full fairing set varies widely: aftermarket options may start around the lower hundreds, while OEM or high-end replicas for rare models can exceed $2,000. Time, urgency, and finish expectations will all influence where your repair lands on that spectrum.
When deciding between repair and replacement, weigh three things: safety, cost, and appearance. If the damage affects structural points or compromises safety-relevant components, prioritize professional repair or replacement. If the primary concern is cosmetic and the damage is small, a DIY repair is often sensible. If resale value or a flawless finish matters, budget for professional paint and blending.
Finally, consider lifecycle economics. Investing in higher-quality materials and a skilled repair can be more expensive now but may prevent repeated fixes. For commonly damaged models, buying a painted aftermarket set and installing it once may cost less than repeated panel repairs. If you own a model with widely available replacement parts, replacement becomes a simpler choice. For rare or classic models, careful composite restoration may be the only way to preserve authenticity.
If you ride a common model and need replacement fairings, browsing model-specific options can help you compare prices and finishes. For example, exploring available fairings for popular sportbikes can reveal cost-effective aftermarket alternatives. See fairings for CBR to compare parts and styles. For a deeper technical walkthrough and repair techniques, consult a comprehensive repair guide: https://www.carinterior.com/motorcycle-fairing-repair-guide/.
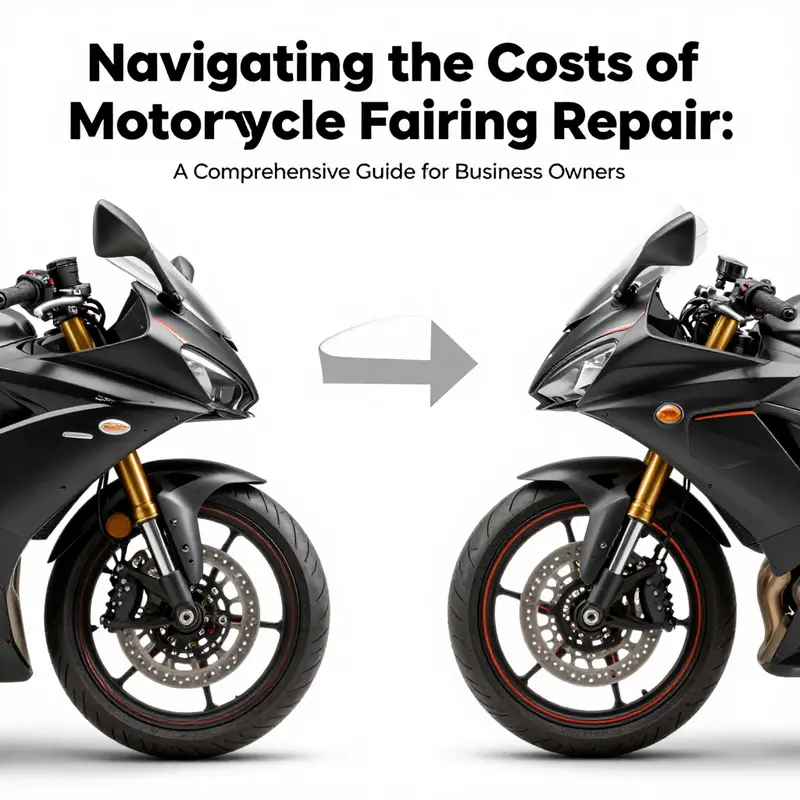
Repair or Replace: How Fairing Choices Drive Your Total Motorcycle Cost
Weighing dollars against damage and durability. When a fairing takes a hit, the decision to repair or replace affects more than the invoice. It shapes your bike’s appearance, performance, and long-term expenses. Understanding the true cost implications requires looking beyond sticker prices. Consider material and labor, resale impact, safety, downtime, and the options that sit between a quick DIY fix and a full OEM overhaul.
Minor cosmetic flaws—scratches, tiny cracks, or scuffs—are where repairs shine. DIY repair kits containing resin, filler, sanding tools, and paint can cost as little as $20–$50. For a rider comfortable with basic bodywork, those kits often restore a nearly original look. Even when you hire a professional for minor work, expect a typical bill of $100–$300. Labor rates usually fall between $75 and $150 per hour. A small scratch or hairline crack rarely takes more than an hour or two. Repair preserves the original fit and factory tolerances. It keeps the bike structurally sound and avoids the alignment issues that sometimes accompany aftermarket parts.
When damage grows, the math changes. Large cracks, missing tabs, warped panels, or pieces that no longer mount securely often demand professional attention. Shops commonly charge between $150 and $600 for complex repairs. Prices depend on the extent of the damage, materials involved, and required paint work. Color-matching increases the bill, since blending factory paint can be time-consuming. Labor time rises accordingly, and skilled work is rarely fast. If a repaired area must absorb impact, or if attachment points are compromised, replacement becomes the safer choice.
Replacement costs span a wide range. Aftermarket fairing sets typically run from about $300 to $800. These parts offer immediate restoration, and many come prepainted or primed. OEM sets, by contrast, can cost $800 to $2,000 or more. High-end and rare models push pricing higher. Installation requires careful fitting. Shops estimate 2–3 hours to swap a full set, with labor adding $200–$450 at standard rates. A full replacement therefore frequently exceeds $1,000 once parts and labor are combined. For premium bikes, total costs may approach or exceed $1,500.
Beyond the immediate numbers, consider the ripple effects. Repaired fairings maintain original part numbers and finish, which supports resale value more reliably than some aftermarket alternatives. A seamless, factory-fit panel reduces wind noise and preserves aerodynamics. Conversely, a low-cost aftermarket set might not match factory tolerances. Poor fit can cause rattles, increased drag, or stress on mounting points. Those hidden costs show up later as more repairs or reduced rider confidence.
There is also a middle ground worth noting. Salvage panels or used OEM pieces can drastically reduce parts costs. With some skill, installing a used panel and blending paint can be cheaper than repairing a badly damaged original. But used parts carry their own risks. Hidden damage, faded paint, or mismatched mounting points can turn a bargain into a money sink. Assess any used part carefully and factor in the labor for fitting and paint.
Think about downtime and convenience. A quick DIY repair can get you back on the road in a day. Professional repairs may take several days. Full replacements, especially those requiring custom paint, can keep your bike in the shop for a week or more. For riders who rely on their motorcycle daily, shop time translates to lost utility. If the bike is a weekend toy, longer waits might be acceptable in exchange for a like-new finish.
Safety must guide the cost decision. Fairings contribute to crash protection and stability. If a panel is cracked around hard-mount points, or if a structural rib is compromised, replacement is generally the correct choice. A cosmetic repair that glosses over structural damage may look good but fail when you need it. When in doubt, prioritize integrity over savings.
Customization can sway the choice too. Replacing a damaged fairing gives an opportunity to upgrade materials or style. Some riders choose aftermarket panels for lighter weight or unique aesthetics. Those upgrades come at extra cost, but they can add value if done well. Factor in not just the price, but the compatibility with your bike’s aerodynamics and mounting hardware.
To decide, run a simple cost-benefit check. Estimate repair cost, including paint and labor. Compare that total to replacement parts plus installation. If repair runs less than about half the replacement cost, repairing usually wins. If repair approaches or exceeds replacement, or if structural concerns exist, replacement is often the smarter call. Also weigh non-monetary factors: how long you plan to keep the bike, the importance of factory fit, and whether you want to customize.
Practical tips reduce expense without risking quality. Get multiple quotes for both repair and replacement. Ask shops to itemize labor hours and paint costs. If you opt for a professional repair, request photos before and after. For minor damage, a high-quality DIY kit can save hundreds. When buying replacement panels, compare aftermarket offerings to OEM parts. If you consider aftermarket, check reviews and fitment notes for your model. And if resale value matters, document repairs and parts used. Transparency reassures buyers.
One more consideration is model-specific availability. Some bikes have abundant aftermarket support. Others, especially older or niche models, have scarce parts. When parts are hard to find, repair becomes more attractive. For common models with plentiful parts, replacement often has a competitive price. If you ride a model with strong aftermarket options, you can view replacement as both repair and potential upgrade. For those looking for replacement panels for specific models, such as fairings for CBR motorcycles, consult specialist suppliers for fitment and pricing options: fairings for CBR.
Ultimately, the right choice balances immediate cost with long-term value. Minor cosmetic issues usually justify a repair, saving money while preserving factory fit. Severe or safety-related damage typically calls for replacement, even at higher upfront cost. Between those extremes, used parts, aftermarket upgrades, and skilled repairs offer alternatives. Get clear estimates, weigh downtime and resale impact, and prioritize safety. When you include these factors, the cheapest path today may not be the most economical overall. For a concise guide to deciding when to replace fairings, consult expert resources that outline key inspection points and pricing norms: https://www.carinterior.com/motorcycle-fairing-replacement-guide/.
How Real Riders Cut Costs: True Savings and Trade-Offs in Motorcycle Fairing Repair
Real Stories and Practical Savings
The question riders ask most often is simple: how much will it cost to fix my fairing? The answer is rarely simple. Real riders face a spectrum of damage, budgets, and skills. Their choices show clear patterns. Small scrapes and hairline cracks usually invite a hands-on approach. Large breaks, structural damage, or fitment problems tend to push owners toward professional help or full replacement. Across that spectrum, the money saved or spent depends on three things: the damage, the material, and the decision to DIY or hire out.
DIY repairs start with inexpensive kits. A basic kit that includes resin, filler, and paint can run under fifty dollars. Riders who use such kits report saving half the price of a professional repair in many cases. One forum account noted spending around £36 on a kit and avoiding a new guard costing over £80. Those savings add up, especially for riders who treat minor damage quickly. The DIY route works when the damage is cosmetic or limited to small cracks. Epoxy fills the gap, sanded smooth, and color-matched paint hides the repair.
However, successful DIY work requires steady hands and patience. Poor prep shows quickly. Improper adhesion results in cracks reappearing. Paint that is not matched or sealed will fade under UV. These are not mere cosmetic issues. A rushed repair can look worse than the original damage. Many riders discover that unseen structural weakness follows a poor fix. That leads to repeat repairs and erases initial savings.
When damage is extensive, professional shops come into play. Labor costs often dominate these bills. For larger cracks, multiple panels, or complex color-matching, professional repairs commonly range from one hundred fifty to six hundred dollars. In some regional markets, like parts of Europe, labor and import costs push prices higher. Anecdotes from riders include repairs costing over eight hundred dollars when parts and labor stretch across weeks. Time is part of the cost; while waiting, riders may miss planned trips or endure reduced protection.
The decision to replace rather than repair is also financial. Aftermarket full fairing kits start around two hundred dollars. OEM sets for popular models can exceed two thousand. Choosing a higher-quality aftermarket or stronger ABS kit can feel expensive upfront. But several riders report that investing an extra one hundred or two has saved them from repeated repairs over subsequent years. In those cases, the higher initial cost proved cheaper over time. Fitment, UV resistance, and longevity of the material all affect the true lifecycle cost.
Material matters. ABS plastic and fiberglass behave differently under stress. ABS is flexible and tolerates impacts better, yet it can scuff and deform. Fiberglass repairs often require more labor and specialized products. The wrong filler can bond poorly to certain substances. Real-world reports show that matching repair materials to the original panel reduces the risk of peeling, cracking, or discoloration down the road.
Shop selection influences outcomes. A reputable shop will assess hidden damage and recommend repairs or replacement accordingly. Cheaper shops can cut corners on prep work. That often shows in fitment gaps and paint mismatches. When a repair costs more than half the price of a new aftermarket panel, replacement becomes a logical choice. Conversely, if labor is the largest line item, a skilled DIYer might reclaim their labor savings by performing their own work.
Warranty and replacement programs change the math for some riders. Some manufacturers and suppliers now offer warranty-backed repair or replacement on certain parts. That can dramatically reduce out-of-pocket expense. Riders who purchased higher-quality kits sometimes enjoy extended coverage and fewer issues. Others without warranty support report faster cumulative costs due to repeated minor repairs.
Preventive measures are a form of savings too. Using covers, parking away from tight spaces, and careful low-speed maneuvering cut the frequency of repairs. Savings here are subtle but real. A rider who avoids one small parking scrape per year often reclaims the cost of several repair kits over time.
Quality versus cost is a recurring trade-off. Cheaper aftermarket panels may look fine at install. Over a few seasons, some owners see fitment issues and UV degradation. That leads to repaints, replacements, or frequent repairs. Investing in better materials reduces these follow-up costs. One rider’s experience illustrates this: paying extra for a reinforced ABS kit prevented multiple small repairs over five years. The up-front premium proved cheaper in the long run.
Timing and scheduling matter. Some shops quoted weeks for complex repairs. If the repair timeline interferes with commuting needs or planned trips, riders sometimes choose to replace panels instead. A replacement panel can often be installed faster than a multi-step repair, depending on parts availability. That convenience has a monetary value that should factor into the decision.
Practical tips from real riders help make the best choice. First, get a diagnosis and a cost breakdown from a shop before deciding. Ask how much is labor versus parts. Second, compare the quoted repair price to the cost of a replacement panel plus installation. Third, consider future ownership plans; if the bike will be sold soon, a high-quality repair or OEM panel may improve resale value. Fourth, factor in warranty coverage and UV-resistant paints to avoid repeating repairs.
Finally, think in cycles, not single repairs. One cheap fix that lasts a year may cost less now. Multiple short-lived fixes add up. Conversely, a slightly higher initial spend often buys longer life and fewer headaches. The choice between DIY and professional, repair and replace, is rarely only about the next bill. It is about the total cost of ownership, including time, reliability, and appearance.
For riders exploring parts and replacements for specific models, a focused catalog can help when comparing options and prices. For example, a selection of replacement panels for certain popular models is available for comparison at Honda fairings. For broader context, the practical guide used in this chapter offers additional technical background and price benchmarks: https://www.carinterior.com/motorcycle-fairing-guide
Final thoughts
Understanding the costs associated with motorcycle fairing repair is vital for business owners. By navigating the options between DIY repairs and professional services, you can optimize expenses and enhance customer satisfaction. The factors influencing these costs, such as damage extent and material choice, are critical when assessing repair viability against replacement. Real-world examples showcase the potential savings achieved through repair techniques. Empowering yourself with this knowledge not only aids in informed decision-making but also positions your business for enhanced profitability within the motorcycle repair industry.