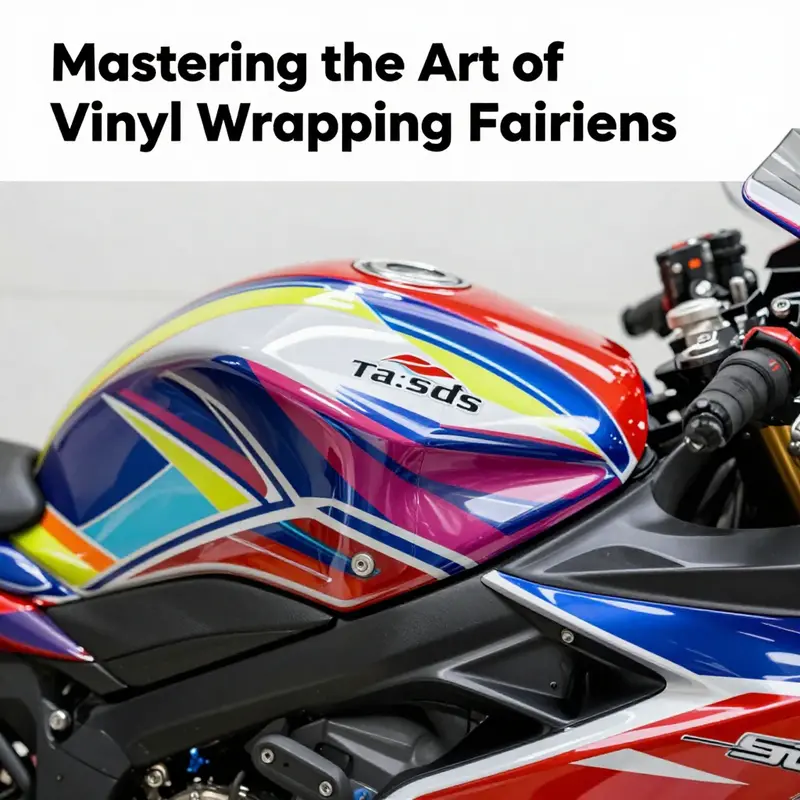
Vinyl wrapping motorcycle fairings has emerged as a practical and visually appealing solution for customizing bikes, combining aesthetics with protection. For business owners in the motorcycle industry, offering vinyl wrapping services can enhance customer satisfaction and expand service offerings. This comprehensive guide details essential preparation techniques, tools, step-by-step application procedures, and post-wrapping maintenance practices to ensure a flawless finish. Each chapter builds on key principles that equip business owners with the knowledge to successfully vinyl wrap motorcycle fairings, elevating both skill and service quality.
Surface Ready, Results Ready: Preparation and Material Choices for Durable Motorcycle Vinyl Wraps
The true strength of a motorcycle vinyl wrap comes from preparation. Detach mirrors, lights, and small panels so the surface can be treated as a single plane. Start with a gentle wash, rinse, and dry with a lint-free microfiber towel. Use a high-concentration isopropyl alcohol degrease to remove fingerprint oils and silicone residues, then wipe dry. Choose automotive-grade vinyl; cast vinyl for better stretch and stability, calendared vinyl for simpler shapes when heat control and edge work are careful. Pair the film with a dedicated primer on contoured areas to improve bond and longevity. Work in a dust-free space with a stable environment, ideally between 60 and 80 degrees Fahrenheit (15 to 27 degrees Celsius). Layout the panels by starting with the largest flat areas to establish a reference plane, then proceed to the more complex curves. Use a center-out squeegee technique to push air toward the edges and minimize wrinkles. Apply controlled heat to conform around curves, avoiding overheating that can distort the film. Trim edges precisely and re-squeegee to ensure a smooth seal. Finally, seal edges and plan for post-wrap care to maximize durability. The preparation phase is the foundation; the film and primer merely reveal its true potential.
Toolbox of Transformation: The Essential Gear Behind Flawless Motorcycle Fairing Vinyl Wraps
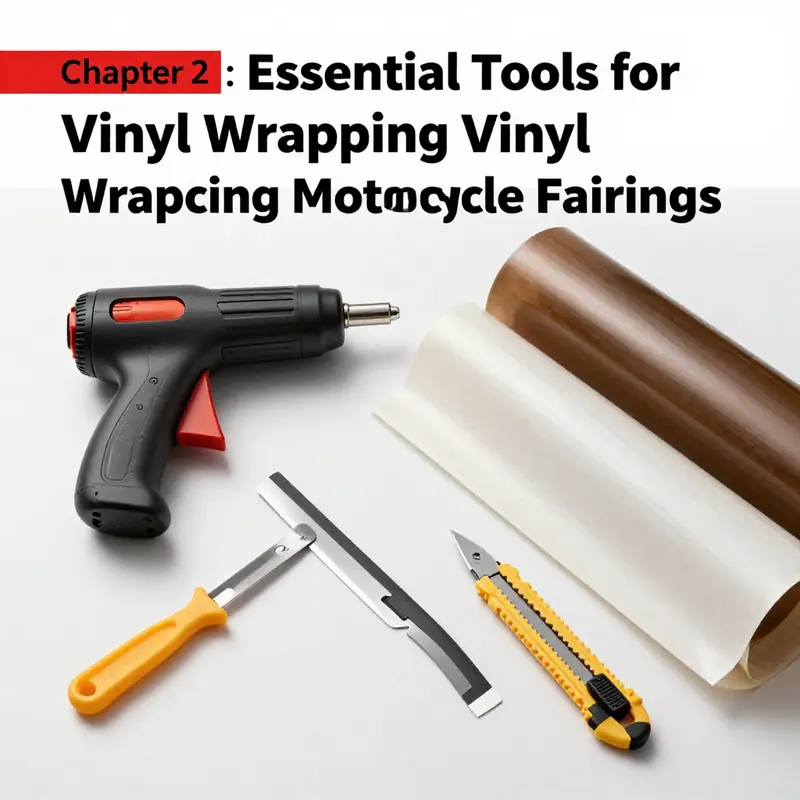
Every vinyl wrap begins with a careful choice of tools, but the real difference is made in how those tools are used. For motorcycle fairings, where curves, vents, vents, and tight corners challenge even seasoned hands, the right equipment becomes part of the technique itself. The toolkit is not merely a support cast; it is a partner in the craft. When you approach a fairing with the right gear, you approach with confidence that the film will lie smoothly, adhere evenly, and resist the life of highway heat and miles of road vibrations. The objective is to create a finish that feels like it grew from the bike itself, not something applied on top of it. To reach that level, you need to understand the role of each tool, how to select it, and how to use it in concert with the others. The process demands discipline, but it rewards with durability and a pristine look that stands up to scrutiny from riders who know what to expect from a well-executed wrap.
The foundation of any wrap starts with film selection, but the tools determine whether the film behaves under pressure. When a wrap film is stretched to cover a complex contour, it must respond predictably. Cast vinyl, in particular, offers superior stretch and recovery compared with more rigid alternatives, which makes it far more forgiving on deep curves and tight radii. The tool choices support that material behavior. A heat gun, used judiciously, loosens the adhesive and makes the film malleable, allowing it to wrap around corners without bunching or tearing. The heat must be steady and controlled; a wandering flame or overheated patches can lead to scorching and creasing. The goal is to coax the film to take the shape of the fairing, not to force the shape into the film. In practice, this means using heat in short bursts, keeping the nozzle moving, and letting the film settle between passes. A well-tuned heat approach reduces the risk of edge separation or air entrapment where the surface is most unforgiving—around vents, along seams, and at sharp transitions between panels.
The squeegee, often overlooked, is the second conductor in the orchestra. A firm, flat-edged tool glides the film from the center outward, pressing out air and water and aligning the substrate with the fairing’s geometry. The trick is to apply even pressure and avoid dragging indefinitely in one direction, which can create micro-wrinkles that become magnified once the surface cools. A clean, lint-free squeegee is essential; stray fibers can scratch the film or introduce debris that later shows as specks under the glossy surface. A new blade or a sharpened edge on the cutting tool is equally vital because a dull edge tends to drag and lift rather than cut free excess material cleanly. Precision becomes a habit—every trim must end with a clean edge that seats flush against the bodywork, leaving no tattered margins that invite peeling or moisture intrusion.
Cutting tools and blades deserve more attention than most hobbyists give them. A sharp utility knife with replaceable blades saves countless minutes and reduces the risk of nicking edges or gouging the underlying plastic. The blade’s edge should always be freshly refreshed before a cutting run around a vent, a mounting point, or a complex contour. A dedicated cutting mat protects your work surface, but more importantly, it anchors the effort to a predictable plane, helping you guide long, straight cuts where needed and making tight curves feasible when trimming along compound edges. The relationship between the blade and the surface beneath is simple: a clean, precise cut preserves the film’s integrity and preserves the fairing’s shape.
Cleaning and prep are the quiet foundation that keeps adhesion reliable through heat cycles and hours on the road. Lint-free microfiber cloths are non-negotiable because they collect dust and fibers that would otherwise become embedded in the film. Isopropyl alcohol, 70 percent or higher, is used to wipe away oils, wax, and fingerprints that would otherwise act as a barrier to the adhesive. The fabric choice matters here as well; lint is the silent enemy of a smooth finish. A residue-free surface ensures the wrap can anchor evenly from the start, reducing the chance of bubbles forming under the film as it cools. Preparation is not glamorous, but it is the most forgiving step when a wrap later reveals imperfections. It is in this stage that the difference between a good wrap and a great wrap begins to show.
Application tape plays a subtle yet critical role. This layer helps hold the film in place while you align it to the fairing, especially across large panels or when working with multi-piece wraps. Transferring sections with tape allows you to adjust the positioning without distorting the film. When the tape is removed, the film is already close to the desired position, and the final smoothing pass consolidates the result. In tighter wraps, the tape can help you stage complex layouts, acting as temporary guides that prevent misalignment as you proceed piece by piece. The practice here is less about forcing the film into position and more about guiding it with patient, incremental movements.
Measure twice, cut once is not just a phrase for carpenters. In wrapping, accurate measurements keep edges clean and seams barely perceptible. A measuring tape and a fine-point marking pencil are used to establish reference lines for panel alignment and to plan the layout across curved surfaces. These marks become invisible once the film is in place, but they guide the entire process, reducing the risk of misalignment that would require rework and waste time and material. A clean layout also minimizes the amount of film that must be trimmed, which reduces the appearance of misfit in the finished surface. The discipline of layout into broad sections—starting with the largest, flattest area and progressing to more contoured regions—creates a foundation that makes the wrap more predictable and easier to manage.
A complete professional installation kit, while optional, is a quiet force multiplier for the DIY rider who wants pro-level results. The kit packages together the essential tools and adds extras that reduce downtime and avoid mid-project tool hunts. Extra squeegees, spare blades, and a concise instruction manual turn a daunting task into a repeatable process. It’s the difference between improvising with a random plastic card and following a curated workflow designed to minimize missteps. The aim is consistent results across multiple panels and models, especially when you are wrapping a multi-piece kit where alignment and edge continuity are critical. In other words, the kit becomes a personal workshop, a portable studio, and a safety net all at once.
To appreciate how these tools come together on a difficult job, imagine a fairing with a deep curve near the leg shield and a tight seam along the lower edge. The film is laid across the center, then gradually worked toward the curve with light, measured heat to increase its pliability. The squeegee moves in gentle, overlapping strokes from the center out, dislodging air pockets and ensuring the film adheres evenly to the contour. As the curve tightens, the heat gun is applied in small bursts to encourage the film to wrap and settle without distorting the panel or creating heat marks. When the main surface is secure, trimming begins. A sharp blade follows the edge, trimming away the excess with a careful, almost surgical motion to avoid nicking the painted or primed edge beneath. The final pass with the squeegee seals everything in, ensuring a smooth, consistent surface with no stubborn bubbles or wrinkles.
This process benefits greatly from material choice. For fairings—especially those with complex geometries—cast vinyl tends to outperform other types because of its ability to stretch and recover without long-term distortion. The advantage is not a guarantee of easy results, but it reduces the risk of corner lifting and edge curl that often plague wraps on high-curve parts. Regardless of the film type, the emphasis remains on temperature control and gentle handling. Heat can be a friend or a foe; the difference lies in the user’s rhythm and discipline. The goal is not to force the film to conform but to invite it to follow the fairing’s natural shapes. When done well, the wrap looks seamless, with edges tucked and sealed along all contours.
Within this workflow, an internal link to a broader catalog of fairings can be useful for riders who are exploring options for future projects. For example, channels dedicated to specific makes and models offer a sense of how the fit and curvature translate across different shapes. A practical way to explore is to browse a section that showcases Honda fairings, which often includes panels with aggressive curves and multiple mounting points. This kind of reference helps you anticipate where you will rely on your most versatile tools and where you will need to slow down to respect the geometry of the piece. See more here: Honda fairings.
As you move toward the end of the process, the focus shifts to finishing and preserving. The film’s surface benefits from a final wipe with a damp microfiber cloth to remove fingerprints and dust that may have settled during the wrapping. A thorough inspection follows, with a careful eye for missed bubbles, tiny wrinkles, or areas that require a touch of heat and smoothing. A light, controlled application of heat can settle minor irregularities without affecting the overall tension of the wrap. The goal is a film that looks like it was always part of the fairing, with uniform gloss, no visible edges, and a crisp seam line that remains visually inconspicuous. The discipline of finishing—the patience to re-check, re-smooth, and reheat where necessary—separates the conscientious wrap from the casual effort. The wrap should feel like a single, continuous surface after cleaning, with no obvious signs of where one panel ended and another began.
In closing, the tooling story is, at its heart, a story of control. The rider who respects the tools—who selects a good heat source, a reliable smoothing implement, sharp cutting blades, and a clean prep regime—will consistently push toward outcomes that look durable and professional. The tools do not replace skill; they enable it. They turn a task that could be error-prone into a repeatable process, one that yields durable adhesion, smooth surfaces, and a finish that stands up to time and weather. The chapter on tools is not a detour from the craft; it is the map that keeps the wrap journey on track, from the first layup to the final polish. For riders who want to explore more about the broader world of fairings and protective wraps, a well-curated resource library can be a valuable companion. And when you feel ready to dive deeper into technique and costs, a respected external guide offers a practical, hands-on perspective on applying vinyl wraps to motorcycles. See the external guide for further technique and cost considerations: https://www.motorcycle.com/tech-tips/vinyl-wrap-motorcycle-diy/.
Shaping a Second Skin: The Art and Precision of Vinyl-Wrapping Motorcycle Fairings
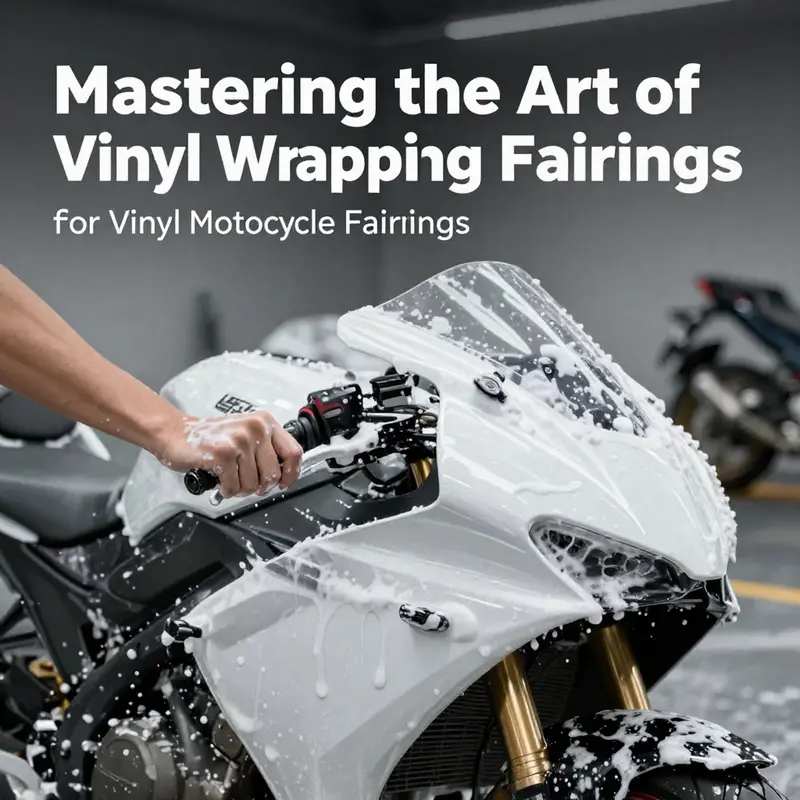
Wrapping motorcycle fairings is more than a cosmetic trick; it is a craft that respects both the material and the bike’s geometry. A well-executed wrap sits like a second skin, glossy and controlled, following every dip, ridge, and subtle curve. The stakes are high: a poor wrap shows as bubbles, wrinkles at corners, or lifted edges that catch dust and peel away with time. The journey from bare plastic to a seamless, durable finish begins long before the first cut. It starts with clean air and a clean surface, continues through careful measurement and layout, and ends in patient, attentive application. The difference between a wrap that lasts and one that fails often comes down to discipline in preparation, a plan that respects the fairing’s shape, and a technique that treats the vinyl like a flexible, living layer rather than a rigid shell.
For preparation, begin with a spotless stage. Wash the fairing with a dedicated motorcycle cleaner or a mild soap solution, then dry it with a microfiber towel until every corner shines free of moisture and dust. Contaminants trapped under the film become stubborn bubbles or lift later on. Scratches and small dents should be addressed before you proceed; light sanding or body filler can smooth superficial flaws, but deeper damage may require professional repair. Create a controlled environment with minimal dust and a stable temperature, ideally between 60 and 80 degrees Fahrenheit. If you can, let the cleaned surface sit in the environment for a day to dry completely. Patience here is not laziness; it is the basis for reliable adhesion. A clean surface gives the vinyl something to bite into, and a stable temperature gives the adhesive time to settle as you lay the film.
Choose a high-quality vinyl wrap designed for automotive use on complex curves. Films like these resist stretching and fading and capture color depth under challenging contours. A heat gun or hair dryer loosens the adhesive and makes the vinyl pliable enough to hug corners. A squeegee or plastic card helps push out air bubbles and ensures the film seats evenly. A sharp utility knife trims excess with precision, and masking tape helps hold material in place during the initial positioning. Isopropyl alcohol and a microfiber cloth are handy for cleaning and removing residue after application. The right combination of film and tools reduces common headaches such as tearing, tearing edges, and misalignment on radiused surfaces.
Measure the fairing carefully and cut the wrap slightly larger than needed. Lay the film flat on a clean surface to plan the layout, especially for multi-piece wraps. For curved sections, a template or gentle warming with the heat gun can help the vinyl spring to life and lay closer to the fabric of the panel. Begin with the largest flat areas—front fenders and broad side panels—to establish a stable base. Remember to leave a small margin around the edges; it will be trimmed to fit as you shape it around curves. The wet method, described below, gives you a forgiving starting point by allowing minor repositioning without tearing the vinyl.
Apply with the wet method for best results. Spritz the surface lightly with a water–soap solution; the soap loosens adhesion enough to reposition without damage. Peel back a small portion of the backing and align the film roughly with the panel. As you lay the film, smooth from the center outward with the squeegee, pushing air and liquid toward the edges. When you reach a curve, apply a touch of heat at a low setting to help the vinyl track the contour without overstretching. Move slowly and deliberately; rushing invites wrinkles. If you notice a stubborn bubble, release a tiny bit of tension at the center of the bubble and work it out. The water film will evaporate as the wrap dries, leaving a clean, bubble-free surface. Maintain even pressure along joints so that seams become invisible and the film bonds across the entire shape. Throughout, keep the work area clean; dust under the film is the enemy, so wipe the surface with a microfiber between passes to keep airborne particles from embedding under the film.
After the major areas are laid, perform a final smoothing pass with the squeegee, paying close attention to edges and ridges. The heat gun should be used sparingly on tight bends where the vinyl resists conforming. Warmth makes the film more forgiving, but overheating can weaken the adhesive or dull the color. As you approach the edges, hold the material tight and trim only after you are confident the shape will stay where intended. Edges that lift are a common failure point; address them with a light reheat and a firm press along the seam to encourage full bonding. The goal is a flush, continuous surface that looks integrated with the fairing rather than glued on top.
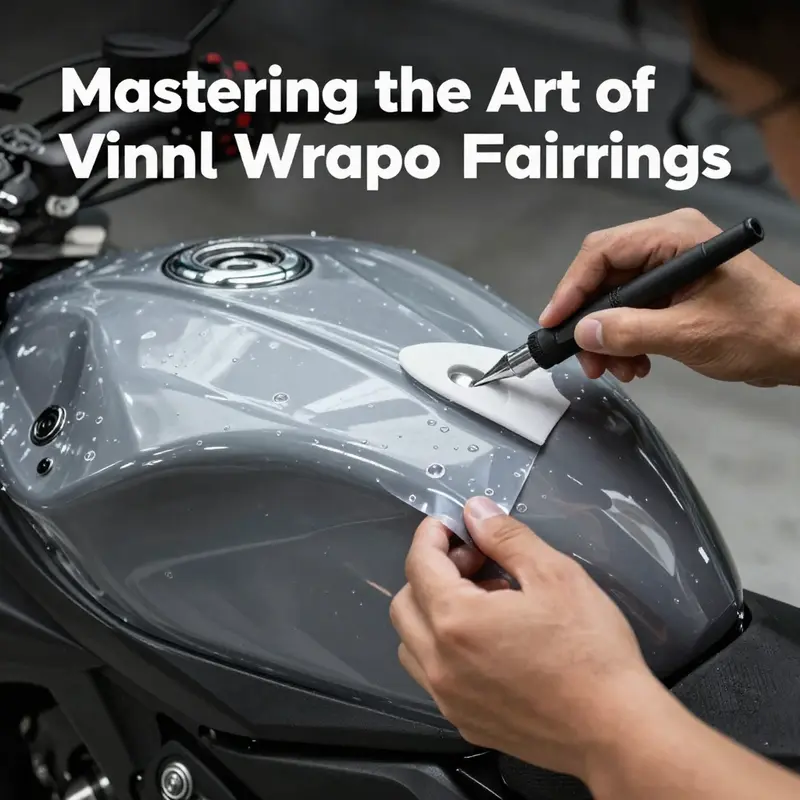
Trim excess material with a sharp blade along the actual edge of the fairing, not the masking tape line. Work slowly and maintain the blade at a very shallow angle to avoid digging into the panel. A neat trim reveals the clean, straight line that defines a professional wrap and helps the surface reflect light evenly. Some riders seal the edges with a clear tape to guard against moisture and lift at the seams. If you choose this step, apply the tape precisely along the seam, ensuring it adheres fully without creating new ridges under the film. The seam lines deserve extra attention because they are where dirt tends to accumulate and where stress concentrates as the bike moves. Also check the underside for any trapped dust or lint that would show up after curing.
With the wrap in place, allow it to cure before exposing it to aggressive cleaning or heavy rain. A cure time of 24 to 72 hours is common, depending on film and adhesive. During this window, avoid washing, pressure washing, or scrubbing the surface. When you resume care, use mild soap and a soft cloth, avoid harsh solvents, and keep abrasives away from the film. Regular microfiber wipes maintain gloss and prevent micro-scratches from becoming noticeable. If a bubble reappears after drying, a brief application of gentle heat and reseating can restore the bond. The wrap should age gracefully, resisting UV and weather while retaining its color and finish, provided you respect the cure period and routine care. A periodic inspection after a few weeks of riding can catch minor edge lifts early, allowing you to address them before they propagate. Take pride in even reflection along the panels; the film’s malleability is a teacher, and your eye the student.
Keep in mind that ambient conditions influence how the film behaves. Moderate humidity and moderate temperatures yield the most predictable results. Extreme heat can make the vinyl overly pliable, while extreme cold stiffens it and complicates shaping. A well-lit, dust-free workspace helps you see imperfections as they occur and correct them before the adhesive sets. A patient approach yields a finish that looks factory-applied and performs under sun, rain, and road salt. The more you practice, the more confident you become at reading the film’s response to heat and tension as you coax it into the bike’s lines.
For riders who own a Honda, see the Honda fairings collection for compatible panels and options that you can practice with as you hone your technique Honda fairings.
External resource: https://www.3m.com/automotive/en/us/finishing-systems/
null

null
Final thoughts
Vinyl wrapping motorcycle fairings offers a customizable and protective solution that can significantly enhance the visual appeal of any bike. By mastering the preparation techniques, utilizing the right tools, following a systematic application process, and conducting thorough inspections, business owners can deliver high-quality results that meet customer expectations. This guide serves as a foundational resource for any motorcycle service provider looking to expand their offerings in the realm of customization, ultimately fostering customer loyalty and satisfaction in a competitive market.