Custom motorcycle fairings are not merely aesthetic additions; they enhance performance, aerodynamics, and rider safety. As a business owner in the motorcycle industry, understanding the intricate process behind crafting these components will not only broaden your service offerings but also help you cater to a growing market of customization enthusiasts. This comprehensive guide is divided into three key phases: design and planning, material selection, and mold making and shaping, providing you with a solid foundation for launching your fairing fabrication ventures.
Planning and Prototyping: A Practical Guide to Custom Motorcycle Fairings

Planning and prototyping custom motorcycle fairings is about translating a rider’s vision into a workable plan. It starts with clear goals for fit, aerodynamics, and aesthetics, then moves through sketches, digital models, and foam prototypes to validate form and ergonomics. A well-designed fairing must fit around the frame, clear the radiator and exhaust, and accommodate the rider’s posture, controls, and visibility. The process emphasizes iterative testing, documentation, and a pragmatic choice of materials and finishes. Foam blocks and quick 3D prints allow you to explore lines, while a mold and layup define the final surface. Consider lighting, wiring, and service access early so panels can be removed without disturbing critical components. Legal and safety considerations, such as avoiding sharp edges and ensuring adequate clearance, should guide every decision. By treating planning as a living process—one that loops from concept to prototype to finished product—you build not just a fairing, but a repeatable approach you can apply to future projects. This chapter offers a pathway from napkin sketch to rideable form, with emphasis on fit, function, and finish, and a clear method for documenting decisions and outcomes. See related pages and case studies for additional context and examples.
Material Alchemy: Choosing, Shaping, and Finishing the Bodywork That Brings Custom Motorcycle Fairings to Life
Material choice is not a cosmetic afterthought in the craft of motorcycle fairings. It is the foundation that determines how a custom shell will perform under wind pressure, vehicle vibrations, UV exposure, and the brutal realities of road debris. The decision sets the balance between rigidity and weight, between ease of fabrication and long-term durability, and between the look you want and the way the bike will age in sun and rain. In practice, the art of choosing materials starts with design intent and ends in a finish that resists scratches, preserves color, and survives the test of time on public roads. To navigate this, an integrated view is essential: you must imagine the fairing not only as a carved sculpture but as a working component that interacts with the frame, suspension, fuel system, electronics, and rider. The process begins with a clear concept and a willingness to test, refine, and sometimes compromise, so the final piece serves both aesthetics and function without becoming a liability in the wind.
The journey from idea to finished shell typically starts with a rough concept—an aerodynamic concept, a weight target, and a sketch that translates into a form. Digital modeling has become a practical instrument in this stage. Even when the final product is still a physical shell, you can iterate shape, check line flow against the bike’s geometry, and simulate fit with minimalist 3D representations. The modern approach often uses foam prototypes as stepping stones. A block of high-density foam can be carved, sanded, and reshaped with relative ease, allowing you to test seating position, rider clearance, glare control, and front-end balance before committing to a rigid mold. Foam prototypes are not a finish; they are a diagnostic medium that reduces risk and cost. They help you answer practical questions: Will the rider’s knee brush the panel under hard cornering? Does the wind glare compromise visibility at highway speed? Where do the edges need extra radius to avoid catching on gear or gloves? These questions are not just about looks; they govern how a fairing will behave when the bike is parked in a sun-drenched garage or caught in a crosswind on a windy back road.
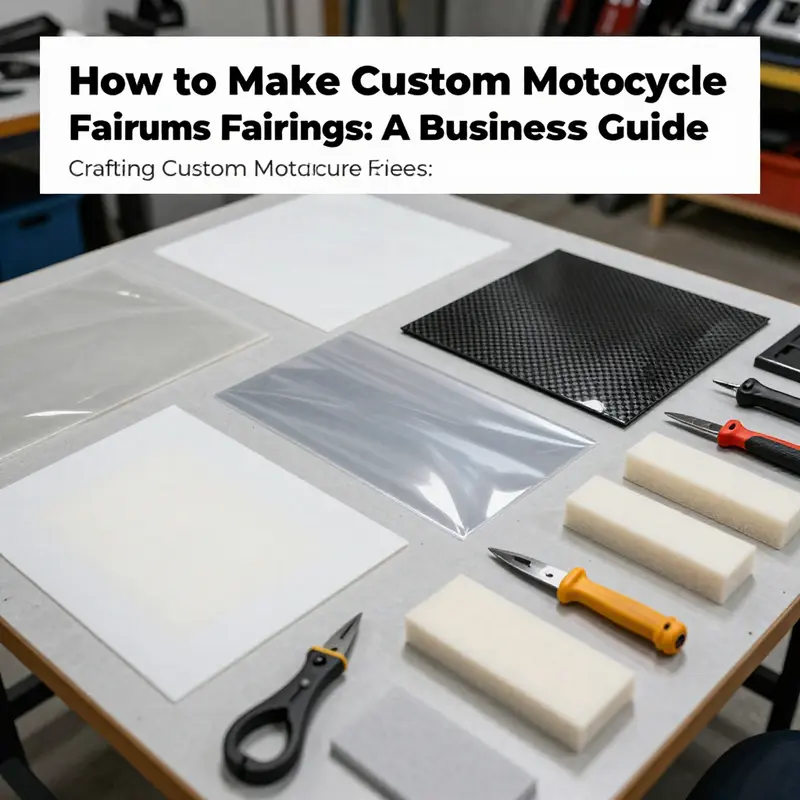
Beyond foam prototypes, the material decision unfolds in layers of performance, weight, and process. A common approach starts with a base shell built from plastic or fiberglass, then adds carbon fiber accents or other composites for stiffness and a high-end appearance. This combination mirrors the practical reality of most builders: a robust, forgiving base that is affordable to shape and trim, with carbon fiber or other advanced materials employed selectively to achieve target stiffness, cosmetic depth, or heat resistance where it matters most. The base material choice—PVC, ABS, polycarbonate, or a fiberglass shell—shapes the fabrication workflow and the post-processing steps that follow. Each option has its own metronome of advantages and limitations, and the final selection should align with the project’s goals and the builder’s capabilities.
PVC plastic sheets offer a cost-effective entry point for smaller or simpler fairing components, especially when the goal is a tail wing extension, a lightweight belly panel, or auxiliary aero pieces. PVC is lightweight, easy to cut, and sufficiently rigid for simple contours. It lends itself to rapid prototyping and can be thermoformed with modest equipment. Yet this material is not a panacea. Exposure to high heat or prolonged UV can cause it to deform or become brittle over time, and its surface may show wear sooner than higher-performance plastics. PVC can serve as a practical early-stage material for test-fit parts, where you’re still dialing geometry and mating surfaces, before committing to more durable production elements. For a broader spectrum of components, ABS enters the conversation as the next step. ABS combines good impact resistance with improved heat tolerance and a smoother finish that accepts paint and polishing without excessive surface preparation. When you need panels that demand a clean aesthetic and longer service life, ABS provides a reliable middle ground between low-cost prototypes and fully engineered composites.
Polycarbonate presents another compelling option, especially for sections where impact resistance and weathering performance must be prioritized. Polycarbonate is the workhorse behind many mass-produced motorcycle components because it remains clear and tough even when drilled, milled, or curved into complex shapes. In masked or clear sections, polycarbonate achieves an uncommon balance of transparency and strength that can be exploited for special design cues or layered aesthetics. However, polycarbonate carries a higher cost and requires careful handling to avoid scratches that can mar the surface under road grime. If a panel must resist impact with minimal risk of cracking, polycarbonate deserves serious consideration as part of a hybrid shell. In practice, many builders gravitate toward a layered approach: an ABS base for formability, a fiberglass or carbon fiber skin for stiffness and surface quality, and selectively exposed polycarbonate where transparency or optical clarity matters.
That brings us to composites, where fiberglass and carbon fiber deliver a different set of tradeoffs. Fiberglass is more affordable than carbon fiber and can form sturdy, reliable shells with forgiving layup processes. It does require skill and tooling, especially when you’re shaping curves around a bike’s frame and ensuring consistent resin penetration. The reinforcement achieved through multiple fiberglass layers lends a rugged durability that suits street riding and some track contexts, while still allowing room for artistic curvature and texture. Carbon fiber, by contrast, is prized for its extraordinary strength-to-weight ratio and stiffness. It provides a crisp, high-performance aesthetic that catches the eye and reduces mass at the surface. Carbon fiber demands more precise control over layups, cure cycles, and finishing, and it comes with higher material costs and specialized equipment. For a final result that balances cost, weight, and performance, many builders employ a hybrid strategy: a fiberglass or ABS base with carbon fiber accents, or a carbon fiber inner skin layered with a protective outer coat. This approach creates a shell that looks and feels premium without breaking the bank.
In certain builds, aluminum or other metals have a role in structural elements or as mounting brackets integrated into the fairing system. Aluminum’s lightness, corrosion resistance, and machinability can yield robust subframes, brackets, and hinge systems that resist fatigue under vibration and heat. These metal components are typically used where a high-fatigue load exists or where a precise, rigid mounting point is required to maintain alignment across the bike’s geometry. Metal elements are less flexible for complex continuous curves, so they are most effective when used sparingly and in conjunction with plastics or composites that can mimic or blend with the metal’s profile. The resulting assembly often behaves like a well-engineered composite, where the metal provides anchor points and structural integrity while the surrounding shell handles aerodynamics and aesthetics.
An important theme in material selection is the recognition that the best approach often relies on a multi-material strategy. A practical shell may be built with a fiberglass base for ease of shaping and affordability, with carbon fiber or aluminum reinforcements placed exactly where stiffness or mounting precision matters most. The outer surface could then receive ABS or polycarbonate for finish integrity and clarity, or it could be wrapped or painted to achieve the desired texture and color depth. This blended approach reduces risk, controls costs, and yields a final product that feels cohesive rather than assembled. It also provides flexibility for the builder to tune the balance between weight and rigidity, a critical consideration if the objective is to improve aerodynamics while maintaining ride comfort and handling precision.
If you are considering a broader scope of aftermarket or custom fairings, the route you take may also be influenced by the bike’s existing geometry and the terrain you plan to ride. A race-tuned machine may justify higher-cost composites to shave weight and maximize stiffness, while a street-ride project might prioritize durability and damage resistance. The weathering conditions in your area can steer you toward UV-stable resins or protective clear coats, and the level of gloss you desire will factor into finishing choices. The material decision, therefore, is never a single choice; it is an integrated design decision that links the fairing’s function to its form, to the rider’s experience, and to the bike’s overall balance.
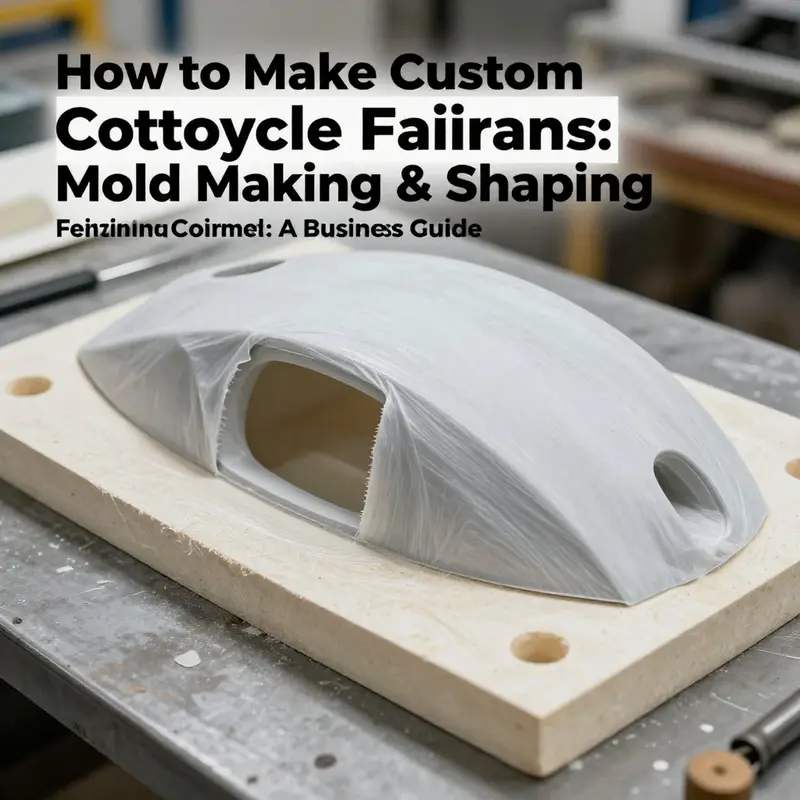
The practical workflow around this decision also shapes the final outcome. After settling on a material mix, a mold or plug becomes the scaffold for the final shell. A foam prototype, if used, serves as a positive model from which a master mold can be created, typically using epoxy resin or silicone-based materials. The layup sequence then follows the chosen matrix: for fiberglass, layers of resin and cloth are built up over the mold to achieve the desired thickness; for carbon fiber, either pre-preg sheets or carefully managed wet layups are used to control resin content and fiber alignment. The curing process, conducted in a controlled environment, is a quiet but decisive phase. Temperature and humidity can influence resin flow, gel times, and the final surface quality. Rigid control during cure reduces the risk of voids, resin starvation, or warping that would compromise the shell’s integrity and appearance. After curing, the shell is demolded and prepared for finishing. This is where sanding and filler steps come into play, and where the distinction between a glossy, museum-like surface and a rough, unfinished piece becomes clear.
Finishing is not merely cosmetic. It defines how a fairing will resist the elements and how it will respond to fasteners, vibrations, and the rider’s interactions with the machine. The process typically starts with careful sanding, progressing through progressively finer grits to create a surface that accepts primer evenly and without pinholes. Imperfections are filled with body filler and smoothed to a seamless curvature. The primer then serves a dual purpose: it reveals any remaining imperfections and provides the proper key for paint or wrap. In terms of aesthetics, you may choose a high-gloss finish for a showroom look, a satin or matte texture for a modern, understated appearance, or a wrapped finish that introduces patterns, textures, or color shifts without heavy paint layers. Each finish requires a slightly different preparation path and surface care routine, particularly when UV resistance and color stability are a concern over years of exposure.
Paint and color decisions are a frontier where artistry and chemistry meet. The base coat must adhere reliably to the substrate chosen for the fairing, and the color system must endure the stress of outdoor use. Automotive-grade paints with proper clear coats provide deep color, strong gloss, and resistance to environmental attack. For riders who want to experiment with texture, metallics, pearlized tones, or color-shift effects, the finishing process becomes more involved, requiring careful application steps and controlled lighting to assess how the color responds under various angles of light. If you prefer non-paint finishes, wraps offer a compelling alternative. The wrap must be sized, aligned, and bonded to the surface with care to prevent lifting at edges or seams. In either scenario, the final appearance should harmonize with the bike’s lines, emphasize the rider’s posture, and reflect the intent behind the design—whether it’s a stealth race profile, a retro-inspired silhouette, or an aggressive, forward-leaning stance that communicates speed even at rest.
Installation is not the end of the process; it is the last test of alignment, contact with other components, and durability under use. The fairing must align with the frame and handlebars, and the mounting points must tolerate engine vibration and road shocks without transmitting noise or stress to the rider. Vibration dampening—often achieved with rubber gaskets or silicone bushings—helps to isolate the shell from the frame, preserving the finish and preventing fatigue in both the fairing and its supporting hardware. The fasteners should be chosen not only for strength but also for corrosion resistance and ease of maintenance. Access panels, quick-release mechanisms, and removable sections should be integrated into the design so that inspections, maintenance, and potential repairs can be performed without compromising the shell or the bike’s integrity.
Of course, the safety and legal dimensions are inseparable from material choices. Custom fairings must not introduce weak points or sharp edges that could jeopardize rider safety during a crash. The edges should be radiused, and any exposed fasteners should be recessed or covered to reduce snag hazards. From a legal standpoint, modifications can trigger inspections or require certification depending on jurisdiction. The literature on non-standard modifications, including significant changes to rear sections, cautions that such work may not pass annual inspections in some places. Retention of original parts on hand for quick restoration during inspections is a prudent precaution. The goal is not only to create something spectacular but to ensure it remains a responsible and legally compliant modification that sustains its function over a long riding life. The best practice is to plan for safety and compliance from the outset, integrating features that protect the rider and preserve the machine’s handling characteristics rather than compromising them to achieve a focused aesthetic.
A key practical insight from experienced builders is that the material combination should serve a defined performance goal: reduce weight where feasible, increase stiffness where necessary, improve impact resistance in vulnerable zones, and maintain or improve impact absorption at mounting points. Weight savings are not merely about removing mass; they are about shifting the bike’s center of gravity in ways that improve handling and rider confidence. Stiffness is essential to prevent flutter at speed and to maintain clean aero lines that resist buffeting. Impact resistance protects the fairing from debris and minor crashes, a common reality on public roads. The border between function and form becomes a living compromise: enough stiffness to hold its shape at freeway speeds, enough flexibility to absorb minor impacts without cracking, and enough resilience to survive the miles of road adventures.
In conclusion, material selection for custom motorcycle fairings is a holistic exercise. The choices you make ripple through every subsequent step—from modeling and mold making to layup, curing, finishing, and installation. A thoughtful, hybrid approach often yields the best balance of performance, durability, and aesthetics. It invites you to test ideas, learn from the materials themselves, and adapt as your project evolves. The right combination of plastics, composites, and metals—guided by a clear design intent—can give you a shell that looks as if it grew from the bike and behaved as a single, integrated system. For builders who want to see how a particular line can harmonize with a specific bike archetype, exploring related categories can provide practical context for finishes and fitment. For example, you can refer to the broader range of integrated fairing options in the BMW fairings category. BMW fairings category.
As you plan the next steps, remember that the most successful fairings emerge from a disciplined process: a solid design foundation, a measured choice of materials, an iterative prototyping phase, and a finish that preserves the work’s intent. The result is a shell that not only captures attention but also serves the rider with reliable performance and lasting beauty. The materials you choose become the quiet backbone of your vision, translating your ideas into a durable, ride-ready, and visually compelling piece of personal engineering. For further context on how the broader community approaches fairing construction and finishing, you can consult the deeper exploration published by practitioners in the field. External resource: https://www.motorcyclecruiser.com/2024/10/08/how-to-make-custom-motorcycle-fairings/.
null
null
Final thoughts
As you embark on creating custom motorcycle fairings, remember that the process involves careful planning, selection of the right materials, and precision in mold-making. By mastering these key aspects, your business can tap into a lucrative market of motorcycle enthusiasts eager for customization. Aim for safety and compliance along the way, ensuring that your innovations not only enhance aesthetics but also afford riders the utmost safety and performance.