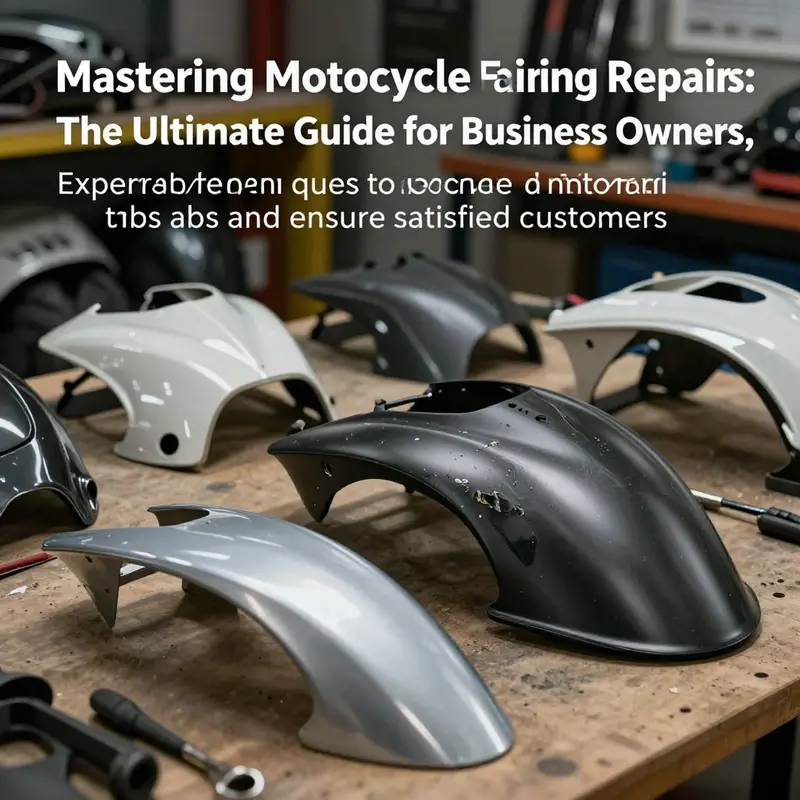
In the motorcycle industry, fairing repairs are a common yet critical aspect of service offerings. Broken tabs on motorcycle fairings not only affect the aesthetic of the bike but also its performance and structural integrity. Business owners seeking to provide quality repairs must understand various methods for fixing these crucial components. Whether dealing with small cracks, severe breakages, or completely detached tabs, effective strategies exist to restore them to their original condition. This guide delves into practical solutions, from simple repairs using plastic welding to advanced techniques involving 3D printing, equipping business owners with the necessary knowledge to enhance their repair services and customer satisfaction.
Mending Small Breaks: Practical Plastic Welding, Fillers, and Reinforcement for Fairing Tabs
Repairing small cracks and minor breaks on motorcycle fairing tabs is a task many riders can tackle in a single afternoon with basic tools and careful technique. The aim is not only to restore the fairing’s appearance but to regain the structural function of tabs that hold panels together and anchor them to the frame. A successful repair bonds the damaged area, resists vibration, and cleans up to blend with surrounding paint. This chapter walks through a unified approach that covers cleaning and preparation, choosing between plastic welding and filler repair, strengthening attachment points, and finishing so repairs last and look integrated.
Start by assessing the damage with a clear, practical eye. Small cracks that track along a tab or a tiny piece missing from an edge behave differently than a flex-crack near a mounting hole. If the break separates two mating pieces cleanly and both edges fit snugly, plastic welding is usually the strongest option. If the damage is superficial, a recessed hairline, or a small dent with minimal separation, a filler-and-sand approach can deliver a cosmetically clean finish faster. Wherever the repair will bear load—around bolt holes, clips, or where panels butt against one another—plan to reinforce, regardless of the chosen primary method.
Preparation is the foundation of durability. Clean the area thoroughly with a solvent that removes oil and wax, then roughen both sides of the crack and an inch or two of the surrounding surface with medium-grit sandpaper. This creates a keyed surface for adhesives, fillers, or welded material to bond to. If a broken tab held fasteners, remove hardware and any loose plastic. For cracks that are accessible from the inside, open that side up; reinforcement applied to the interior dramatically improves strength. Dry the area completely and mask off surrounding paint to protect it during heating or sanding.
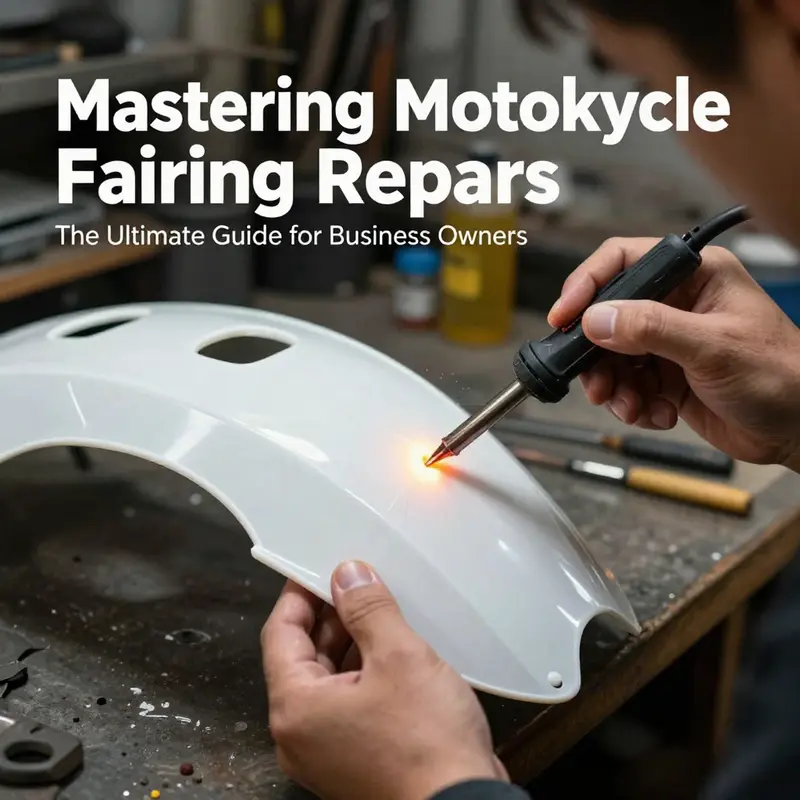
Plastic welding threads heat into the plastic to fuse new material with the old. Use a temperature-controlled plastic welding iron or a soldering iron with a purpose-built plastic-welding tip. The goal is to melt compatible plastic rather than burn it. Many fairings are made from polypropylene, ABS, or other thermoplastics; matching the filler rod material to the base plastic yields the best results. If you’re unsure of the fairing material, start at low heat and test on a hidden edge to see how the plastic reacts.
Begin welding by clamping the crack in its correct alignment. Use spring clamps or tape to hold parts together without distorting the panel. Feed a thin bead of welding rod into the seam while drawing the iron along the crack. Work in short sections, allowing the weld to cool slightly between passes to avoid warping. Reinforce by laying triangular or flat strips of melted rod along the repair and melting them flush, creating a fillet that distributes stress. On the interior, add a backing patch—either welded in place or fused with rod—to create a broad load-bearing area rather than a single narrow seam. After the weld cools, grind or sand the area smooth with coarse grit and refine with progressively finer grits until the profile matches the original.
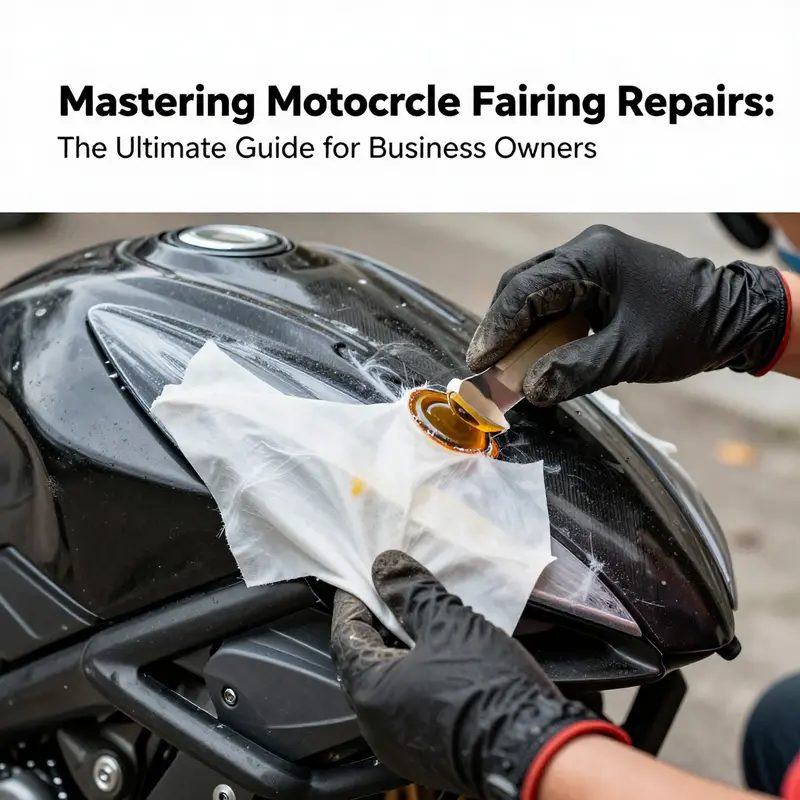
For purely cosmetic hairlines or small surface depressions, filler repair is faster and less technically demanding. Use a two-part epoxy or plastic-specific body filler. Mix per directions, apply with a plastic spreader, and overfill slightly to allow sanding. After curing, sand back to shape using a guide coat or by feel. When rebuilding a tab edge, consider applying the filler to both sides and embedding a small fiberglass cloth or a thin plastic mesh in the first wet coat; this adds tensile strength without a full structural weld.
When a tab contains a fastening point, treat it as structural. Repairing near bolt holes requires special attention to alignment and load paths. If the tab is cracked through the mounting hole, first enlarge the hole slightly to clean away frayed plastic, then weld or bond a replacement insert of similar plastic, or press-fit a small metal sleeve if the design allows. Metal sleeves or helicoils can prevent repeated failure when bolts are frequently removed. If you add a metal sleeve or rivet, isolate it from the fairing with epoxy to prevent galvanic contact and stress concentration.
Reinforcement options extend the life of repairs. Fiberglass resin and cloth make excellent interior patches. Apply resin, lay cloth over the repair on the inside of the panel, wet it out, and let it cure. Once the resin hardens, sand the exterior back to shape. Carbon fiber tape provides similar reinforcement with a lower profile and lighter weight, though it is generally more expensive. Both materials spread load and reduce the chance of a repaired tab cracking again under vibration.
When a tab is too small or mangled to rebuild easily, fabricate a replacement. A 3D-printed tab from a durable thermoplastic such as PETG or ABS can be bonded into place or mechanically fastened. The printed part should be designed to match the original geometry, with extra material where the load is concentrated. Alternatively, cut a replacement from sheet plastic and bond it with structural epoxy or weld it on. When fabricating, ensure bolt alignments match precisely to avoid introducing leverage that will cause premature failure.
Adhesives remain a reliable option when welding isn’t practical. Two-part epoxies designed for plastics create strong bonds when surfaces are abraded and degreased. Apply the adhesive liberally inside the crack, clamp the parts, and let the full cure time elapse before handling. To minimize shear on the adhesive, pair bonding with a backing plate or a patch on the interior. Avoid relying solely on cyanoacrylate (super glue) for structural tabs; it can be brittle and fail under repeated vibration.
Finishing matters for both appearance and protection. After shaping the repair, apply a plastic-friendly primer before painting. Use flexible primers and paints formulated for automotive plastics to prevent cracking of the finish as the fairing flexes. Feather the surrounding paint and apply thin coats for a uniform look. If you welded the repair, lightly scuff the area to ensure primer adhesion. For filler repairs, a guide coat between sandpaper steps helps you find low spots and achieve a smooth surface. Finally, reassemble panels slowly, checking alignment and fastener torque to avoid overstressing repaired tabs.
Practical tips that save time and prevent rework: work with temperature control and good ventilation to avoid fumes. If removing panels makes access easier and reduces the risk of heat-damage to adjacent components, take the time to unbolt the fairing. Use clamps and jigs to hold pieces in correct alignment while the repair sets. When reinforcing with rivets or metal brackets, countersink or pad them to avoid stress risers on the plastic. Keep a selection of spare fasteners and rubber grommets on hand—these small parts often fail at the same time as tabs and can mask the true condition of the mounting points.
A repaired tab is only as good as the restoration of its surrounding structure. Check nearby areas for hairline cracks or stress that could later undermine your work. If multiple tabs around a panel are compromised, consider replacing the fairing or buying a good-quality replacement panel—repairing many tabs can be more time-consuming and less reliable than swapping the part. For model-specific fairings, sourcing replacement panels or compatible aftermarket fairings can be a cost-effective alternative; a practical place to look for replacements by make and model is the site’s catalog for specific fairings, such as their listings for CBR fairings.
Whether you weld, fill, or bond and reinforce, test the repair by reattaching the panel and riding under normal conditions while checking for unusual vibration or looseness. Inspect the repair after the first short ride and again after a week. Small signs of movement or cracking often show early. With proper preparation, the right materials, and reinforcement where needed, a small crack or broken tab can be returned to service with strength and a finish that blends into the original fairing.
For step-by-step demonstrations and detailed tool recommendations, a comprehensive fairing repair guide offers helpful visuals and product guidance. (External resource: https://www.revzilla.com/blog/motorcycle-fairing-repair-guide)
Restoring Severely Damaged Fairing Tabs: Reinforcement, Fabrication, and Finish Techniques
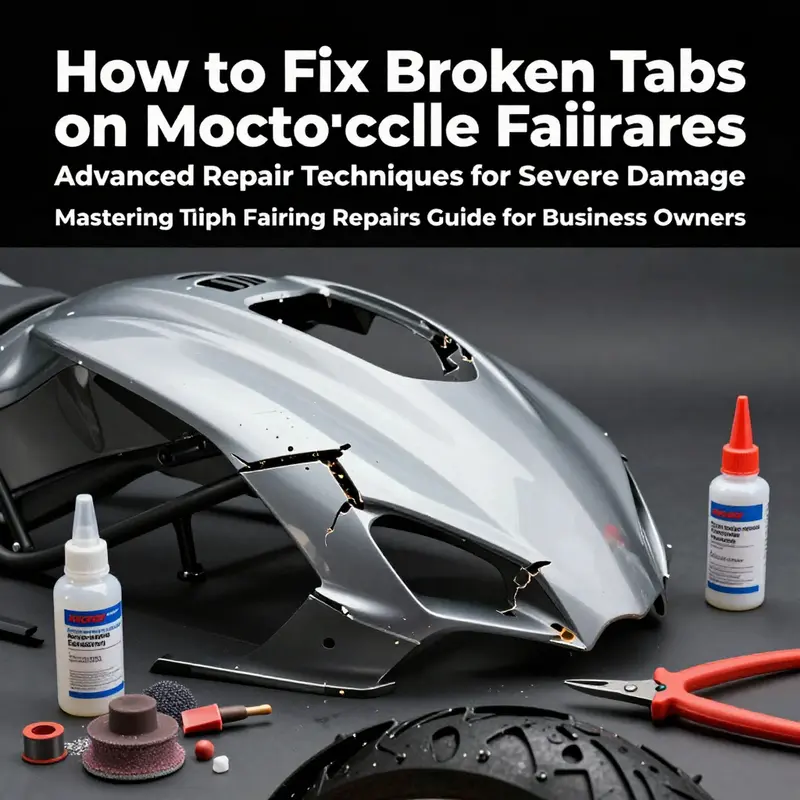
When fairing tabs break clean off or the attachment points crumble, a simple glue or filler job rarely brings back the strength you need. This chapter walks through a single, practical approach that takes you from honest damage assessment to a finished panel that can withstand road vibration, handling forces, and repeated mounting and dismounting. The goal is to replace fragile, compromised plastic with a reinforced repair that behaves like the original structure: rigid where needed, slightly flexible where necessary, and visually seamless after finishing.
Begin by evaluating the failure. Look beyond the visible break. Stress often radiates tiny fractures into surrounding areas or causes internal delamination in composite parts. Gently flex the panel to find any hidden weakness. Clean the area with a solvent that removes grease and old wax without softening the plastic. Use a fine brush or compressed air to extract grit from seam lines and mounting holes. If the tab is still partially attached, mark the exact fracture line with a pencil; if it has detached, collect both pieces and note any missing fragments. Accurate assessment determines whether you will reinforce the original tab, rebuild it from scratch, or fabricate a replacement insert.
For repairs that must carry load—mounting points that bear bolts, snaps, or clips—reinforcement is essential. A proven method is to create a sandwich repair: the broken seam is rejoined and bonded, then backed with a stiff patch that spreads loads over a wider area. Start by dry-fitting the mating surfaces. Lightly sand each edge with an aggressive grit to remove glazing and create a rough surface for mechanical adhesion. Drill a couple of small through-holes offset from the repair line to accept nylon or stainless-steel locator pins if alignment is an issue—these pins will keep parts aligned while adhesive cures and add shear strength.
Choose a structural adhesive rated for plastic and composites. Two-part epoxies designed for bodywork give excellent bond strength and gap-filling ability. Mix only the amount you can apply within the working time. Trowel a thin bed of epoxy along the mating faces and press them together, wiping away squeeze-out with a clean rag. If the tab is missing entirely, build a backing layer that becomes the new mounting base. Cut a patch of fiberglass cloth to extend 1 to 2 inches beyond the damaged zone. Place the cloth on the inside surface and wet it with mixed epoxy so it conforms closely to the fairing contour. Work in thin layers; thick blobs cure slowly and trap solvents that weaken the bond.
While the first layer cures, prepare a rigid insert to distribute the clamping forces of bolts and fasteners. Fabricating a small backing plate from a durable thermoplastic or thin aluminum will dramatically reduce the chance of re-failure. Thermoplastics printed from robust filament or cut from sheet material can be bonded to the inside of the fairing with more epoxy and act like a captive nut plate. If you opt to use a metal plate, countersink the plate slightly to prevent it from distorting the aesthetic surface and pad between metal and plastic with a thin layer of epoxy to prevent galvanic interaction and stress concentrations.
For maximum longevity, use a multi-layer reinforcement: resin-saturated fiberglass followed by a carbon fiber patch in the highest-stress areas. Carbon fiber adds stiffness and resists shear but is brittle by nature; orient the weave so the fibers run across the direction of greatest load. Apply carbon fiber only once you have a stable base layer. Saturate each cloth layer thoroughly and remove air bubbles with a roller or squeegee. Allow full cure in a dust-free environment. Temperature swings during curing can affect final strength, so aim for a steady, moderate temperature and avoid attempting repairs in direct sunlight.
Sanding a cured repair is where the piece becomes indistinguishable from original bodywork. Start with coarse grit to remove high spots and shape the new tab or backing. Move progressively to finer grits until the repaired area blends smoothly with adjacent surfaces. Be mindful of sanding through reinforcement layers; stop when the shape is correct, then feather the edges so transitions are gentle. Fill low spots with a thin skim coat of a compatible filler if necessary. Use a primer made for plastic and composite substrates before final color coats. This primer improves paint adhesion and highlights any remaining imperfections that need attention.
If the original tab geometry is lost or the cosmetic finish must be flawless, consider fabricating a replacement tab. A 3D-printed insert, printed from a durable material and trimmed to exact fit, can be a precise and repeatable solution. Design the replacement to overlap the fairing’s interior surface more than the original, allowing a larger bonding area. Drill holes to accept mounting hardware and countersink where necessary. Bond the printed tab into the prepared cavity using high-strength epoxy and reinforce it externally with fiberglass or carbon patches for a unified structure. When machining a replacement from sheet material, maintain generous radii at corners; sharp corners concentrate stress and are failure points.
Beyond strength, think about maintainability. Incorporate captive nuts or threaded inserts into your backing plate so you never stress the repaired plastic with repeated screw tightening. Rivet nuts set into metal inserts are a robust option for frequently removed panels. Make sure any metal inserts are isolated from the fairing plastic with a non-conductive pad or epoxy to protect against corrosion and to distribute clamping loads evenly. When using threaded inserts in thermoplastic, heat-set inserts provide a durable anchor and reduce the risk of pull-out.
Finish work can disguise the repair and restore factory aesthetics. After primer, block sand with a fine grit until the surface is perfectly smooth. Apply thin, even coats of color-matched paint, allowing proper flash and cure between layers. A clear coat seals the job and returns gloss to the surrounding area. Work in a controlled booth if possible; dust and insect debris in the clear coat are hard to remove without redoing the finish. After the clear cures, you can polish to blend edges and achieve a uniform sheen. Remember that a structural repair is the priority; perfect cosmetics are secondary but important for resale and pride of ownership.
Some repairs, despite best efforts, are not cost-effective compared to replacing the entire panel. Use judgment: if multiple mounting points are compromised or the fairing exhibits extensive internal cracking, replacement might be smarter. When sourcing a new or replacement panel, consider compatibility and fitment so that mounting points align without forcing hardware; forcing fasteners can transfer stress back into the new piece and cause early failure. For those who prefer replacing over repairing, browsing compatible replacement fairings can clarify options and prices—see an example of fairings for YZF models to compare parts and styles.
A final practical note: plan your repair with lifecycle in mind. Reinforcement should restore the fairing’s ability to take normal ride forces and occasional service removal. If you ride aggressively or subject the bike to repeated track days, err on the side of more robust reinforcement and metal backing plates. If you expect occasional road use, a well-executed epoxy and fiberglass patch will perform admirably. Keep records of the materials and methods used so a future owner or technician will know what to expect when performing maintenance.
For a deeper technical perspective on bodywork repair fundamentals and best practices, a comprehensive training resource outlines advanced techniques for plastic and composite repairs and is worth reviewing.
External reference: https://www.mmi.edu/motorcycle-body-repair-techniques
Internal reference: For replacement parts and to compare fairing options, see fairings for YZF models: https://ultimatemotorx.net/product-category/yamaha-fairings/fairings-for-yzf/
Reinforcement that Endures: Fiberglass and Carbon Fiber Solutions to Restore Broken Fairing Tabs
When a motorcycle is laid over or bumped at the wrong angle, the delicate plastic tabs that anchor a fairing into place are often the first to crack or detach. Those tabs are more than cosmetic nobs; they are the anchor points that help align panels, distribute the load of wind and vibration, and keep the overall shape of the fairing intact. The repair approach discussed here treats those damaged tabs not as cosmetic blemishes but as structural weak points in the shell. By using fiberglass or carbon fiber reinforcement, you can restore not only the tab’s geometry but also its ability to handle the repeated stresses of riding, washing, and fast cornering. The goal is a repair that feels and behaves like the original part, with enough rigidity to resist future cracking and enough flexibility to prevent new failures under normal riding conditions. This path is preferable when the tab has suffered a fracture rather than a total detachment, because it builds a strong, lightweight patch that bonds to the surrounding fairing and spreads stress across a broader area rather than concentrating it at the break line. It also opens up practical options for riders who want to preserve as much of the original shell as possible while upgrading the tab’s resilience, rather than replacing an entire panel or tab assembly. The approach integrates well with the broader repair philosophy for broken fairing pieces: clean, precise surface preparation; a bonding agent that stands up to flex and temperature cycling; and a carefully chosen reinforcement that complements the existing material. For riders who are curious about model-specific fitment or replacement parts, a quick check of the Honda fairings catalog can be a useful starting point to understand common tab geometries and attachment methods. See Honda fairings for an idea of the kinds of panels that typically share tab styles and mounting points, which helps ensure your reinforcement aligns with the original fitment. (For reference, you can explore the model-aligned options here: Honda fairings.) The following narrative keeps the focus on function and durability while preserving aesthetics, so the final finish blends invisibly with the surrounding bodywork and remains resistant to fuel vapors, heat, and moisture that can creep into a tab’s edges over time.
Reclaiming Fit and Form: Crafting Custom Replacement Tabs for Motorcycle Fairings Through 3D Printing and CNC Machining
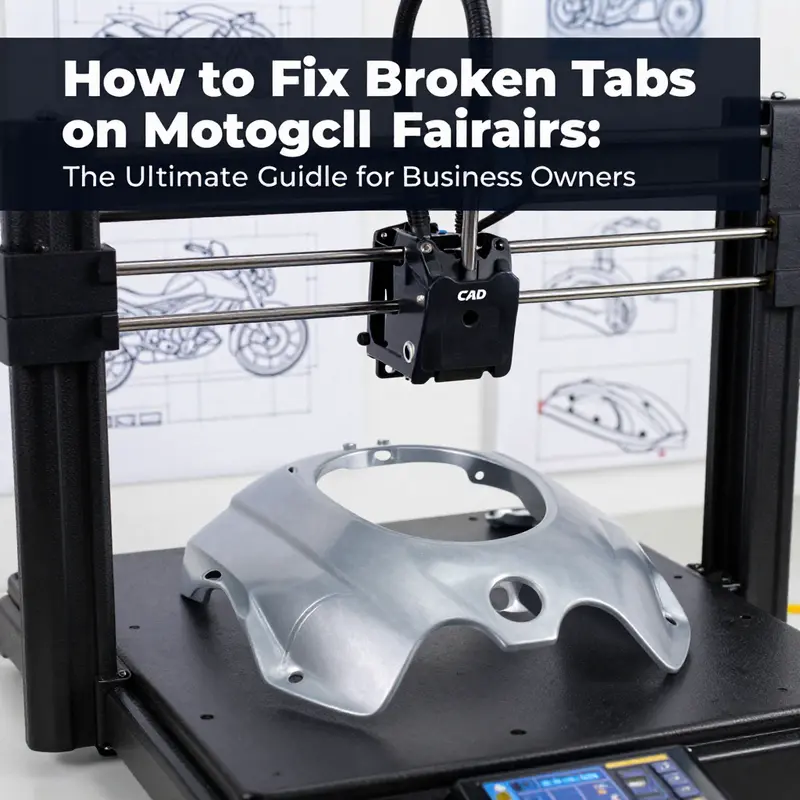
When a fairing tab breaks, the consequence isn’t only cosmetic. These little plastic protrusions act as the alignment anchors that keep panels spaced correctly, the gaps consistent, and the overall silhouette true. A cracked tab can throw off the mating of pieces, invite wind noise, alter airflow around the radiator and brakes, and invite further stress as the fairing flexes with every ripple of the engine’s vibrations. Relying on simple glue or a quick adhesive repair often yields a temporary fix at best. The reality is that real riding loads—vibration, heat, sun exposure, and occasional impacts from debris—demand a repair that not only holds but also mirrors the original geometry as closely as possible. Against this backdrop, the most durable and satisfying solution is to fabricate a replacement tab that matches the original design down to the mounting holes, with material choices that resist fatigue and temperature swings. This approach may feel intimidating, especially if you are not equipped with a CAD workstation or a shop with a CNC mill. Yet the modern toolbox—3D printing and machine work—offers a practical path from damaged tab to a part that behaves the way the factory intended. It is a strategy that blends careful measurement with a precise manufacturing mindset, and it pays back in reliability, fit, and aesthetics. The key is to see the repair as a reconstruction project rather than a patch. Your aim is to restore the tab’s function and its visual coherence with the surrounding fairing, so the piece reads as an OEM-like part rather than a makeshift fix.
To begin, imagine the tab as a small but critical element that anchors alignment and tolerances across several degrees of freedom. The replacement must not only align with the panel edges but also mate cleanly with the fasteners, retain the same stance relative to air flow, and tolerate the same heat that characterizes the engine bay under a hot sun. This chapter follows a practical, studio-meets-workshop approach that emphasizes a highly customized outcome. The first decision is whether to print or to machine. Printing offers rapid prototyping and excellent corrosion resistance with the right material, while machining delivers top-tier strength and predictable behavior under load. Both paths share common ground in one essential practice: meticulous preparation, starting with documentation of the damaged geometry. The right model, once completed, acts like a blueprint you will trust to bring the tab back to life with precision.
If you’ve ever rebuilt a prototype part, you know that the most valuable step is the initial measurement and documentation. Carefully remove the damaged fairing section and, before you detach anything completely, photograph from multiple angles. Capture how the tab sits in relation to nearby mounting points, the curvature of the surface, and the thickness at the base. Make a habit of marking any subtle angles with reference notes. For some bikes, computer-assisted methods can translate those photos into a usable 3D model. If you have access to photogrammetry software or a handheld 3D scanner, these tools can accelerate the process, turning a set of pictures into a tri-dimensional sketch you can refine. If such equipment isn’t available, you can construct a faithful CAD sketch by hand, referencing the intact side of the fairing or using known OEM dimensions as anchors. The goal is to create a digital twin of the tab that integrates with the rest of the fairing assembly and preserves the exact distance to the mounting holes and adjacent features. At this stage, you are not doing final geometry; you are establishing a trustworthy baseline from which to manufacture.
Once you have a digital model, the material decision comes into focus. For 3D printing, high-performance thermoplastics such as PA12 nylon and PETG stand out for their impact resistance, cycle stability, and temperature resilience. Nylon, in particular, offers a balance of toughness and flexibility that helps the tab absorb stress without cracking. PETG, meanwhile, provides good layer adhesion and clarity of surface, which can be helpful if you later apply finishing coats. If you are leaning toward machining, aluminum alloys such as 6061-T6 deliver superior stiffness, excellent fatigue resistance, and heat-dissipation properties that are beneficial where the tab lives in the path of air and engine heat. The choice between printing and milling often comes down to the desired finish, the available equipment, and the required strength. If the mounting points pass through the tab or the tab is expected to bear shear loads, you may even plan for a hybrid approach: a 3D-printed shell reinforced with a metal insert, or a machined base plate with a printed cap that matches the fairing contour.
With materials selected, the manufacture begins. If 3D printing, orient the part to maximize strength along the most stressed direction. Print with a sufficiently dense infill or a solid cross-section at the base to support mounting holes and load paths. After printing, perform post-processing: remove supports, smooth surfaces with careful sanding, and drill the mounting holes with precise alignment. A light coat of primer can help you verify the hole locations and edge radii before final finishing. If you are machining, the process is straightforward but exacting. You mill the tab from a block or plate with precise pocketing to form the tab body, then drill and tap any mounting holes or create threaded inserts. In both routes, you should consider adding a small bevel on the tab’s leading edge to reduce snagging on clothing or gear and to minimize chafing against adjacent fairing panels. Whatever method you choose, the tab should feel as integrated as the rest of the panel.
A critical part of the journey is the bonding and attachment strategy. Replacement tabs must be secured so they don’t shift or loosen over time. For plastic-to-plastic joints, a robust epoxy adhesive that is compatible with the materials involved—often a two-part, rigid or semi-rigid compound—provides a strong anchor. If the tab meets a metal mounting surface, consider a conductive or gap-filling epoxy designed for plastic-to-metal bonding. In some cases, you may find it beneficial to combine epoxies with mechanical fasteners. Self-tapping screws or rivets can add security, but you must avoid over-tightening, which can distort the fairing or crack the plastic. The key is to ensure a clean, load-distributing bond line and to preserve the intended geometric relationship between the tab and the surrounding features. In practice, you clamp or hold the tab in the exact position while the adhesive cures to maintain alignment throughout the bonding window.
Post-assembly, the finish and paint are not merely cosmetic. They are a final layer of protection that guards the repair against UV exposure, chalking, and wear. Begin with a careful surface preparation: remove any residue, lightly scuff the area with fine-grit sandpaper, and wipe clean. Apply a primer compatible with both the fairing’s plastic and the chosen topcoat. The color match matters not only for aesthetics but for the perceived integrity of the repair; an imperfect shade can draw attention to the fix and undermine the effort. A double-coat finish is often worth the extra time—basecoat, then color, followed by a clear coat to seal and protect against sun and moisture. If you aim for OEM-like translucence or subtle texture, you can experiment with different primer types or finishing coats that mimic the factory’s surface. The final look should harmonize with the adjacent panels so the repair becomes barely noticeable to the eye.
An important advantage of this tab-replacement strategy is its adaptability. Every model has unique geometry, and even within the same model, different years may exhibit small differences in alignment and mounting geometry. By fabricating a replacement that is measured specifically for your bike, you reduce the risk of misalignment and the potential for future cracks caused by a mismatched fit. The resulting part is not a generic patch but a tailored solution that respects the original design intent. When you test-fit the tab, do not rush the process. Check alignment with neighboring panels, verify that the fasteners pass cleanly through the holes without binding, and confirm that there is no contact with moving parts or with the edge of a panel that could be stressed during operation. A few moments of careful verification now will pay dividends on the road.
If the repair is being prepared for a community or professional workshop, you can document the steps and share the CAD model, photographs, and measurements to help others facing similar issues. In the broader world of maintenance and repair, the ability to reproduce a missing piece with high fidelity is increasingly seen as a practical skill rather than an exception. It also opens doors to upgrades: if you identify a slightly improved tab geometry that reduces wind noise or improves airflow around a radiator, you can redesign the tab, print or machine a new version, and retrofit it with the same mounting system. The concept is not about replacing the factory part every time but about extending the fairing’s life with a solution that respects its engineering goals. For riders who value precision and permanence, the approach is liberating. It lets you maintain a bike that performs as well as it looks, without compromising on structural integrity or aesthetics.
For riders seeking model-specific references as they plan a repair, one practical avenue is to explore model-appropriate fairings that are cataloged by bike family. For instance, you can find curated options under Honda fairings that include components designed for the CBR line. This resource helps you gauge standard dimensions and common fastener patterns while still acknowledging that your replacement tab will be a custom fit. Honda fairings for CBR provides a sense of the overall design language and mounting conventions you may encounter when aligning a newly fabricated tab with existing hardware. While you won’t copy a specific part from a catalog, the reference broadens your awareness of the interface between tab, panel, and frame.
As you weigh the path of fabrication versus adhesive-only repair, it’s helpful to anchor your decision to the bike’s age, the climate in which you ride, and your willingness to invest in tools and time. If you anticipate frequent track days or rough roads, the long view favors a tab that won’t flex, crack, or separate under repeated vibration. In that context, the combination of a precisely milled or 3D-printed tab and a robust bonding strategy offers a more reliable outcome than a quick, glue-only fix. The routed path through 3D printing or CNC machining also leaves room for future upgrades: if better materials or improved geometries emerge, you can iterate and produce a refined tab that keeps pace with improving maintenance practices without tossing away the entire fairing system.
External knowledge can further expand your capabilities. For readers who want to explore the cutting edge of how additive and subtractive manufacturing can serve motorcycle repairs, a comprehensive resource exists that outlines step-by-step methods, recommended materials, and safety practices for creating functional aftermarket parts. This external guide provides a broader context for the techniques described above and helps cement your understanding that a replacement tab can be a robust, durable, and visually seamless part of your bike’s bodywork. To access this deeper dive, consult MakerBot’s tutorial on Custom Motorcycle Part Fabrication, which offers practical guidance that complements the hands-on steps outlined here. https://www.makerbot.com/blog/custom-motorcycle-part-fabrication/
In the end, the repair approach you choose should reflect a balance of practicality, durability, and pride in the finished product. A well-made replacement tab, crafted through careful measurement, thoughtful material selection, and precise fabrication, stands up to daily riding and long-term use. It is not merely a patch but a considered reconstruction that restores fit, function, and form. If your aim is to preserve the aesthetic continuity of the fairing while restoring its mechanical fidelity, this pathway—rooted in 3D printing and machining—offers a compelling blend of customization and reliability. The result is a repaired fairing that behaves as the designer intended, with a tab that anchors the panel correctly and a finish that remains faithful to the bike’s lineage. For enthusiasts who crave both performance and presentation, that is the satisfying equilibrium at the heart of any high-quality repair.
External resource: MakerBot – Custom Motorcycle Part Fabrication. https://www.makerbot.com/blog/custom-motorcycle-part-fabrication/
Final thoughts
Mastering the repair of broken tabs on motorcycle fairings is essential for business owners wishing to maintain the integrity and aesthetic appeal of their vehicles. Each repair method discussed offers unique benefits, from the simplicity of plastic welding for minor flaws to the advanced strategies of reinforcement and fabrication. By investing in these techniques, businesses can ensure a higher standard of quality in repairs, greatly increasing customer satisfaction and trust. Moreover, staying updated on the latest repair technologies, such as 3D printing, allows businesses to enhance operational efficiency and expand service offerings, ultimately leading to better profitability and reputation in the competitive motorcycle repair market.