Painting motorcycle fairings can be a rewarding yet intricate task, perfect for business owners looking to enhance their brand identity through customization. This article provides a structured guide on DIY painting, covering essential preparation steps, selecting the right paint, effective painting techniques, and the advantages of professional versus DIY solutions. By understanding each aspect, business owners can make informed decisions that elevate their motorcycle aesthetics and engage with their customer base more effectively.
Groundwork for a Flawless Finish: Preparation Steps to Master DIY Motorcycle Fairings
Preparation is not merely the first step; it is the very foundation of a durable, gallery-worthy paint job on motorcycle fairings. In a project where every micron of surface can influence adhesion, contour, and overall gloss, paying meticulous attention to prep pays dividends in the long run. When you start with clean, properly primed, and perfectly masked surfaces, you tilt the odds in favor of a finish that not only looks right in the shop light but holds up under sun, rain, and highway heat. The truth is simple: a flawless finish begins long before the first drop of color lands. It begins with your hands, your tools, and your plan for how the fairings will leave the workbench and ride into the world. That is why this chapter centers on the preparation steps that set the stage for every subsequent coat—the thin, even layers that build depth, strength, and reflectivity more reliably than any single pot of paint can deliver.
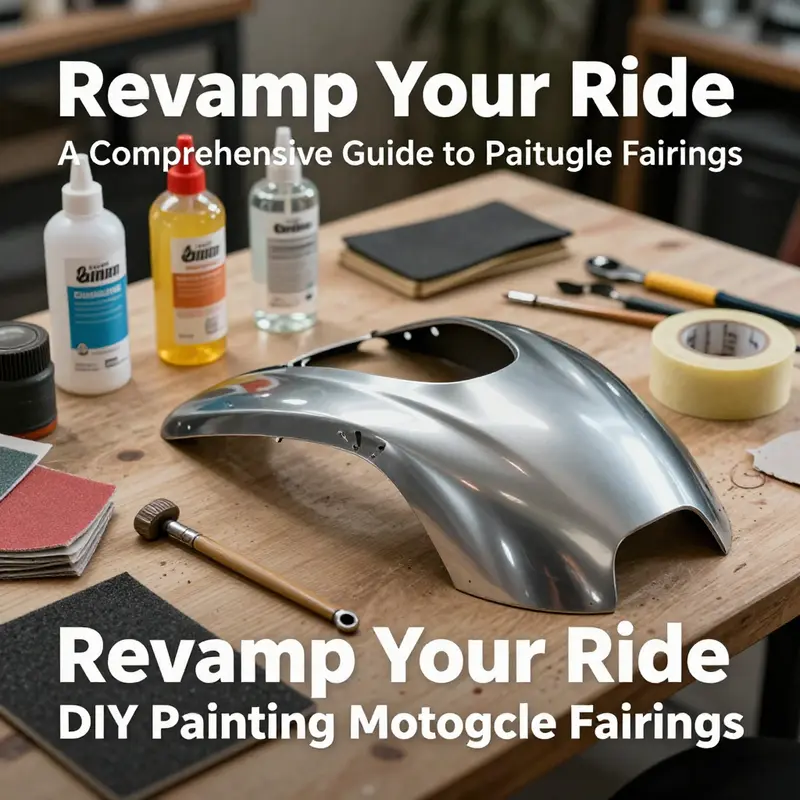
To embark on this journey properly, you start with the obvious but critical decision: you will remove the fairings from the motorcycle. Detaching them gives you access to every nook and curve, minimizes the risk of scratching other components, and makes handling easier. It also allows you to observe the surfaces at a scale not possible while the pieces are mounted. Before you touch a spray gun, take photographs of the bike and the fairings in their assembled state. These images become an invaluable reference during reassembly, ensuring that every clip, screw, and gasket returns to its original position with minimal fuss. As you lift each panel, keep a labeled tray or container for small fasteners. The more you label, the less you will scramble to re-create the exact orientation later.
With the fairings on the workbench, the first real work begins: cleaning. The surface must be free of oil, wax, dust, and any stubborn residues. A degreasing solution or a mild soap-and-water wash strips away the grime that would otherwise create microscopic barriers to primer and paint adhesion. Focus on the inside edges where panels mate and around any recessed areas where dirt tends to accumulate. It is not unusual to find a faint film of old wax or polishing compound in corners that are hard to reach when the fairings are installed. A clean surface eliminates these surprises. Rinse thoroughly and dry completely; any moisture trapped under primer will undermine the entire finish later on. After drying, wipe the surface again with a lint-free cloth lightly dampened with isopropyl alcohol. This final wipe removes fine dust and ensures the surface is truly tack-free. This step is small in appearance but large in impact: it ensures the primer can couple with the plastic with minimal interference from surface residues.
The next move is to address the surface texture. Plastic fairings often have a slightly oily feel or a glossy sheen that can hinder primer adhesion if not properly scuffed. Lightly sanding the surface with fine-grit paper, typically in the 400–600 grit range, creates a micro-roughness that is perfect for primer to grip. The goal is to remove the top gloss and any micro-scratches or imperfections without gouging the plastic. For areas with deeper scratches or any remaining old paint, focus extra time on feathering those edges so you do not leave hard transitions when the new paint layers arrive. Throughout this sanding, keep the paper clean; a clogged sanding sheet can burnish the surface instead of texturing it, defeating the purpose of the step.
After you finish the sanding, wipe the entire surface again with a clean, lint-free cloth dampened with isopropyl alcohol. This second wipe is more thorough than the first; you want to catch any new residue created by sanding, including fine dust and plastic fibers. If you notice any shiny spots where the resin or plastic shows through after sanding, you may need a brief spot-sand to ensure an even tone once primer is applied. The philosophy here is uniformity: the tone and texture across every panel should read consistently in the light so that you do not see different planes of reflectivity once the color coats arrive.
Masking is the quiet operator in this process. The goal is precise, clean edges and a shielded perimeter around areas you do not want to paint, such as mounting points, attachment hardware, or the headlights and trim pieces that are not to be touched. The masking process deserves time and care; rushed taping often leads to edges that are either too sharp or too soft, creating color bleed or nibs along the line. Use high-quality masking tape and paper or film to cover the sections that must stay unpainted. Apply the tape with smooth, firm pressure to prevent lifting or edge curling. When you finish masking, take a step back and inspect the boundaries under different lighting angles; if you detect any gaps, fill them with an extra strip of tape. The objective is to leave no room for error between what you intend to paint and what you intend to leave as-is.
With the surface prepared and the masking in place, the project moves into the primer phase, which is the pivotal bridge between the mechanical prep and the final color. Choose a primer that is compatible with the polymer materials used in motorcycle fairings. A high-quality plastic or epoxy primer forms a uniform base and improves adhesion for subsequent layers. The primer should be applied in thin, even coats; heavy coats invite runs, sags, and a brittle film that can crack under temperature changes. You want the primer to fill minor imperfections while preserving the integrity of the surface texture you created earlier. In practice, this means applying multiple light coats rather than a single heavy dose. Allow each coat to dry completely before applying the next. The exact drying time can vary with temperature and humidity, but a common guideline is to let the primer cure fully, typically a few hours, and then inspect for a consistent, smooth surface. If you notice pinholes or for some reason a slightly rough feel after the primer cures, a light scuff between coats can be beneficial, followed by a final wipe to remove any new dust.
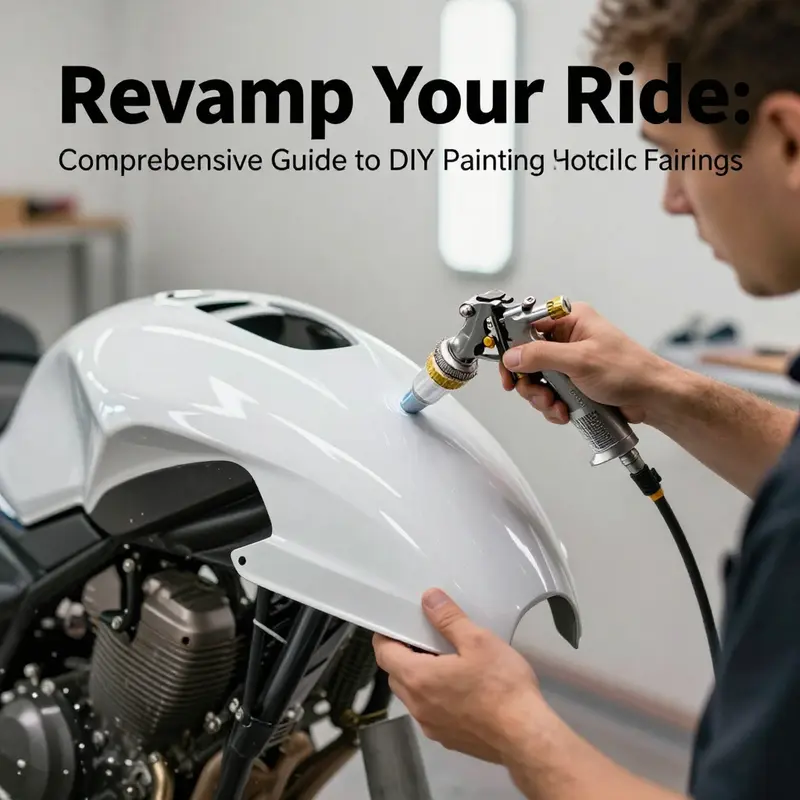
The moment you move from primer to base color marks a transition from groundwork to the visible identity of the project. After the primer has cured fully—often this means waiting overnight or at least 24 hours in controlled conditions—you can apply the base color. This stage benefits greatly from a controlled environment: a clean, well-ventilated space with steady air temperature and low dust. Begin with a cautious, thin base coat; the technique is to apply several thin layers rather than one thick layer. Each layer should be allowed to flash off before the next is applied. The instinct to rush is strong, especially when the sun is shining on the workbench, but patience yields a smoother finish and prevents common paint faults such as orange peel or runs. The base coat should be evenly distributed across all surfaces, with attention paid to edges and contours where the paint can gather or thin out. A consistent spray pattern is key: maintain a steady distance from the surface, commonly around 15–20 centimeters, and use a controlled, overlapping motion. The recommended practice is to aim for approximately 50% overlap between passes, which helps to build a uniform field of color without stripes or density variations.
Once the base color has achieved the desired depth and uniformity, it is time to seal the job with a clear coat. The clear layer serves multiple roles: it protects the color beneath, adds depth and gloss, and provides a resilient shield against minor abrasions and UV exposure. As with the base color, apply the clear in thin, even coats, allowing each coat to dry and reduce the risk of solvent entrapment. The environment remains important during clear coating; dust-free air and proper ventilation are essential to avoid inclusions in the finish. If you notice any dust particles during spraying, pause and inspect the workshop environment or the masking, then resume with the surface adequately cleaned before the next pass. The number of clear coats depends on the desired gloss and the thickness you can safely achieve without compromising flexibility, especially on panels that experience vibration and movement while riding. After the final clear coat dries, you may choose to inspect the surface and, if necessary, perform a light wet sanding and polishing to remove tiny imperfections and to achieve the level of gloss you envision. This polishing step, while optional, can bring out a glass-like finish when done with care and the appropriate abrasive sequence.
Curing time remains a practical reality even after the last spray has left the gun. The fairings should be kept in a well-ventilated area with controlled temperature and humidity until the entire coating stack reaches full hardening. In many setups, a full cure can take several days, and some clear coats may reach their peak gloss and hardness after a longer period. Do not rush reassembly; reattach the panels only when you are confident that each layer has achieved the intended hardness and that there is no tackiness. The goal is a stable, durable finish that can endure the vibrations, air currents, and temperature swings of a ride as well as the occasional close encounter with road debris and weather.
As you plan the finishing sequence, you may also contemplate whether to enlist professional help for the actual spraying. A professional shop can offer advanced equipment, better ventilation, and time efficiencies that might be worth the investment for you, especially if your goal is a showroom-grade result in a tight schedule. However, the DIY path has its own rewards. The pride of shaping your own fairings, the control over every step, and the chance to learn from the process often justify the extra time and effort. The steps outlined here are designed to minimize risk while maximizing your likelihood of a durable, high-quality result that reflects your personal taste and riding philosophy. The chapter you just read is about the steps that truly matter: the preparation that creates a flawless canvas and the careful, consistent application that builds a finish you can be proud of every time you swing a leg over your bike.
If you are curious about model-specific accommodations or want a convenient starting point for compatible fairings beyond your own ride, you can browse the provided catalog pages. For a focused example, consider exploring the product-category/honda-fairings/ page to get a sense of how a broader fairing ecosystem is structured and how prep choices might align with common panel shapes and mounting interfaces. This quick reference can help you anticipate panel geometry and access points, which, in turn, informs your masking and handling strategy during prep and painting. Linking to this category offers a practical path for readers who want to see how similar projects map onto actual fairing geometries while keeping the narrative anchored in preparation fundamentals rather than product specifics.
Beyond the hobbyist perspective, the preparation philosophy remains consistent: every effort you invest in cleaning, sanding, masking, and layering primes the surface for the next act. The more diligently you perform these steps, the less you will worry about the paint job failing due to poor adhesion or uneven color. The principles translate across coatings as well as across models. Whether you are coaxing a pearl into a modern color or simply refreshing a solid hue, the bedrock remains: a clean, textured, well-sealed surface, carefully shielded where necessary, with a sequence of thin, controlled layers that dry and cure in a stable environment. When you can maintain that discipline, the final appearance becomes a true expression of the time you invested, rather than a reflection of hurried shortcuts.
For readers who want to continue learning in a structured way, a broader guide can offer deeper explanations for each step and include practical drills you can perform to build muscle memory for spraying and finish care. The broader guidance emphasizes the same core ideas: prepare meticulously, apply in thin layers, allow proper curing, and reassemble only after the surface has fully stabilized. The narrative here focuses on the preparation phase because, in the end, your ability to manage the surface is what determines the success of everything that follows. If you ever question whether you should invest the extra hour or two in scuffing or wiping, the answer is almost always yes. The difference between good and great in DIY paint work is often the attention paid to the quiet, unglamorous steps that come before color meets plastic.
External resource for deeper technical guidance can be found at the end of this chapter for readers who want a broader, step-by-step practical guide that complements this discussion. How to Paint Motorcycle Fairings – A Practical Guide offers a comprehensive, hands-on framework for the painting process and can be a valuable companion as you navigate your own project. This external link is provided to broaden the scope of learning and provide an additional reference point as you refine your technique and approach.
In closing, the preparation steps outlined here are not merely prerequisites but the backbone of a successful DIY painting journey. They require patience, a steady hand, and a respect for the materials you are working with. When you treat the surface with care, you set the stage for a finish that not only looks right at first glance but endures the test of time, rides, and weather. The road to a flawless finish starts long before you pull the trigger, and the outcome rests on the quiet discipline of cleaning, scuffing, masking, priming, and layering with intention.
Internal reference: If you are seeking model-specific parts or fairing shapes related to certain bike families, you can explore the relevant section of the catalog to understand how design and fit influence prep choices and masking strategies in a practical context. For a direct pathway to the catalog section, see the internal link: product-category/honda-fairings/.
External resource: How to Paint Motorcycle Fairings – A Practical Guide (external reference) — https://www.motorcyclehome.com/paint-motorcycle-fairings/
Durability Meets Design: Choosing the Right Paint for DIY Motorcycle Fairings
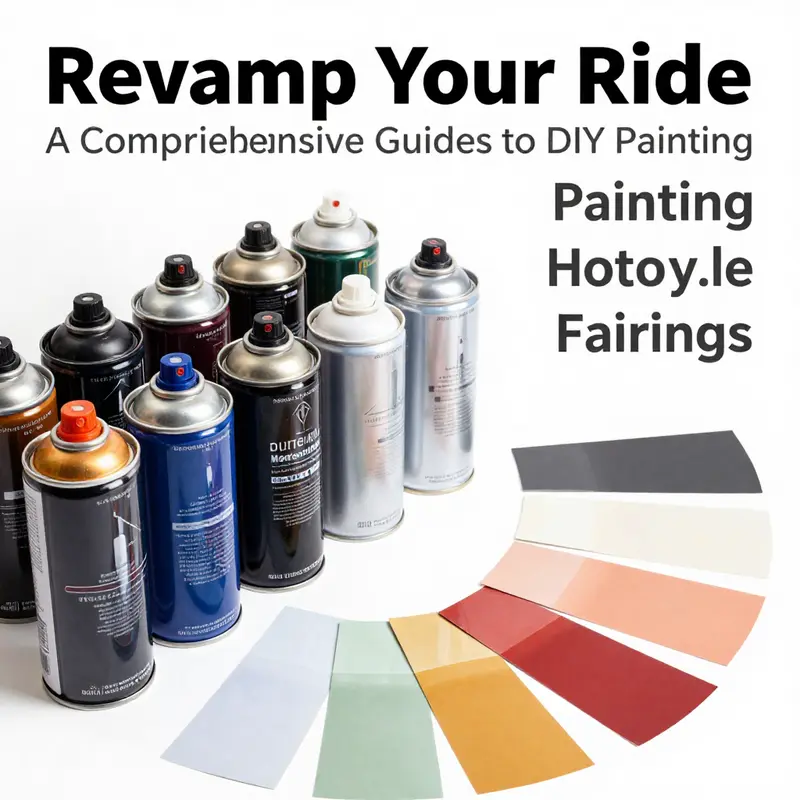
Paint is more than color when you are working on motorcycle fairings. It must resist heat, UV, fuel exposure, and flex with the plastic. For DIY riders, two-component polyurethane paints offer durability, flexibility, and color retention. They require careful mixing of base color and hardener in correct ratios, and correct ventilation and safety practices. Begin with a compatible ABS primer to promote adhesion and fill micro-scratches. Proper surface preparation clean, de-wax, and light scuffing improves adhesion and reduces blemishes. Apply multiple thin coats rather than one thick layer, allowing each coat to flash off. Use a controlled environment to minimize dust and ensure a consistent cure. Finish with a flexible clear coat to protect the color and maintain gloss. Curing and post-cure handling should be done in a stable climate to prevent solvent entrapment and moisture issues. While professional booths yield the most predictable results, a DIY approach can be successful with time, patience, and test panels to practice technique before committing to the fairing. If you need deeper technical guidance, seek manufacturer documentation on compatible plastics, primers, color systems, and clear coats.
Layered Precision: Techniques and Patience in DIY Painting Motorcycle Fairings
Begin by removing the fairings from the motorcycle to access every contour and edge, avoiding overspray on sensitive components and enabling a thorough inspection for cracks or damage. After detaching, clean the surfaces with a plastics-safe degreaser to remove oils, waxes, and grime that could undermine adhesion. Lightly sand with fine-grit paper, typically 600 to 1000 grit, to create a subtle tooth for the primer without deep scratches. Wipe clean and let the surface dry before priming.
The next step is choosing the right primer. Plastic and fiberglass fairings respond best to primers designed to bond with plastics. A well-chosen primer fills micro-scratches and creates a uniform base that the paint can grab onto. Apply evenly and allow to cure fully before painting. Masking comes next: cover edges, lights, fasteners, and hinge areas with tape and masking film to protect them from paint, ensuring clean lines and preventing paint creep into places that would require disassembly.
With the surface primed, you begin the base color application. Apply thin coats rather than a single heavy layer to achieve even coverage with minimal texture. For spray guns, aim for a steady distance of about 15 to 20 centimeters from the fairing; for aerosol cans, keep the can moving and use short overlapping bursts. Overlap each pass by about half the spray width to minimize seams. Allow each coat to dry according to the manufacturer’s instructions before applying the next. Build depth gradually by layering patience and care rather than rushing a single thick coat.
Once the color is set, plan the clear coat. Apply thin, even layers to seal the color, add gloss, and increase resilience. Two to three coats are common; maintain your environment to avoid dust and moisture during curing. After the final clear coat cures, a careful polish can remove minor imperfections and enhance depth. Use polishes compatible with the clear and the plastics, and work from coarser to finer compounds until the surface feels smooth to the touch.
If you prefer a DIY finish beyond your space or equipment, consider consulting a professional shop for a controlled environment and precise color matching. The DIY path still teaches valuable skills, and with practice you can achieve a durable, showroom-like look that reflects your patience and craftsmanship.
Between Studio Spray and Home Shop: Weighing Professional vs. DIY Painting for Motorcycle Fairings
When riders weigh the path of painting motorcycle fairings, they stand at a crossroads where art, engineering, and practicality intersect. The glossy success of a fairing job hinges not merely on the color or design, but on a sequence of disciplined decisions. The choice between sending the parts to a professional shop and taking the reins at home shapes every stage of the project—from the initial assessment of goals to the final cure after the last clear coat. This chapter treats that choice as a cohesive journey rather than a checklist, because the difference between a pro finish and a DIY result is often the difference between a bold customization and a costly rerun. For some, the route is straightforward: the goal is a flawless, durable finish that feels factory-like, and time is the scarce resource. For others, the allure is personal expression, the thrill of learning, and the satisfaction of turning a blank fairing into a tangible sculpture of color and lines. Both paths offer distinct benefits and distinct challenges, and understanding these nuances helps riders make a decision aligned with their budget, their skill set, and their long-term vision for the bike.
Professional painting sits on the high end of finish quality and reliability. Shops dedicated to motorcycle bodies bring a controlled environment to the process, where climate, dust control, and masking are optimized to minimize defects. The difference in finish is not merely shinier paint; it extends to surface preparation, masking accuracy, color matching, and the layering sequence. In a studio, technicians can implement multiple layers of base color, mid-coats, and clear coats with precision, addressing any micro-scratches or pin-holes that a DIY hand might overlook. They also simplify the masking challenge. A fairing is a complex geometry with curves, seams, and connectors. The more precise the masking edge, the less chance of paint migrating onto non-target areas such as visible hardware or LED apertures. That precision matters, because laser-straight edges and an even, saturated gloss across the entire surface are what create that factory-like appearance riders often seek when they invest in a color-match or a performance-inspired scheme.
The cost reality of professional work is equally real, though not arbitrary. A professional job can range from several hundred to over a couple of thousand dollars, influenced by the complexity of the design, whether OEM replacements are involved, the base material of the fairing, and the extent of surface prep required. For high-end or performance-focused builds, a pro finish often includes meticulous color matching to original components, a multi-layer process that reduces the risk of orange peel and runs, and a durable clear coat designed to resist abrasion from road debris and fuel exposure. The trade-off is primarily financial and logistical: you are paying for controlled conditions, speed, and the assurance that any defects are handled by craftsmen who routinely see the kinds of challenges that arise with curved, aerodynamically shaped panels.
DIY painting, by contrast, foreground cost efficiency, personal growth, and hands-on control. The appeal is undeniable: you decide the color, the design motif, the level of gloss, and the timing of every coat. The upfront cost can be modest if you already own or borrow essential equipment, and even the initial investment in a spray gun, an air compressor, a respirator, and compatible paints begins to pay off after a couple of projects. The learning curve is real, but the path to mastery is walkable for motivated riders. The key to DIY success is honoring the same fundamentals that pro shops rely on, but translating them into a home workshop environment. Thorough cleaning, thoughtful sanding, proper priming, careful spray technique, and a patient, layered approach are nonnegotiables. The reality is that a well-executed DIY job can rival a professional finish in color depth and depth of clarity, provided the painter avoids common pitfalls and cultivates consistent practice over time.
At the heart of the decision lies a set of decision factors that are universal, yet personalized. Budget is the most visible constraint, but it is not the sole driver. Time matters as well: a pro shop can deliver a finish within a window that aligns with an upcoming ride season, while a DIY project might stretch across weekends and evenings. Skill level is another decisive factor. If you have prior painting experience, a DIY approach becomes more feasible, especially with a well-documented workflow and a measured approach to layering. Newcomers, by contrast, may find the risk of color-mismatch or surface imperfections discouraging, particularly if the design relies on sharp edges or intricate masking. Available space and ventilation are also decisive. A spray booth, even a modest home setup with dust control, can dramatically improve outcomes. Without proper ventilation and respiratory protection, working with solvent-based paints can present safety hazards and compromise finish quality.
Another layer to consider is the design intent. If the goal is to replicate a factory look or achieve a colormatch that aligns with a specific OEM or model, the bar is higher on the DIY side. Color accuracy, spray consistency, and clear coat resilience must be calibrated precisely. For riders who want a bold custom motif—the kind that plays with metallics, candy colors, or airbrushed gradients—the pro route often reduces the risk of a visually mismatched result, since a professional can deliver nuanced effect combinations that require specialized equipment and controlled post-processing. Yet there is a democratizing power in DIY: it enables experimentation. A rider can attempt a two-tone scheme, a subtle pearl, or a matte finish with a quicker feedback loop than waiting for a shop’s completion timeline. The ability to iterate on color samples, test panels, and even touch up chips or scratches later is a tangible advantage for DIY enthusiasts who are building a long-term relationship with their bike’s aesthetic narrative.
An honest appraisal of equipment and process is essential, regardless of the chosen path. In a professional setting, masking is nearly always performed with precision masking tapes and edge-trim systems that yield crisp borders. In a DIY environment, the same outcome hinges on careful tape technique, slow and even movements, and the discipline to avoid rushing the edges. The substrate preparation is another area of convergence. Both routes benefit from a meticulous cleaning regimen and a well-executed sanding protocol to create a receptive surface for paint. The difference emerges in scale and repetition: a shop can perform exhaustive scuffing and panel uniformity checks over multiple panels under consistent lighting and temperature control, while a home setup relies on your ability to reproduce the same conditions across the entire fairing set.
When considering finish quality, the type of paint matters, and the pros and DIYers both face the same choices: single-component systems for ease of use, or two-component systems for durability and deeper luster. The latter demands strict adherence to mixing ratios and curing times, and it mandates a ventilated area and appropriate PPE. The final clear coat is a guardian against chips, UV damage, and hazing. In a shop, the curing environment is optimized, often with a dedicated climate zone and humidity control that helps prevent common problems like solvent popping and blushing. At home, achieving a comparable finish requires a well-tuned spray setup, a stable room temperature, and an awareness that outdoor conditions—dust, humidity, and temperature swings—will influence the results. Even with the best technique, the finish you achieve at home will be most reliable when you maintain steady conditions during painting and cure phases.
For riders who want to visualize the route before they commit, there are practical indicators. If the project involves multiple fairing components that must match across model lines or aftermarket suites, the pro option reduces the risk of mismatch and ensures a coherent color story from the carrier to the tail. If, however, the rider aims to express personal motifs—perhaps a gradient that shifts with light, or a custom emblem that carries personal meaning—the DIY path invites experimentation and rapid iteration. The decision often rests on a blend of patience, space, and how tolerant the rider is of potential imperfections during the learning curve. The more forgiving the final design and the longer one is willing to wait for a flawless finish, the more appealing DIY becomes. Conversely, if the priority is a pristine, exact-match, and long-lasting finish with minimal risk of cleanup or rework, professional painting remains the safer bet.
A practical way to balance these considerations is to think in terms of phased projects. Some riders start with a single panel or a test panel to build confidence, then graduate to the entire fairing set. This approach allows learning without committing to a full-scale project from the outset. It also creates a buffer to compare the results against professional standards. If the test panel yields a result that satisfies the desired level of gloss, clarity, and color depth, a rider can decide whether to proceed with a full DIY strategy or to shift gears toward professional handling for the remaining components. Even in a phased path, it is wise to allocate time for masking and edge work equal to the time dedicated to applying paint layers. The best DIY projects are not rushed; they unfold through deliberate, repetitive cycles of coat application and cure, with inspections after each stage to catch any imperfections early when they are easiest to correct.
Another meaningful dimension is the design of the workflow itself. In a professional setting, a painter’s workflow is a sequence of tightly choreographed steps, often summarized as clean-sand-prime-paint-clear-coat-buff. Each stage has defined parameters for surface preparation, base film thickness, and cure windows. In a DIY setup, the same sequence applies, but with improvisation allowed in terms of times and conditions. What matters is a reliable, repeatable rhythm. Start with a thorough cleaning to remove contaminants. Lightly scuff the surface to promote adhesion. Apply a compatible primer that fills micro-scratches and provides a uniform base. Then, follow with multiple thin coats, allowing each to dry before the next. The guidance that emerges from recent DIY-focused resources emphasizes patience: thin layers, controlled overlap, and deliberate curing in a stable environment. Rushing steps—especially the base color and clear coat layers—often leads to surface issues that are costly to correct later. The value of patience is not merely an aesthetic principle; it is a pragmatic strategy to achieve durability and color integrity over time.
In terms of masking and edge management, both paths demand disciplined edge control. For the DIY painter, a small but precise masking setup can be the difference between clean borders and feathered edges that look unfinished. The rule of thumb is to mask exactly what you want to remain unpainted and to create a boundary line that is straight and predictable. A frequent mistake is to over-mask or under-mask, which invites color bleed or missed edges. The pro craftsman mitigates those risks with professional tapes and edge-trimming practices, but the DIY painter can approach the same outcome by working slowly, checking alignment under bright light, and using a light guide coat to reveal imperfections before they become definitive. The result is a surface that reflects the same light across edges and contours, avoiding abrupt transitions that disrupt the overall visual coherence.
Finally, the decision about whether to pursue professional or DIY painting should consider the long view of maintenance and future changes. A professionally finished fairing tends to be more robust in its resistance to chips and UV damage, and it often carries a warranty on workmanship. DIY finishes, while potentially equally durable when done correctly, may require more hands-on maintenance, including periodic polishing and careful touch-ups after riding seasons or minor impacts. However, the DIY route offers the advantage of easier, cheaper repairs. If a chip or scratch appears, you can blend in a localized repair rather than replacing or re-spraying entire panels. The ability to perform these repairs is a practical and empowering aspect of DIY painting that resonates with riders who enjoy hands-on ownership of their machines.
As you close the decision matrix, consider a single, guiding principle: whether the final result serves the bike’s visual identity and the rider’s peace of mind. If the goal is a flawless, production-line finish and a time-efficient process, a professional path stands out as the safer, more predictable choice. If the aim is to learn, to tailor a color story precisely to your tastes, and to build confidence through repeated practice, the DIY path offers a deeply personal payoff. Either way, the work remains faithful to the core idea of transforming a motorcycle’s fairings into an extension of its character. The journey is as important as the finish, and the path you choose will shape not only the look of the bike but also your relationship with the craft of painting.
In pursuit of practical guidance that harmonizes these perspectives, keep in mind a core principle shared by both routes: preparation is the foundation. Whether you are cleaning a surface to the point of glass-like cleanliness or selecting a primer that will support a long-lasting, color-stable finish, the quality of your prep determines the final outcome more than any single spray pass. That said, the difference in approach—pro versus DIY—centers on scale, control, and risk tolerance. A professional will lean toward automated consistency, the predictability of a spray booth, and the assurance that every layer is engineered for performance. A DIY painter leans toward experimentation, personal design sovereignty, and a willingness to accept a learning curve that pays dividends in pride and satisfaction. In this balance lies the heart of the choice about how to paint motorcycle fairings: the decision reflects not just the expected outcome but the kind of rider you want to be during the process itself.
For readers who want a visual reference to materialize these considerations, the broader landscape of fairing options on Ultimate MotorX provides a useful baseline for understanding contours and masking challenges. See the BMW fairings page on Ultimate MotorX for a sense of how edge work, panel curvature, and integration with other components influence masking decisions and paint coverage. This reference can help you anticipate how your plan might evolve if you choose to attempt DIY painting, especially when you aim for consistent color across complex geometries. BMW fairings on Ultimate MotorX
In closing, your path—professional or DIY—should align with your budget, your timeline, and your willingness to learn. The most important rule is to approach the project with a clear plan: assess the surface correctly, choose the appropriate materials, and commit to a patient, layered application. Whether you measure success by a showroom-grade finish or by the satisfaction of a self-made color story, the journey will deepen your understanding of finishes and your connection with the bike you ride. When you next consider repainting or refreshing a set of fairings, remember that the best outcomes arise from disciplined preparation, careful masking, measured layering, and a cure that respects the material and the environment. With those principles in place, you can confidently decide which path will bring your vision to life while maintaining the integrity and ride-ready readiness of your machine.
External resource: For a practical, up-to-date guide that complements this discussion, see How to Paint Motorcycle Fairings – A Practical Guide (2026): https://www.bikeandbeyond.com/painting-motorcycle-fairings-a-practical-guide
Final thoughts
Embarking on a DIY painting project for motorcycle fairings not only transforms the appearance of the bikes but also fosters a deeper connection with your brand. Whether opting for a hands-on approach or professional services, the insights shared in this guide empower business owners to make knowledgeable decisions tailored to their goals. By mastering preparation, paint selection, and application techniques, you’re set to create remarkable custom motorcycles that stand out in the competitive market.