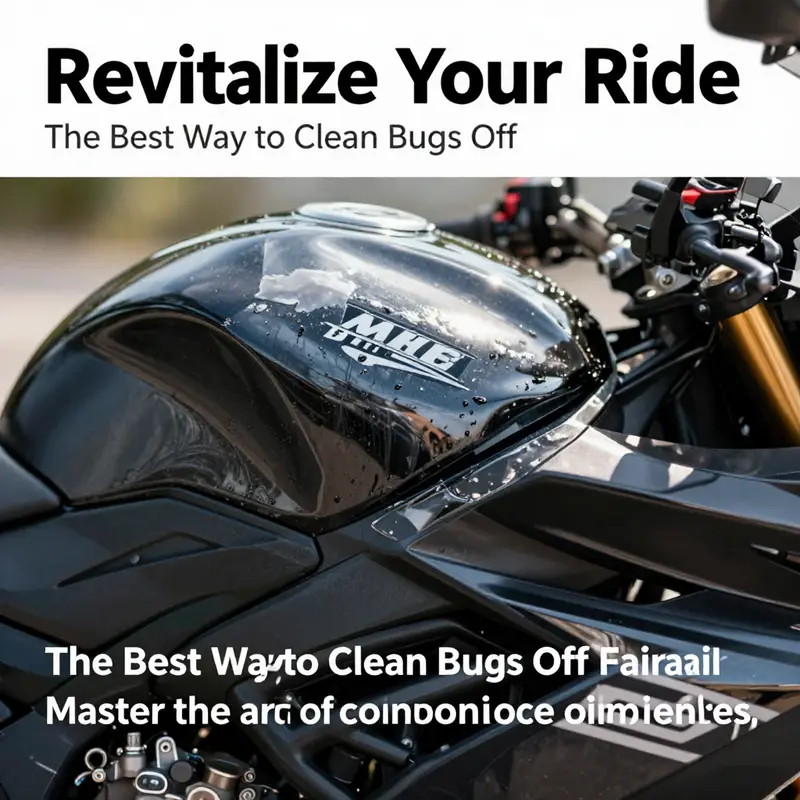
Motorcycle fairings are frequently vulnerable to bug splatter, particularly during riding seasons. For business owners in the motorcycle industry, maintaining a pristine appearance is crucial for brand reputation and customer satisfaction. The process of cleaning bugs off motorcycle fairings requires timely action and a careful approach to ensure that the paint and clear coat remain undamaged. This comprehensive guide will explore the best practices for cleaning motorcycle fairings, highlighting the importance of timing, recommended products, techniques for tackling stubborn residues, and essential maintenance tips to prevent future build-up. Whether you are a dealership owner or a service provider, mastering these skills can enhance customer satisfaction and prolong the lifecycle of motorcycle paint finishes.
null
null
Bug-Rescue Ritual: A Paint-Safe, Detail-Oriented Path to Clean Motorcycle Fairings
Riding leaves behind a map of the ride in the form of bug remains. On every fairing, across the curves and contours, tiny splashes tell a story of speed, atmosphere, and the elements you’ve conquered. The moment you roll into the shade or reach a sheltered garage, the question arises not only about removing those stubborn ink-like streaks but about protecting the finish you polished to a showroom shine. The correct approach treats bug residue as a nuisance that can become a long-term foe if left to etch, stain, or dull the paint. The best method blends patience with a precise touch, using what you already own in slightly smarter ways and adding purposefully chosen products that respect the clear coat and the nuanced textures of different fairings. In other words, it’s not just about removing bugs; it’s about stewardship of the finish and the look you want to preserve ride after ride.
The core philosophy here is straightforward: act quickly when possible, use warmth instead of harshness, and choose tools that are gentle yet effective. The longer the residue sits, the more it adheres to the finish and becomes a larger challenge to lift without leaving faint micro-scratches or subtle dulling. So, the first step is not a gadget or a new solvent, but a mindful approach to timing. If you’ve just parked after a long ride, take a few minutes to rinse and begin the process while the bugs are still soft enough to yield to care rather than force. This mindset shifts the cleaning from a dreaded chore into a routine maintenance habit that keeps the fairing looking fresh without risking the integrity of its paintwork.
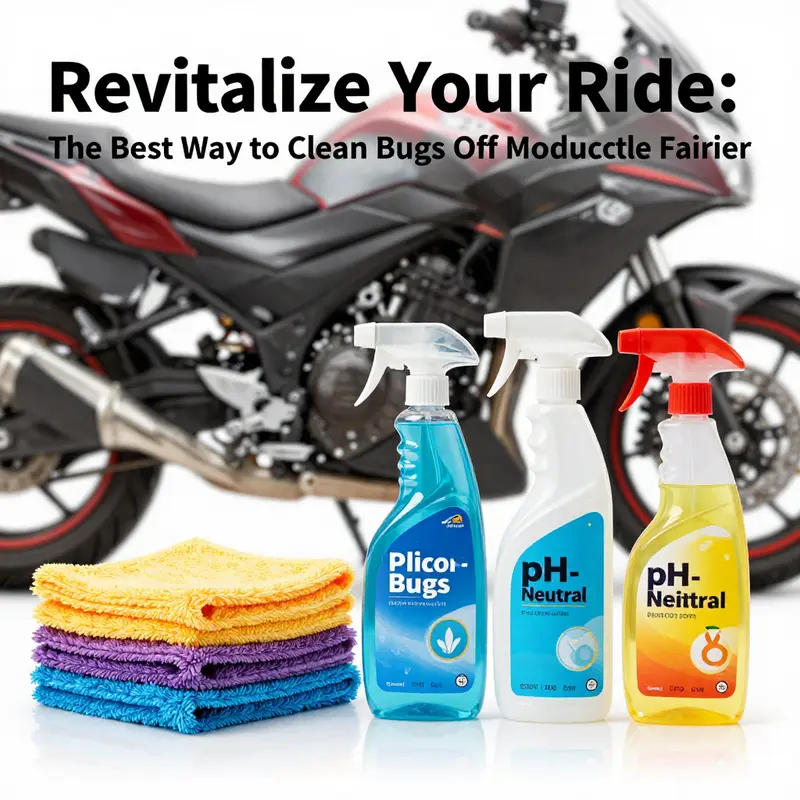
Warm water and mild soap form the foundation of a safe cleaning routine. Start by gently rinsing the area with warm water to loosen the debris. If the sun has just baked the bike, wait for a moment or park in a shaded spot to keep the surface from drying too quickly. The choice of soap matters too: a mild, pH-neutral car wash solution is preferable to household cleaners that can strip wax or dull the finish. The soap acts as a lubricant as much as a cleaner, allowing your cloth to glide rather than grind. With a soft microfiber cloth or a plush sponge, begin in small sections, never attempting to remove a large patch of residue in one sweep. The goal is not to scrub aggressively but to lift the bugs away with light, consistent pressure.
A number of riders find it helpful to pre-wet the area and rinse again after an initial soap application. This rinse-step often reveals stubborn specks that did not release on the first pass. As you wipe, work in sections that match the natural planes of the fairing, moving with the contours rather than across them. This aligns with how the surface was laid down in the factory and minimizes the risk of catching the cloth on any raised edge or seam. A key discipline here is to avoid hard tools—no bristled brushes, no rough sponges, no abrasive pads. A soft microfiber cloth is the ally you want, because microfibers lift the grime without scratching and can be turned to a clean, dry side as you progress.
For those spots that refuse to concede after a first pass, there is a practical, measured path forward. A dedicated bug-remover product, applied carefully, can help break down organic matter without threatening the paint. The express purpose of such a cleaner is to soften the protein-based residue so it releases with a gentle wipe rather than requiring heavy rubbing. The dwell time is modest—often around 30 seconds to a minute—allowing the formula to work without lingering long enough to attack wax, sealant, or the clear coat. After the dwell period, rinse thoroughly with clean water and wipe dry with a fresh microfiber towel. A clean towel is essential here; reusing a towel that has picked up residue can reintroduce grit and rewrite the scratch risk, so switch to a dry, pristine cloth for the final wipe.
An important precaution cannot be overstated: never use a pressure washer on motorcycle fairings. The jet can push water into seals, create micro-scratches, and, in some cases, force water under edges where it can lead to corrosion or finish degradation. Likewise, avoid household cleaners such as dish soap or window cleaners. Many household formulations contain surfactants and solvents that strip wax, dull the glossy finish, or alter the texture of matte sections. The wrong cleaner can transform a once-sleek surface into a canvas that permanently loses its luster. The guidance is to reserve these commercial products for the car or bike-clear coat finishes and to adhere to automotive-friendly, pH-neutral options that are designed with painted surfaces in mind.
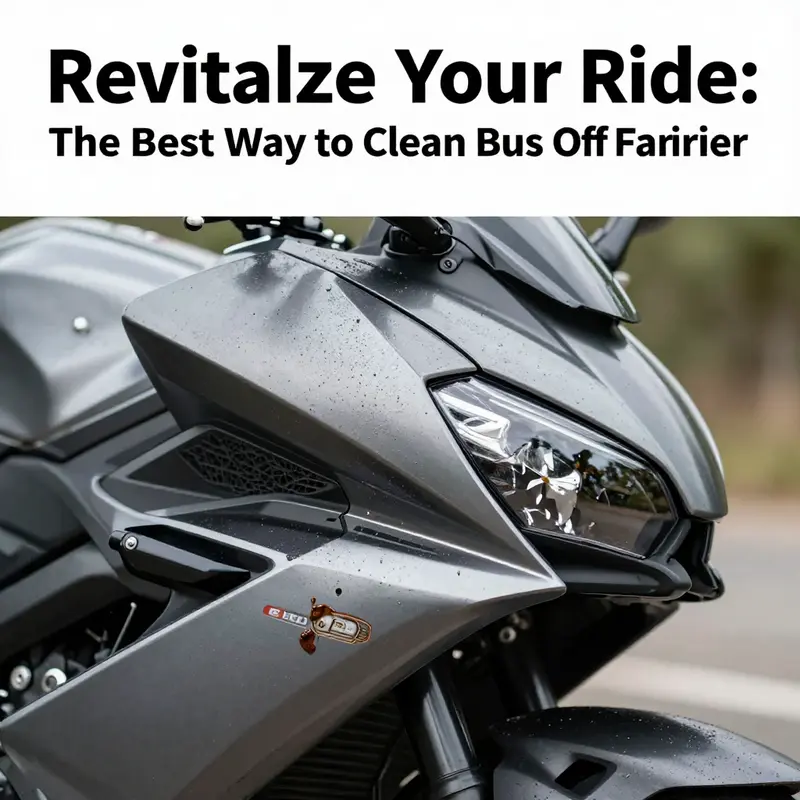
The pathway to success becomes more nuanced when you encounter variations in finish. Matte-finish fairings, for instance, demand particular attention. Matte surfaces are more susceptible to shiny patches or uneven sheen if cleaners are not chosen with care. The rule of thumb is to use products that explicitly state compatibility with matte finishes. Those formulations are designed to dissolve bugs without altering the texture or creating glossy patches that can ruin the intended look of the matte surface. It’s not just about removing the residue; it’s about preserving the distinctive, non-glossy aesthetic the matte finish communicates. If you’re unsure about a product’s compatibility, perform a small test in an inconspicuous area before proceeding across the entire panel.
The sequence I’ve described—rinse, apply a gentle cleaner, dwell briefly, wipe with a soft cloth, and rinse again—feels almost like a ritual, but it is rooted in material science and practical observation. A car or motorcycle finish is a layered system: paint, clear coat, and sometimes an additional wax or sealant layer. Each layer has different tolerance levels for solvents, moisture, and abrasion. Cleaning must respect that order. A cleaner that breaks down organic matter can work beautifully on bugs but must not compromise the clear coat’s integrity or the wax’s protective layer. The dwell time is a balancing act: too short and the residue remains; too long and solvents can start to soften coatings, especially if the vehicle has not yet fully cooled from operation.
If you have fairings that are more sensitive to cleaners, or if you want to be extra cautious about preserving finishes, consider a two-pronged approach. Start with a very light, water-based cleaner to remove the bulk of the residue. If stubborn bugs persist, switch to a targeted remover that is formulated to tackle organic matter without harsh solvents. In both cases, keep the application light and controlled, avoiding oversized sections of the fairing at once. This technique reduces the chance of streaks, which often result when a cleaner dries too quickly on a hot surface. The shade and the timing become part of your cleaning protocol, not afterthoughts.
For riders who are attentive to the clarity of their matte finishes, the final steps gain even more significance. After the initial rinse and dry, you may notice a residual haze where the bug juice has left a mark or where the film of cleaner briefly sat. In that case, a second, very gentle wipe with a clean microfiber, using minimal pressure, can restore the uniform appearance. At this stage, it’s wise to re-evaluate the fairness of the surface under good lighting. If you see micro-marring or dull patches, it might be an indication to reapply a matte-safe conditioner or sealer, but only if you are confident it is compatible with matte paint. The goal remains to retain the fairing’s texture and color as originally finished, not to create a glossy patch that makes the surface look newer but sits at odds with the rest of the bike.
In this context, products marketed for overall motorcycle detailing can be a practical choice, so long as they are appropriate for the finish you are treating. A dedicated motorcycle spray cleaner designed to dissolve organic matter is a versatile option. It simplifies the routine and reduces the risk of using a product that is too harsh for the finish. If you own a bike with a factory matte fairing, there is an added layer of consideration: you should choose formulas explicitly advertised as safe for matte finishes. The difference is not merely cosmetic; it is functional, because matte finishes rely on a micro-rough texture that can be damaged by the wrong chemicals, leading to patchy reflections or uneven sheen that stands out in sunlight.
The broader practice of cleaning extends beyond the immediate removal of bug residue. Once the surface looks clean, it is prudent to consider maintenance that helps prevent bug residue from sticking as stubbornly on future rides. A light, protective layer—whether a wax, sealant, or a ceramic-style coating—can create a smoother surface that makes subsequent bug removal quicker and less abrasive. Many riders report that after applying such a protective layer, later cleaning sessions require less dwell time and a gentler touch, because the protective layer helps release organic matter more readily. For those who opt for a matte finish, the protective layer chosen should be compatible with matte textures; some sealants give a uniform sheen that can convert a matte look into a glossy one, which is undesirable for certain fairings. The safest path is to select matte-safe protectants and to apply them in a controlled, even manner across the surface.
The micro-habits of care ultimately determine whether your bug-removal routine remains a quick, routine maintenance or becomes a struggle with scratches and dullness. A few practical habits help. Park in shaded areas when cleaning to prevent premature drying, and avoid cleaning in direct sunlight on hot days. Keep your cleaning tools organized so you always have a clean cloth ready for the final wipe. Change to a fresh cloth if the current one picks up grit. When you finish, inspect the surface under bright light, checking for any streaks, smudges, or residual specks that might require a brief touch-up with minimal pressure. A well-executed wipe, with attention to technique and product choice, will often produce a finish that seems to glow with the glow you had when the bike was new, yet with the maturity and character of a road-worn partner.
For riders seeking practical, brand-free guidance tailored to specific fairings, the community often benefits from brands’ compatibility pages or catalog sections that list care considerations for various plastics and paints. If your ride has a Honda fairing, you can explore the dedicated Honda fairings category to see how care recommendations align with the polymers and paint systems used by that line. This internal reference can help calibrate your approach to the finish you own and the finishing layer you trust. Honda fairings category.
As you round out the session, you’ll likely appreciate how the ritual of bug cleaning translates into broader maintenance habits. The same logic of protection, gentle products, controlled dwell times, and mindful drying applies to every cleaning task on a motorcycle: wheels, chrome, and plastics alike. The end result is not a single moment of removal but a sequence of small decisions that preserve the integrity of the finish and the bike’s overall appearance. The more consistently you apply this approach, the faster and more confident you’ll become. You’ll notice fewer stubborn bug patches, and you’ll be able to maintain a high-gloss look on metal and clear-coated surfaces while respecting the matte sections that require extra care.
For readers who want more visual detail or a broader, expert perspective on detailing techniques, a comprehensive external guide provides an excellent complement to this chapter. It expands on method and product choice with practical demonstrations, step-by-step photos, and tips drawn from a wide spectrum of owners and professionals. You can explore that external resource to deepen your understanding of the principles discussed here and to see additional care scenarios that motorcycles encounter on the road.
External resource: https://www.bikeexif.com/2026/01/motorcycle-detailing-guide/
Bug Residue, Pristine Finish: A Practical Guide to Cleaning Bugs Off Motorcycle Fairings

Clean after every ride, not after a showroom finish. Bug residue can etch into clear coats and plastics if left too long. This chapter outlines a practical, paint-safe routine to remove bugs without harming finishes.
Start with warm water and a gentle soap, using a plush microfiber cloth folded to a fresh surface. Rinse from top to bottom to let gravity guide debris away from seams. Use light pressure and wipe along the contours, avoiding aggressive scrubbing near decals or edges.
If residue resists, apply a dedicated bug remover designed for automotive finishes, following the manufacturer’s instructions for dwell time. Rinse again, then dry with a clean microfiber to prevent water spots.
Never use a high-pressure washer on a motorcycle fairing, and avoid household cleaners that can strip wax or sealant. Finish with a protective wax or sealant to build a hydrophobic shield for future cleanings.
Regular maintenance keeps the finish bright and reduces the effort needed for future bug removal. This approach respects the material reality of painted panels and plastics and works with curves rather than against them.
null

null
Final thoughts
Maintaining the aesthetic value of a motorcycle fairing involves timely and effective cleaning practices particularly concerning bug residue. Business owners in the motorcycle industry should prioritize implementing the right techniques and using appropriate products to ensure that motorcycles remain visually appealing while protecting the finish. By adopting a proactive approach to maintenance and integrating preventive measures, businesses can not only enhance customer satisfaction but also nurture long-lasting relationships with riders. A clean motorcycle is not just about appearances; it signifies care, professionalism, and the pride of ownership, reinforcing the overall quality of the brand.